 |
| Come down you little bastard! |
 |
| I don't think skeletons can deal with stairs very easily... |
Initially I imagined that each step is made up of several stones (here I've scored the individual stones in with a sharp pencil) which in turn creates one step. Each of these steps has to be the same size and shape:
Making sure the stonework goes around the side of the step too:
And flattening the worn area of the steps, ie in the middle where the most footfall occurs:
Here's the set of steps, each the same size.
The individual steps have have to spiral around a central pillar, for which I used a plastic rod. To make mine look like stone I textured the plastic rod with some Polyfilla and cut out some grooves to show multiple stones on top of each other to make the pillar:
Each step then has to be attached to the step underneath it and to the central pillar (ie the base step first then work your way up the spiral). In real life I imagine cement would be used for this, but for my model I've used a hot glue gun (as the glue does not melt the volatile extruded polystyrene, but the heat can, be careful). The gaps in between the steps would be filled and secured with further cement, here I've simply added some more Polyfilla into the gaps:
And that's the modelling finished! For painting I just used my usual, cheap, grey decorators paint as an undercoat:
Washed a darker grey into the recesses:
Highlighted/drybrushed up with two lighter greys:
And then weathered in some moss with some green and brown washes:
And the final stage was to add some real moss and static grass.
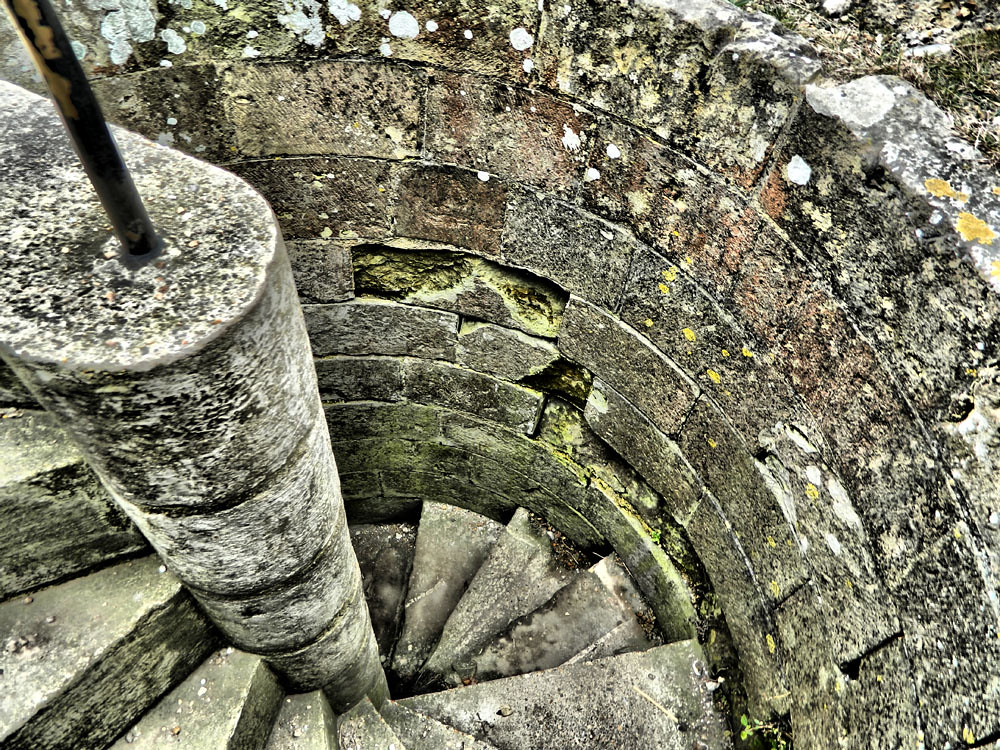
Oh and I should also say that one of the most important aspects is to conduct image research at the beginning of any modelling project, so these are the images I used to help realise this simple build:


No comments:
Post a Comment