Showing posts with label scratchbuilt. Show all posts

Thursday, 20 August 2020

Building some houses

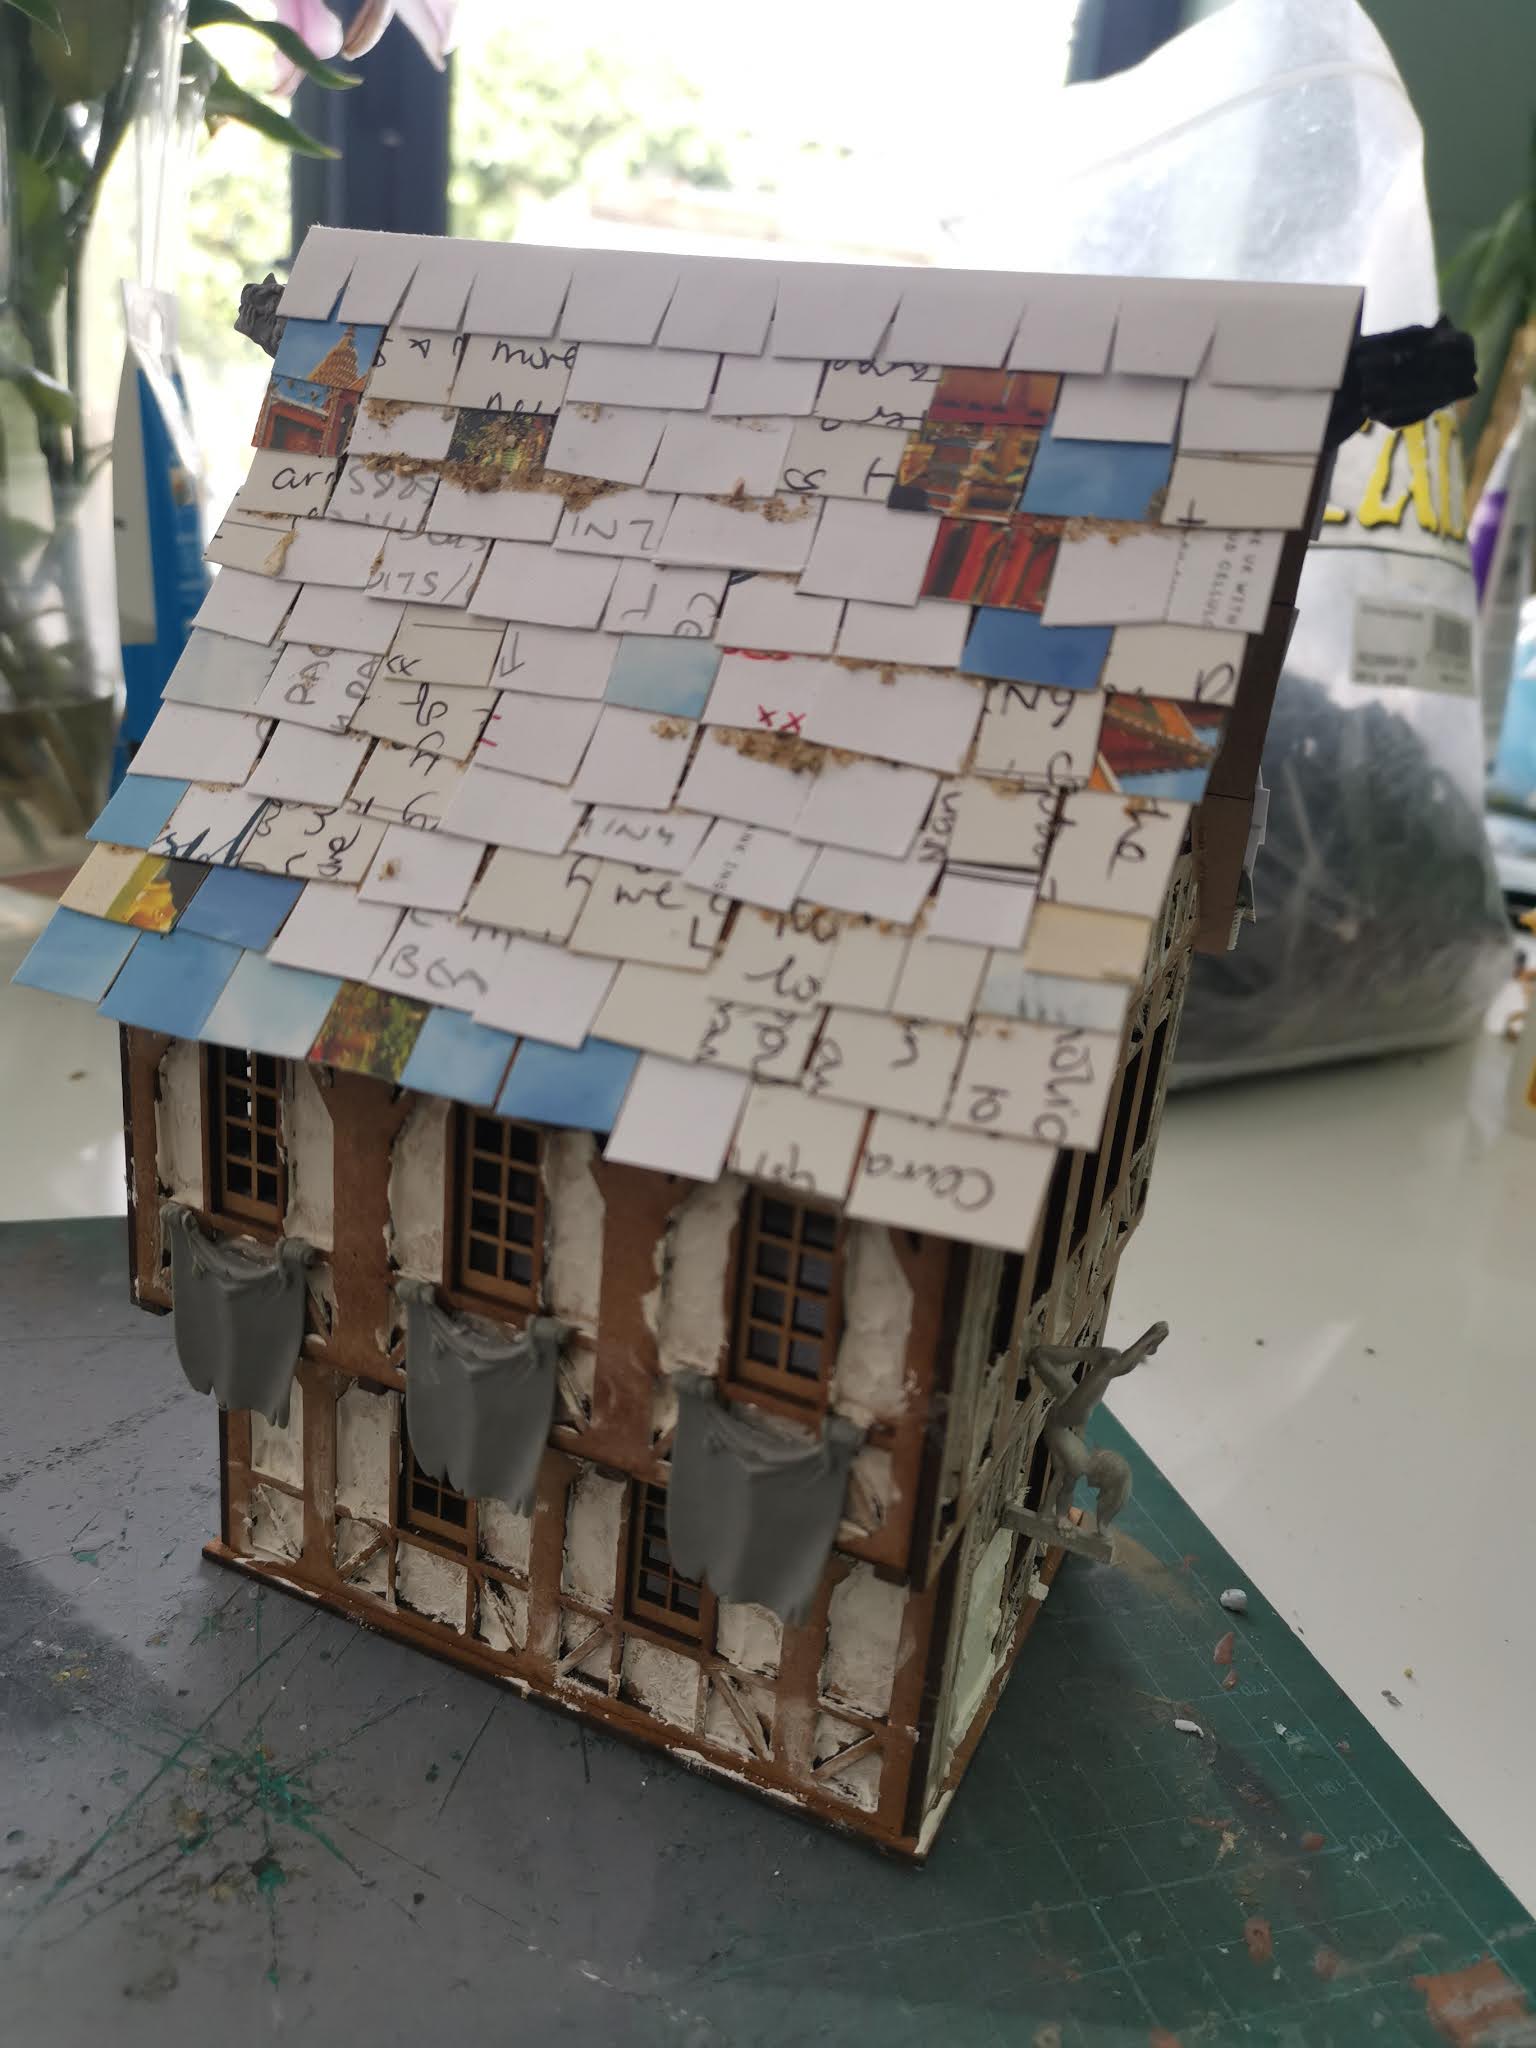
Just before I went on a caravanning holiday with the family around the UK, I made these houses to populate my modular board.


They're both lasercut mdf sets that I picked up for a good price and decided that I should take a break from completing my Nurgle Army (before I burnt out with that project) and sit down with my son and construct and improve these. So we did the assembly together with lots of pva, elastic bands to keep things in place and some coffee.


After assembly my boy decided that one of the buildings should be a shop - we conferred on an Armoury and we then searched my bits box for details to adorn the building. I also wanted to pimp up the kit, the mdf buildings lack detail but more importantly texture. So some polyfilla was added to the walls, cardboard tiles were added and some sand for mossy areas too.


The function of the second building was definitely decided by me. Whilst rummaging around for bits for the previous model, I found a naked dancing girl from Hasslefree and though it would be a perfect sign for a medieval "club". This was placed just above the entrance door. The same texturing and detailing process also took place on this building. 


And then we went onto the painting. Both were undercoated black and then grey from above. Lots of washes of cheap acrylic paint later, followed by some drybrushing and finally some weathering and the buildings were done! As always it was the painting of all the beams that took the most time.


Back to the painting of some miniatures next...
 

Monday, 27 January 2020

Bob Naismith: A diorama

I've completed a little diorama, which is in fact a homage to Bob Naismith's Citadel sculpts. To the right is the familiar and imposing figure of Thrud and to the left is a dynamically posed fighter from the same period of time in GW's history; both painted using a verdaccio under-painting technique.

The always excellent Jean-Baptiste over at Leadplague has set a few "Oldhammer" sculptor based challenges recently and my two miniatures are for the #Naismithery version, presented here on a small scratch-built dioramic base.

Positioned like this, the two characters appear to show that Thrud's fighter friend is battling adversaries who are climbing the stairs whilst our hero considers how to open the door:


Whilst here, he us being attacked by the fighter, perhaps out of frustration! 


Either way to the two wonderful sculpts and poses were a delight to paint (even with a few interesting muscular anomalies) and will possibly be the start of a Brabarian warband for Mordheim or the like.. Here's a few close-ups of the Fighter;


And for completeness, Thrud:


Oh and I took a few photos of my scratch-build for the small dioramic base, using just insulation foam, a few bitz from the box, a couple of cocktail sticks and a mold of a door I had previously bought many years ago:


Thanks for looking!

Wednesday, 8 January 2020

Coffee-stirrer noticeboard

Happy New Year! My last post of 2019 was about how a bit of pre-made scenery can save some time (and when painted up can fit in fine alongside scratchbuilt scenery). My first post of 2020 is about a piece of scratch-built scenery that was very quick to make and made entirely out of coffee-stirrers (and a little bit of wallpaper)' the town's noticeboard! I thought it would make a great addition, a place where adventurers can find tasks and missions and where the obligatory "wanted" posters can be found.


Now this idea to make it entirely out of coffee-stirrers was indeed someone else's original idea that I found on the internet and which I cannot now re-find to give the designer his/her credit. Apologies for that. But it inspired me to create my own:


Aside from cutting lots of different lengths of coffee stirrers and using wood-glue to join them, I also used a bit of old wallpaper for the texture on the floor (it look just like flagstones and will be something that I will be using much more extensively going forwards - again it saves time over sculpting bases with greenstuff - and is cheaper!) and used the flat, reverse side for the messages. Very thin wire was cut for the pins that hold the messages in place.

All in all this was probably a two hour piece of work from construction to painting. Which has given me some time to start two new projects; one is hinted at on the noticeboard and the other is Gaslands! More on that on my next post....

Wednesday, 11 December 2019

Modular Town Tile #4

I've finished my 4th modular town tile, having painted it up pretty quickly from the WIP photos I shared a week or so ago. Lots of drybrushing and washes, so it really was a quick process and I'm really happy with the results, my best one so far! I now plan to do 2 more with canal sections built in so I can have a go at some large scael water features and all the details and scenery that I can add to that (I'm thinking large bridges, sunken boats, open sewers etc).

So here are the photos. Hopefully it's clear that each of the four raised sections can be removed, as can the bridged walkways:


One of my favourite aspects of this tile is the alleyways and raised sections where bridges span them:


This one here is a particularly narrow and dark passage:


Some damage and the temporary wooden bridge:


And here is the board alongside my other three (the light in the attic is directly above the two right hand boards, thus making them look much lighter)


And finally some glamour shots with some of my scenery added to bring them to life a bit more:


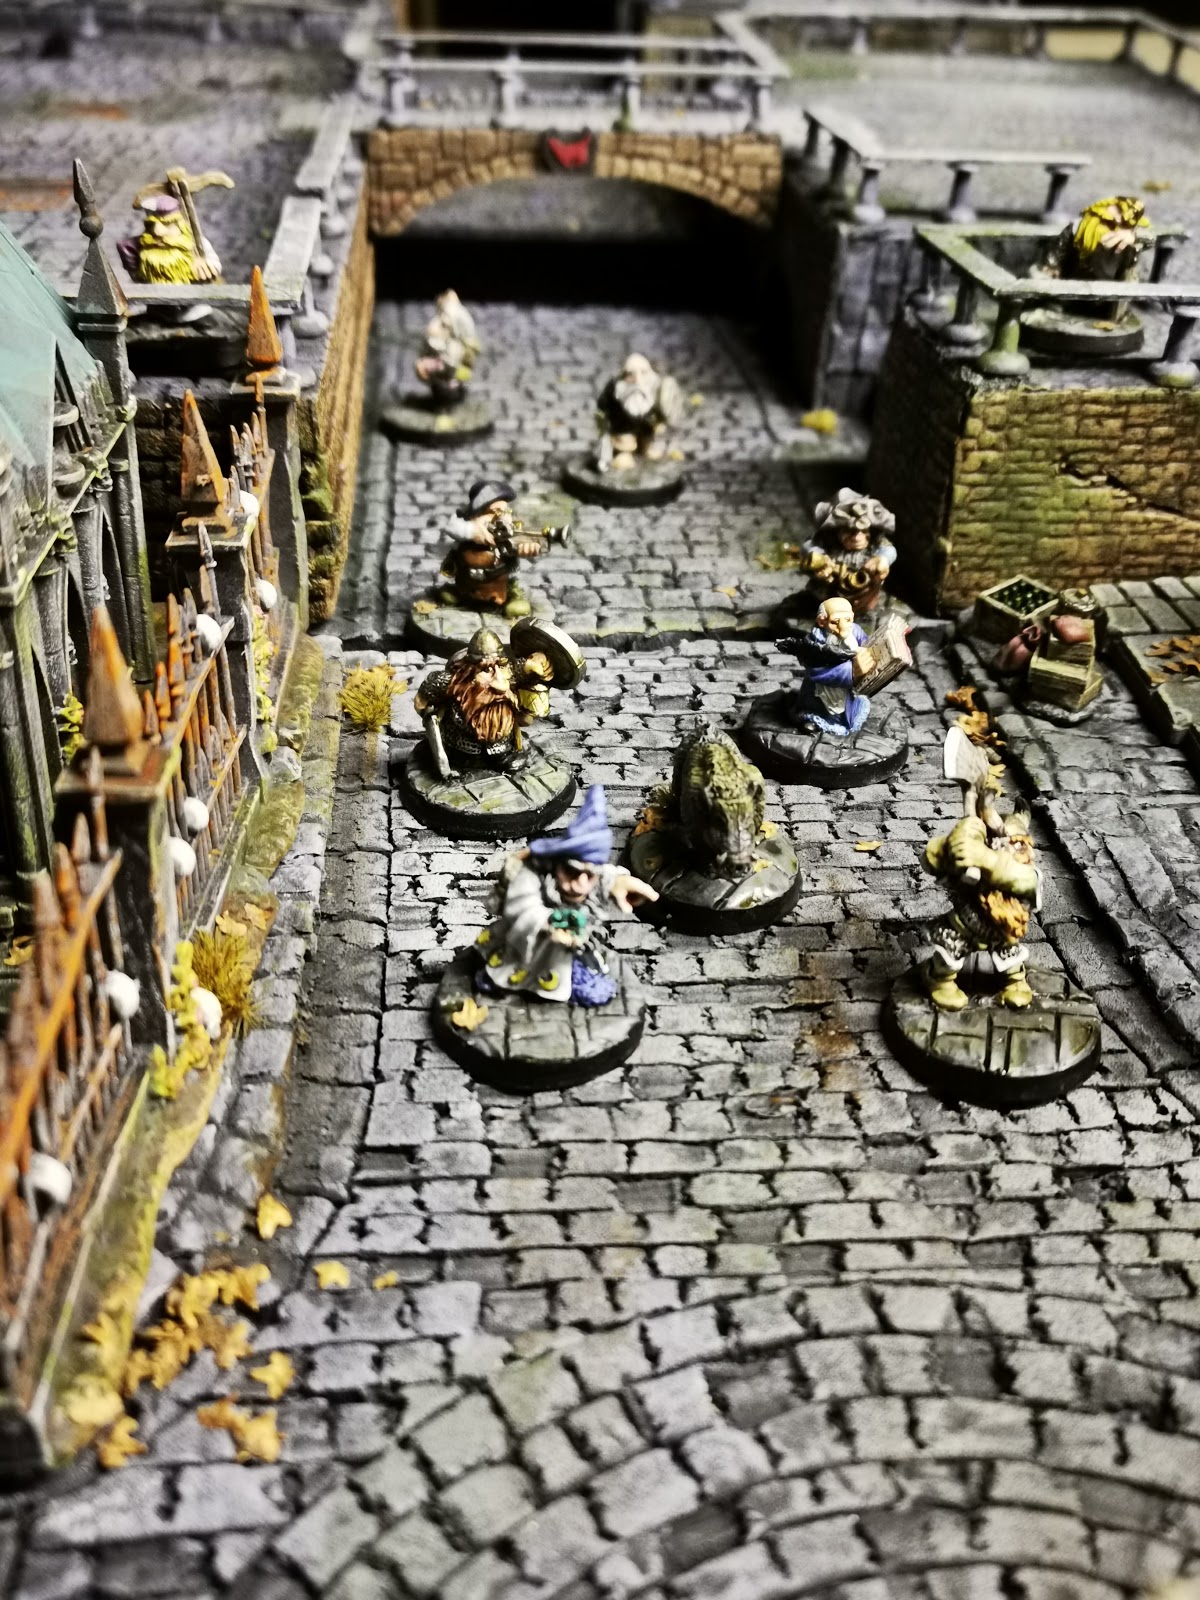
And then further details with an adventuring Dwarf warband:


Thanks for looking!

Monday, 2 December 2019

Modular tile #4 (wip)

I've finished the build for my 4th Modular tile, using the same modelling techniques as outlined here. There's quite a bit more interest on this tile though, as I have introduced higher levels, which in turn have created the opportunity to make bridges and dwellings within the raised sections (you can see the doors and windows in the below photos).

However before I started painting, I just wondered whether anyone has any suggestions of extra details that I could add? Perhaps this is enough and the extra interest will be added through my scatter terrain and the like.


Tuesday, 17 September 2019

Trash Bash Bits Pringles Competition

Last month I entered the Trash Bash Bits Facebook Group page's competition build. The task was to create something on the theme of "Defender" using a Pringles tube plus whatever trash bits you could add. This is what I made:


And this is what I made it from:


In addition to the Pringles tube, you can see a variety of pens for the gun, a CD for the base, fabric conditioner lid and yoghurt lids for the top of the turret, circuit board for the circuit board, bits of Lego, sprue and bits from an old computer for the interior and details, some lids (superglue and drink bottle) for the power generator and a contact lens case for the hatch. And some Plasticard/rods for decoration. 

As always with these kind of builds, the problem solving aspects of the task are what excite me. For example, below you can see me breaking up the surface of the tube with some incisions to represent panels and then using the small balls from a water softener embedded into pre-drilled holes for the rivets. Other plastic shapes and strips were added to create extra visual interest:


The next challenge was to keep the tower firmly based. The plastic yoghurt lid which was the perfect circumference for the size of the Pringles tube was too flimsy to support the structure. So I filled it with some resin!


The fit of the fabric conditioner lid was slightly too tight, but I managed to find another yoghurt lid that was perfect and when combined together in fact meant that I was able to retain the screw mechanism of the conditioner lid so that the turret could actually rotate. The gun was made by stacking lots of different diameter of pen lid together to create the effect of a multi layered extending gun:


From the outset I decided that i wanted to be able to see the interior of the tower too as this gave me an opportunity to use further bits of trash to make some internal computers and power generators etc. I like the idea that the exterior circuit board had been blown and that the doors had been forced open to reveal the inner workings. This involved making some steps from textured Plasticard and some computer terminals from a wire lighting connector and some old computer components


Here you can see the completed build:


The easy bit was the painting. The model was primed grey and then a series of dark washes were applied to create shadow around and in the details. The second series of acrylic washes were with a range of diluted red/browns applied in a vertical streak fashion and finally some very dilute green washes to complete the weathering effect.


The last aspect of the competition was to create a backstory and take some atmospheric photographs to accompany the narrative:


Abdul Goldberg spotted the derelict defense tower first across the debris strewn desert that is Helsreach. "That's our target" he pointed for the benefit of the gang. Nikosai inspected the rusted door system and quickly hot-wired the circuit board and with the help of the Pursuader, managed to prise open the doors. "We get this gun functional, the turret still works but we find some ammo and set up camp here. This is from where we dominate, a good mile range, before enforcement get here. I reckon we have 48 hours. Let's get it done" said Abdul.


And amazingly I was lucky enough to win the competition against some really stellar entries and was further privileged to receive some wonderful goodies for some future builds: