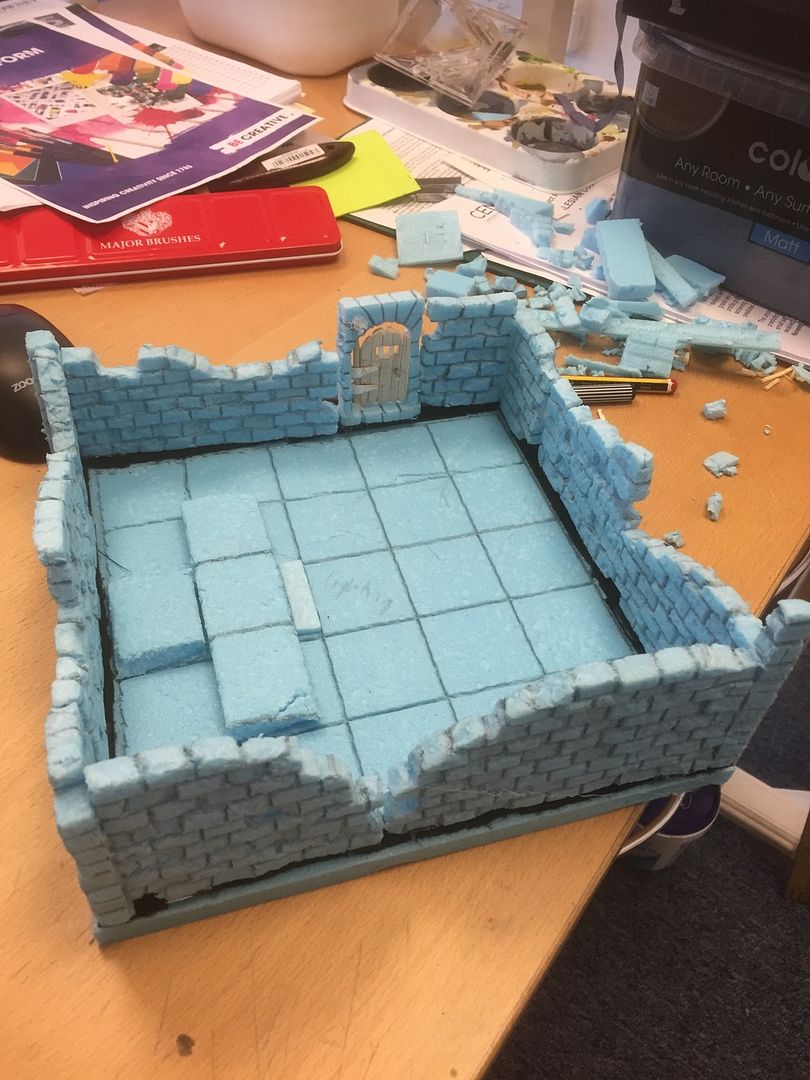
I felt that my dungeon tiles were a little flat and lacked atmosphere without some walls, so combined with my hate of waste, I've used a load of extruded polystyrene off-cuts to create some modular and multi-purpose walls which will work on both my Heroquest dungeon tiles and then as ruined walls for Frostgrave. The only problem I had to overcome was how to modularise them, in other words, how they can be attached and detached from different bases (i,e a dungeon base and a ruined city base)? The dimensions for the walls were easy to work with as the measurements had to fit into the dungeon tile system where each square is 1 1/2", so the wall sections had to be in increments of this size. I decided early on that I wanted these walls to be ruined, one so that they fit into the Frostgrave environment of a ruined city and help the gaming mechanisms (cover etc) and also so that they are not too intrusive or awkward when moving miniatures around a dungeon. A full wall on the dungeon tiles would be quite high and would also look too uniform - I like the idea of the walls being different heights to give the viewer glimpses into the dungeon.
 |
| Magnetised to a corridor - you can see the different lengths of wall here, ranging from a small 1 1/2" to 3" and 6". |
 |
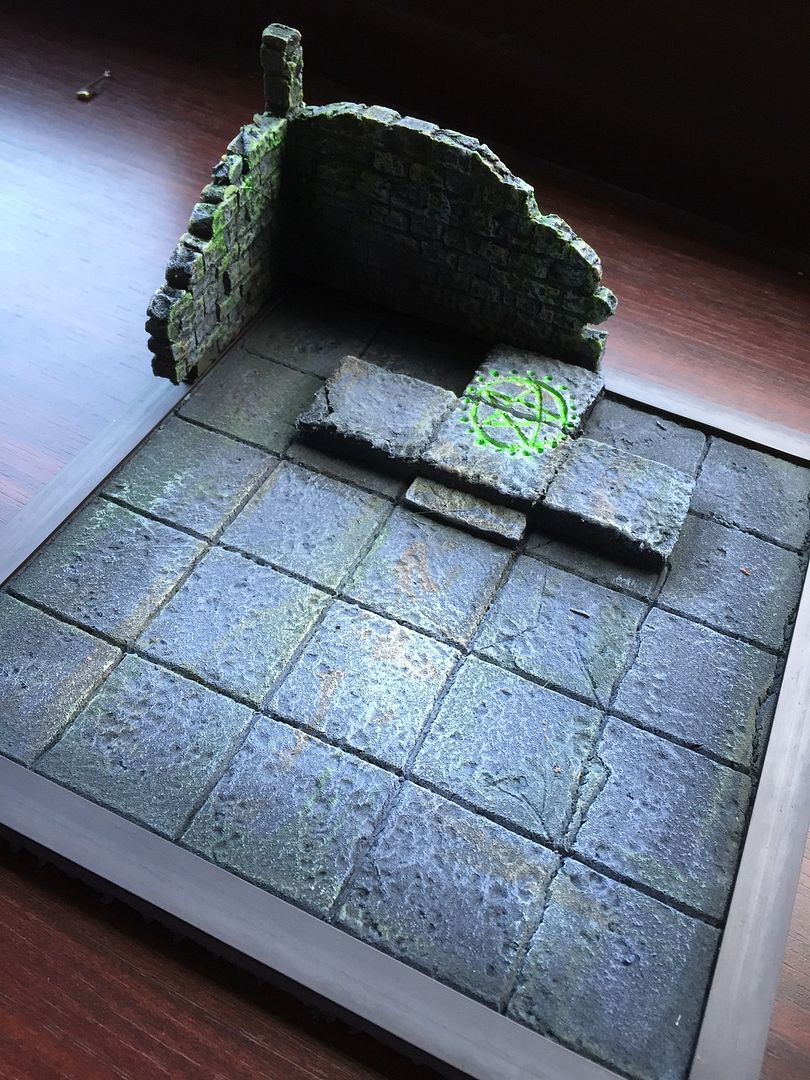
| And here they are surrounding a summoning tile. Note the gap for a door (on the to-do list) |
 |
| And then the same walls in a Frostgrave environment, note the different magnetised bases which are designed to fit into a city theme |
In terms of how to make the walls modular and multipurpose for both an interior dungeon setting and an external ruined city setting, I initially I experimented with velcro as the way of attaching and detaching the walls (you'll see it in some of the initial photos below) but realised quite quickly that the bond was too strong and it left a bit of an unsightly, furry gap between both floor and wall. So I reverted to applying strips of magnets to both the dungeon base and the city base and then strips of ferrous paper to the base of the walls (bought from Abel Magnets).
So here's the step by step pictures of how I made the walls:
 |
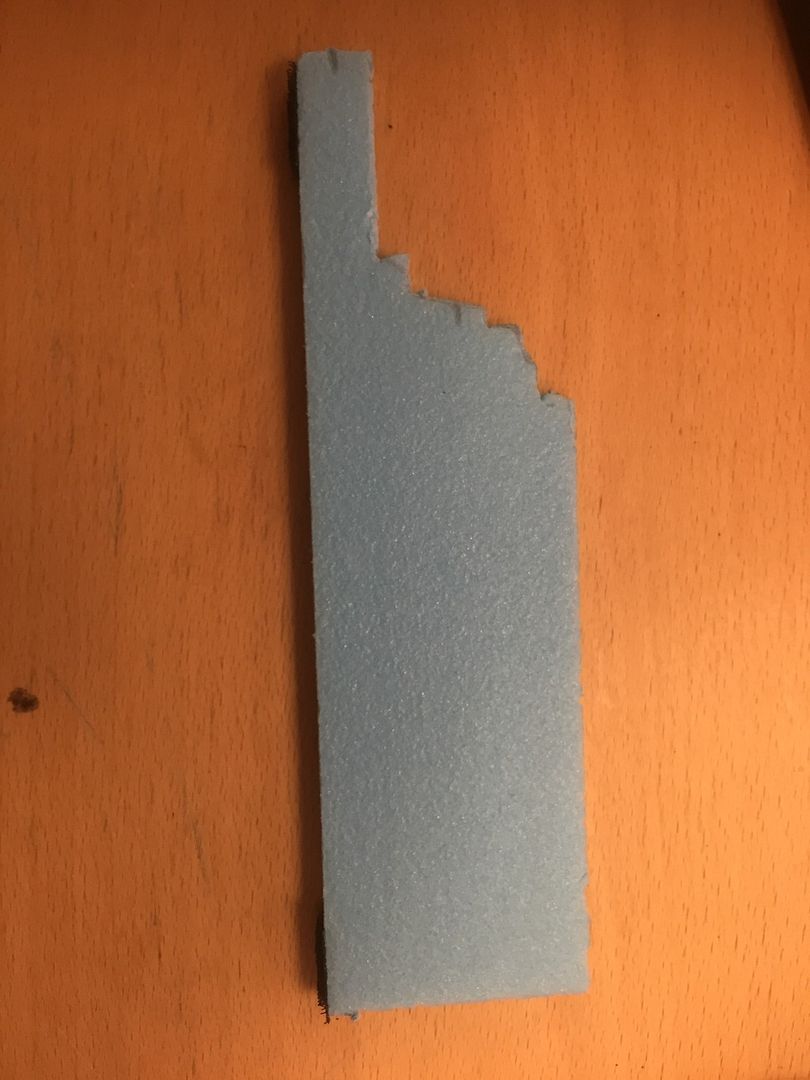
| An unwanted off-cut from my dungeon tiles to be used as a ruined wall |
 |
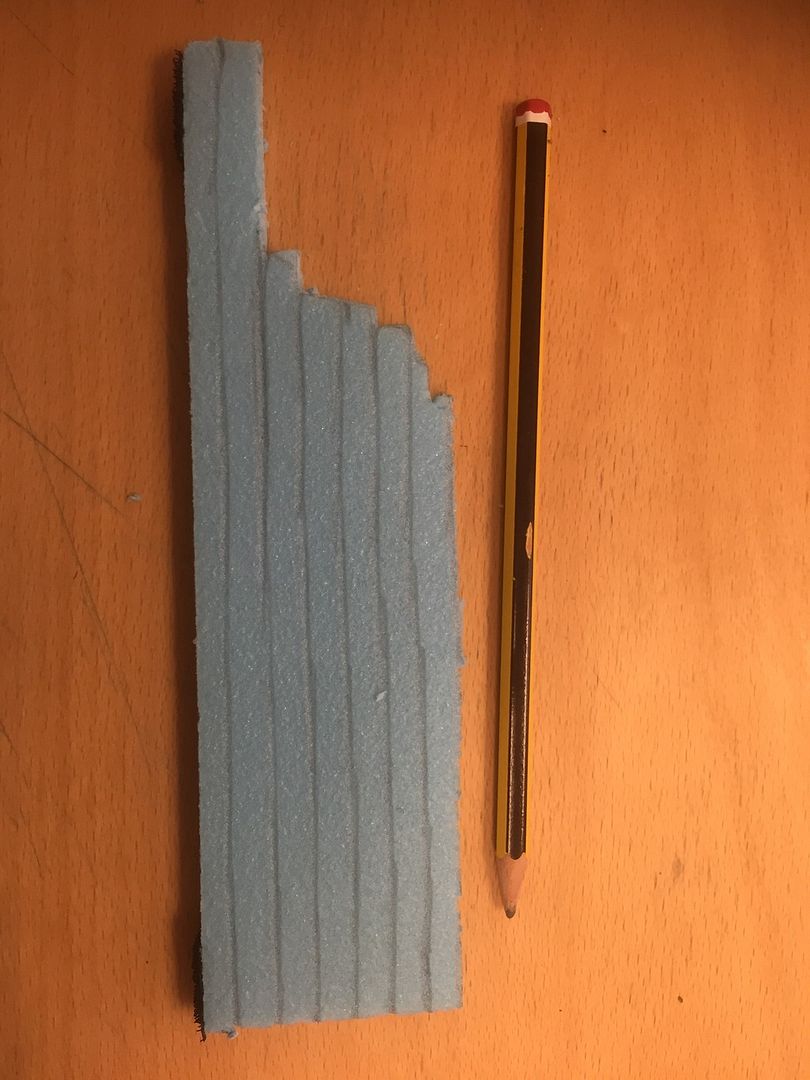
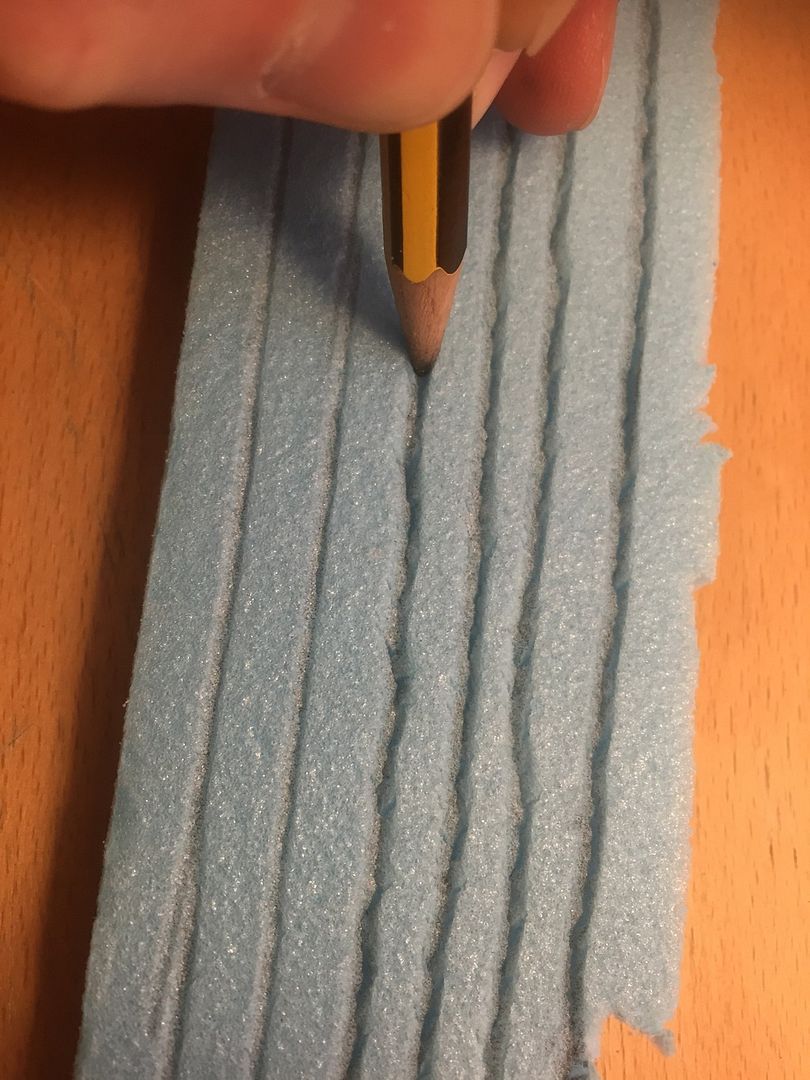
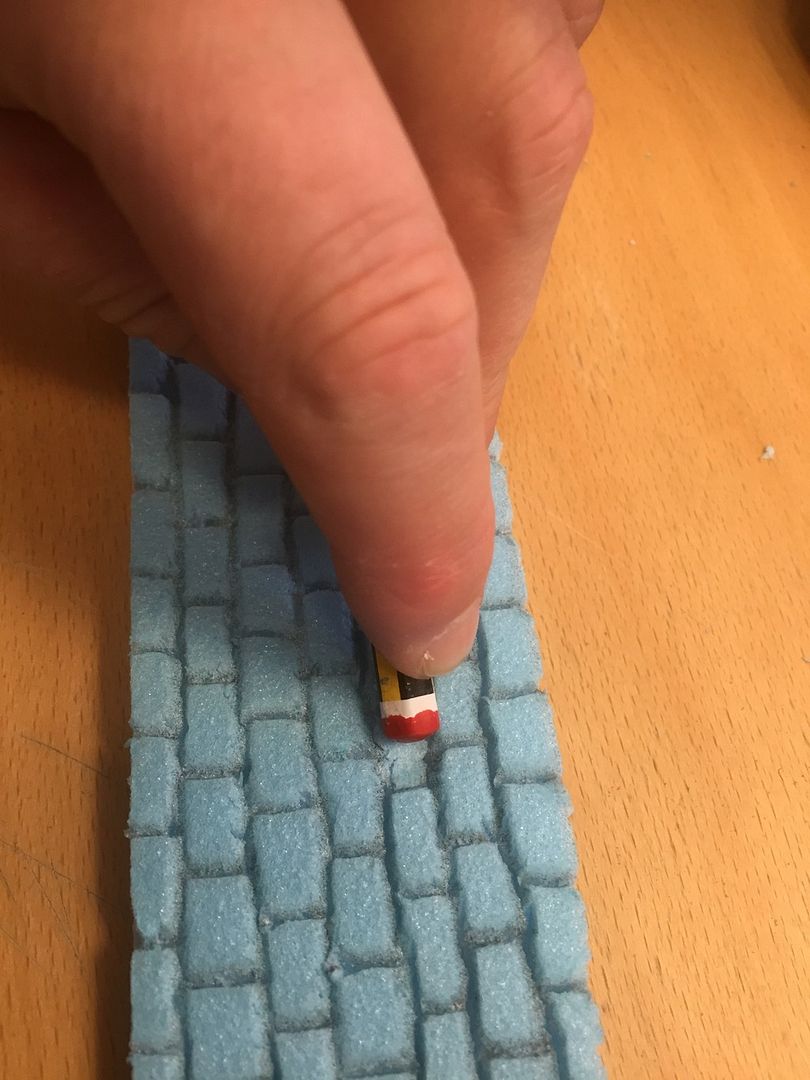
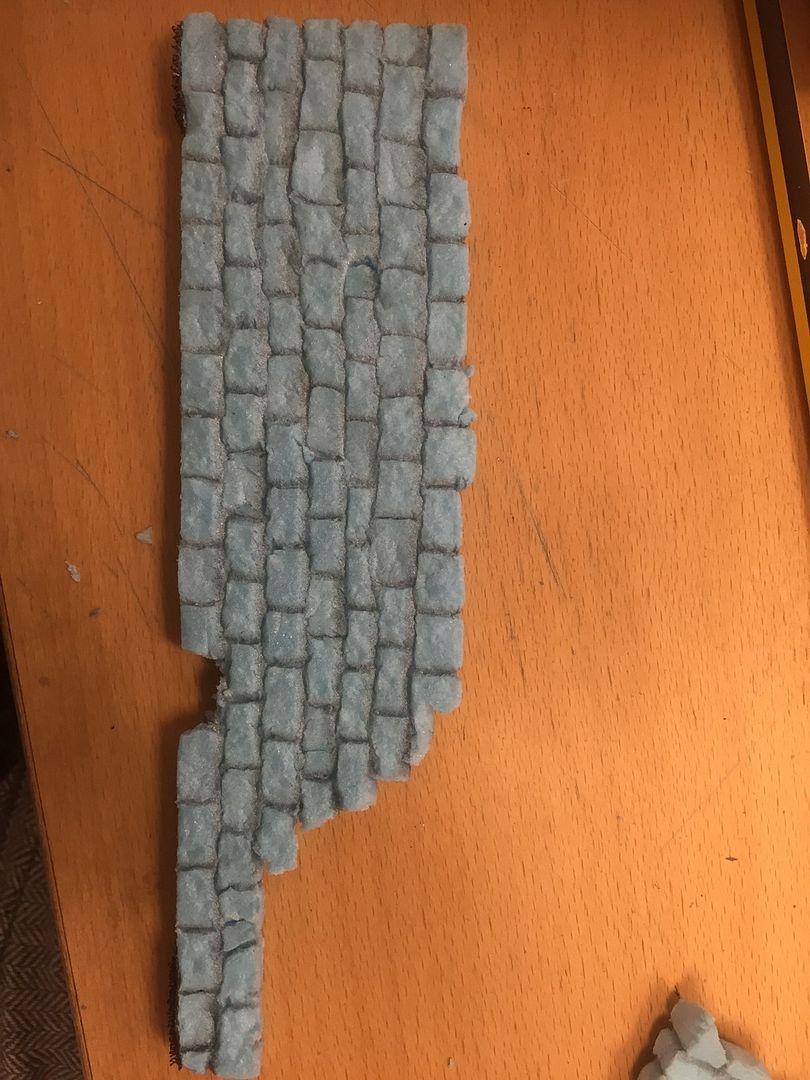
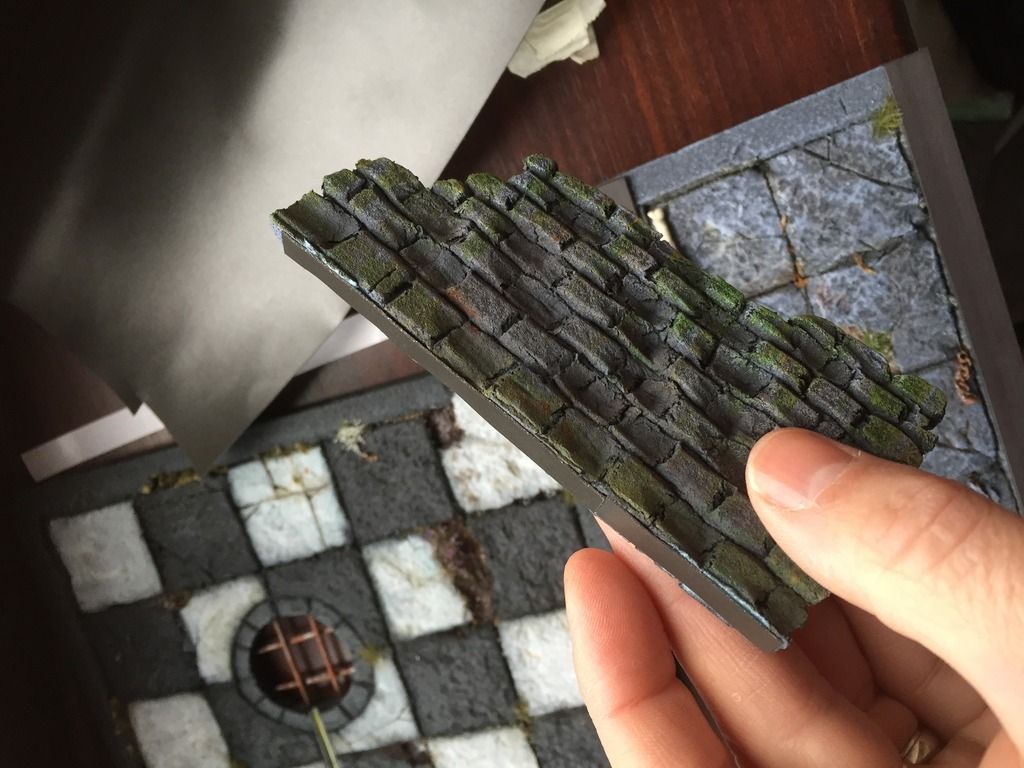
| Using a pencil to draw in the brickwork. You need to consider scale here - what size of bricks are they to be? I went for breezeblock size as bricks would be tiny in 28mm and would take forever.. |
 |
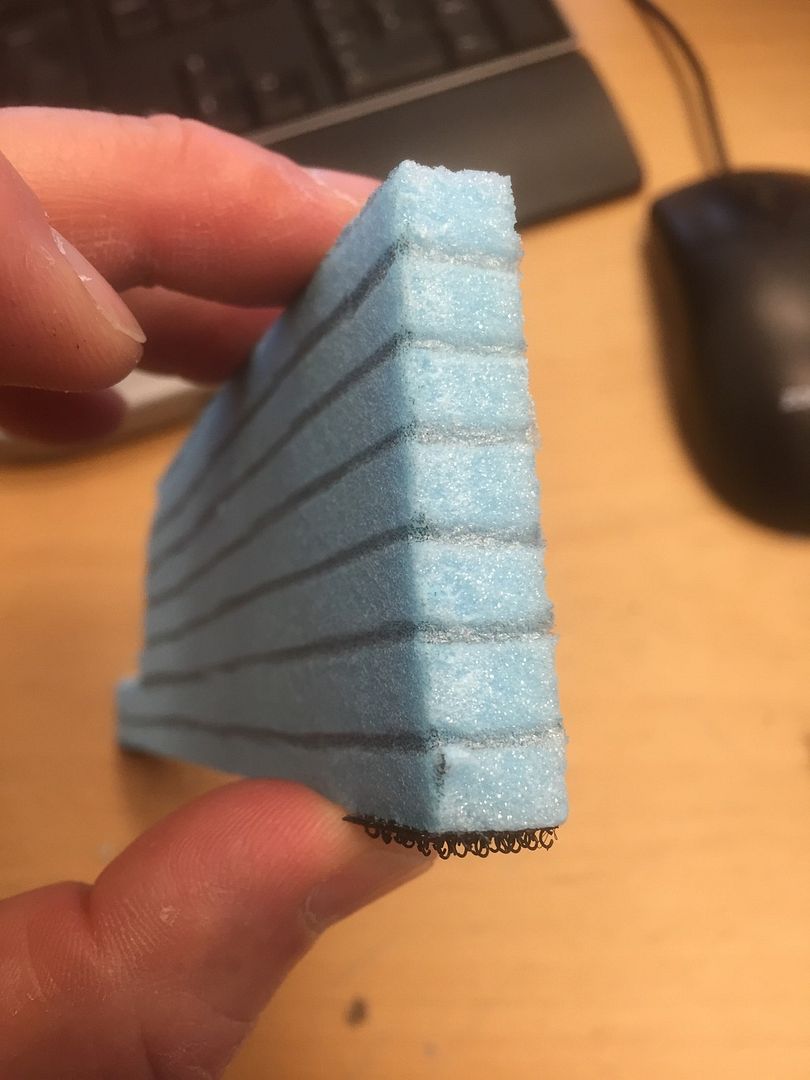
| Remember to inscribe around the edges to. You can see the aborted velcro attached here |
 |
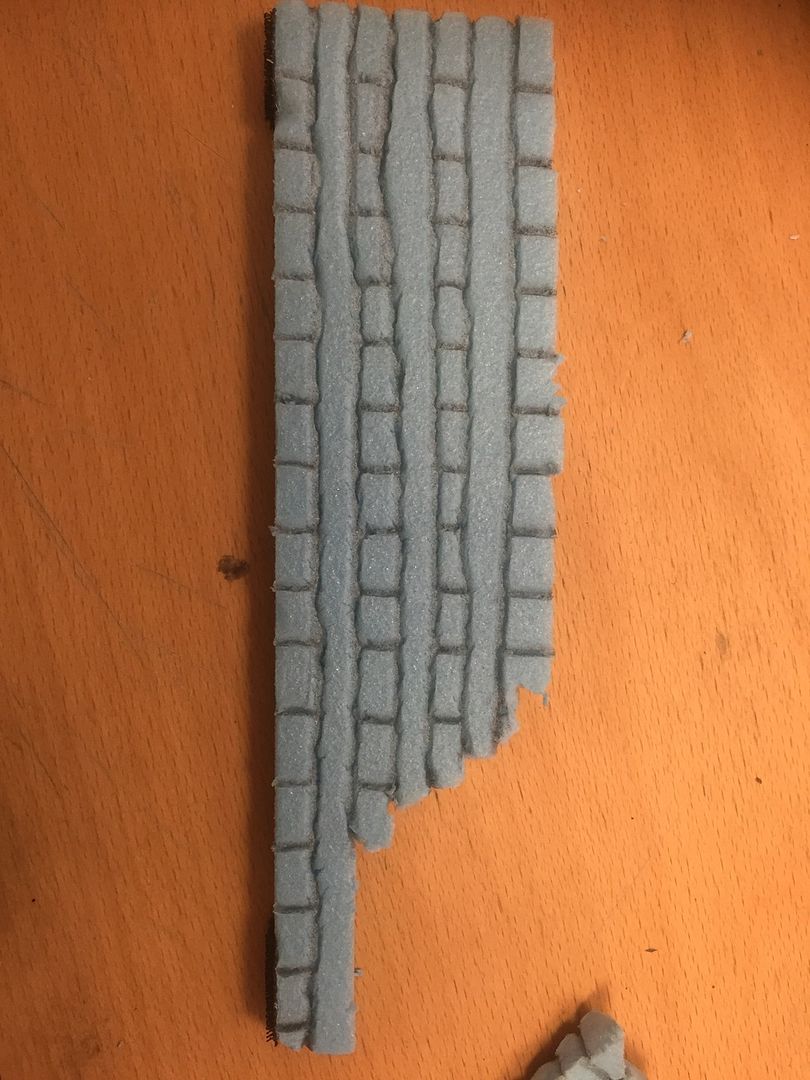
| After drawing in the edges make sure you follow the lines around to the other side of the wall so that they meet up. |
 |
| Once you're happy, then press harder to make a deeper mark |
 |
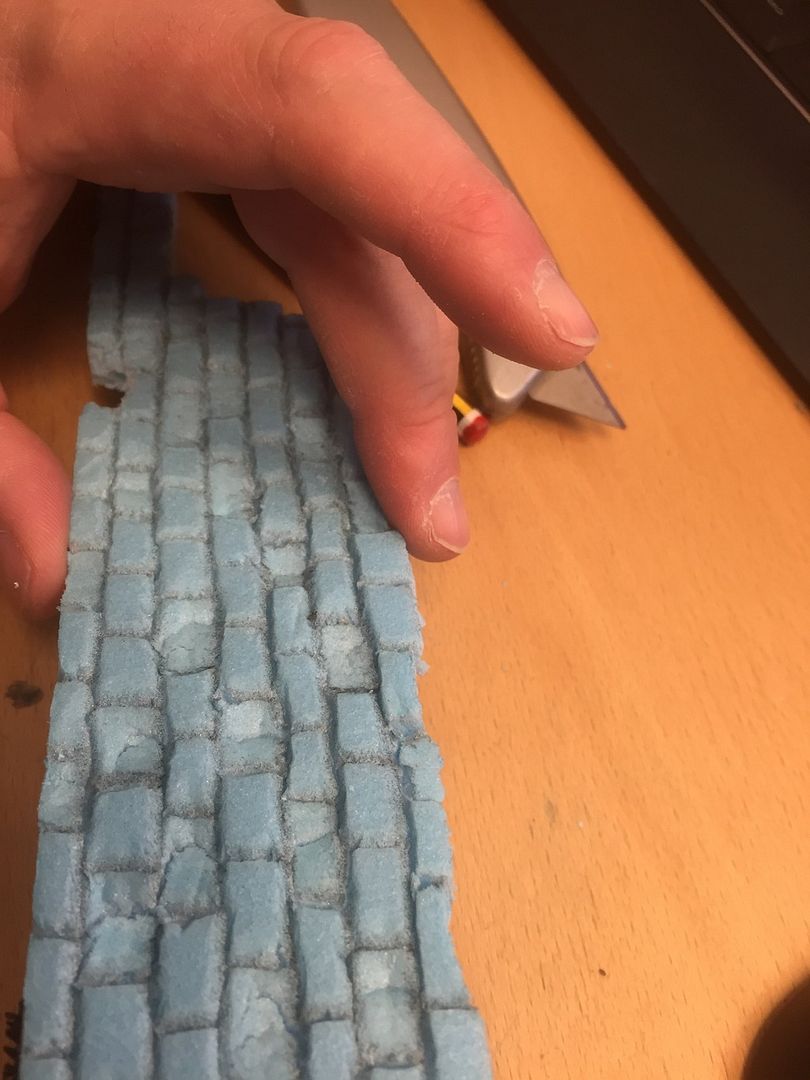
| Start making the vertical edges to the bricks |
 |
| remembering to stagger them |
 |
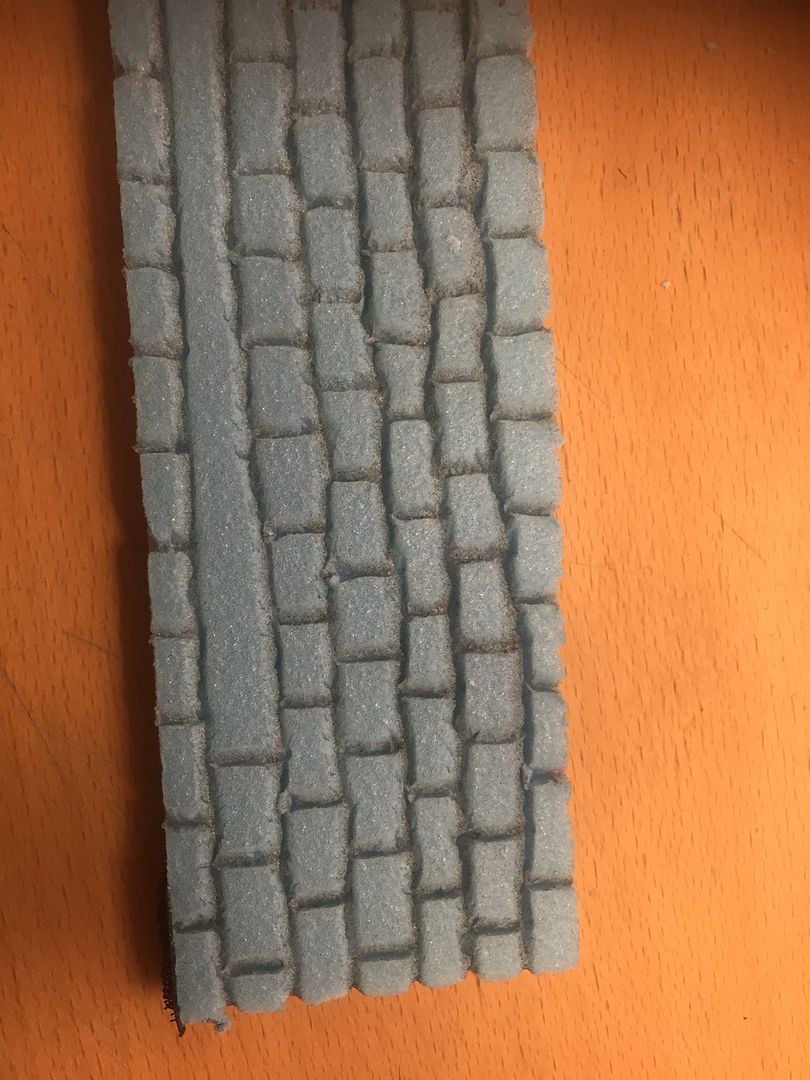
| The walls can look to flat, so using the back end of a pencil I squashed down random bricks |
 |
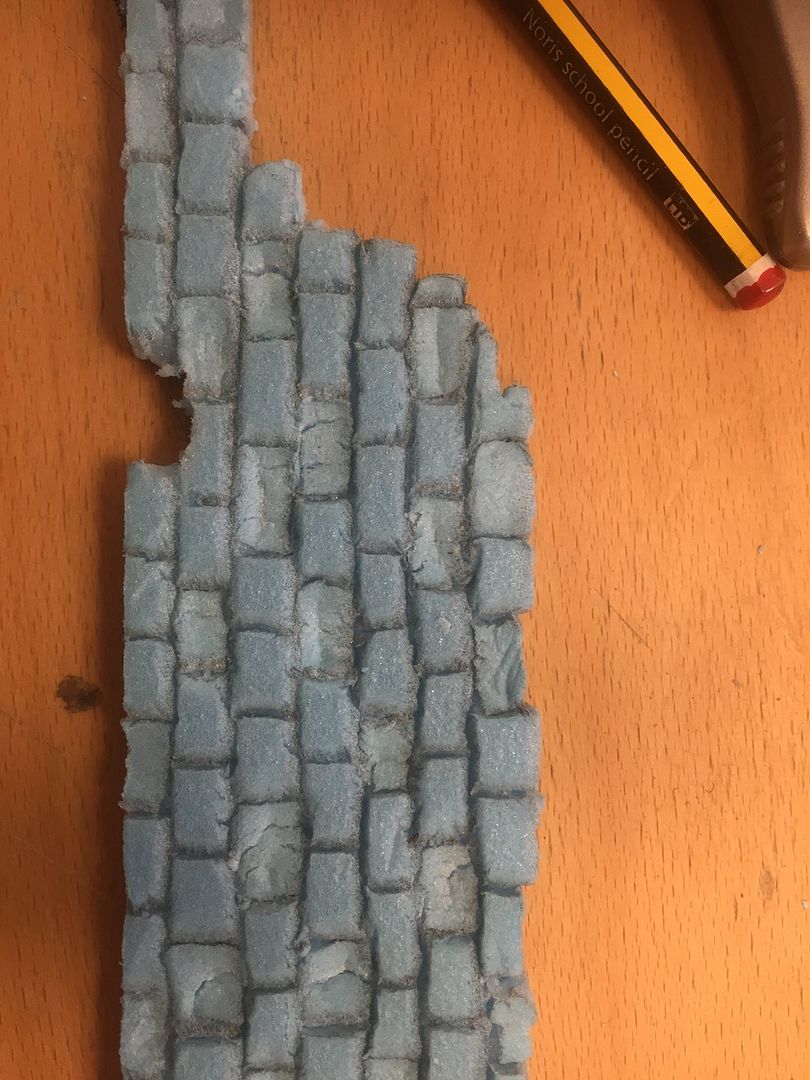
| Here you can see how much better that looks, with a bit of extra work |
 |
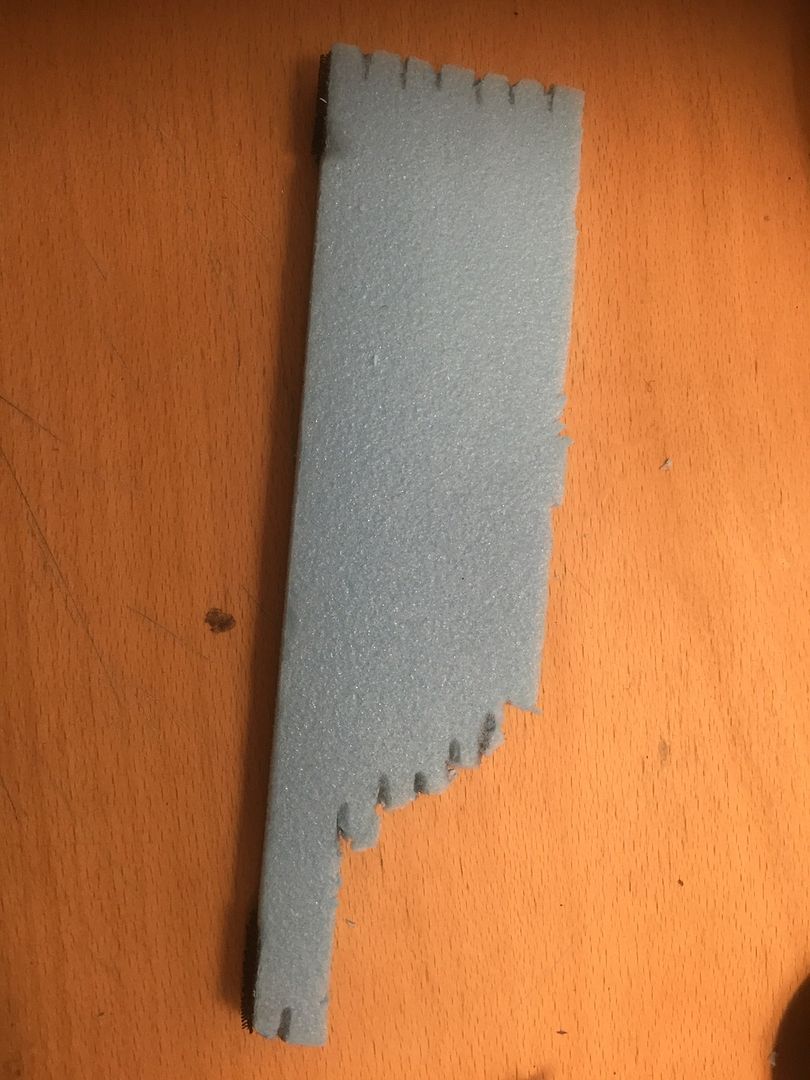
| I also removed a few of the bricks to create a more ruined appearance |
 |
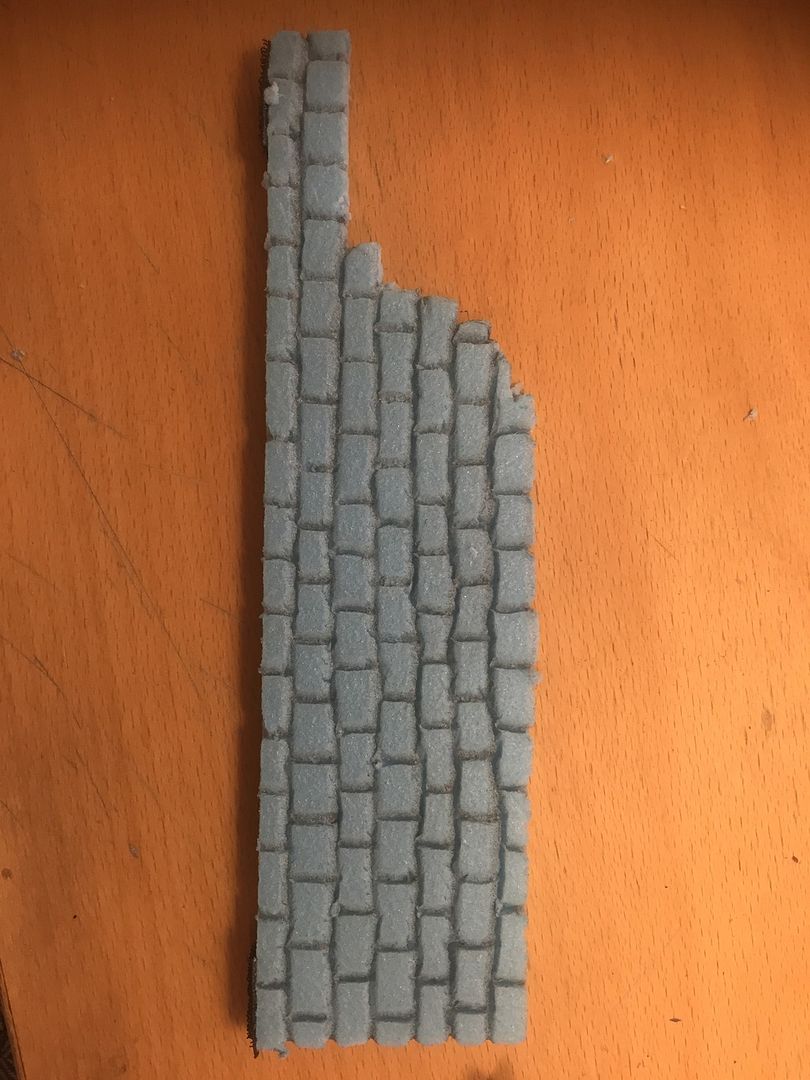
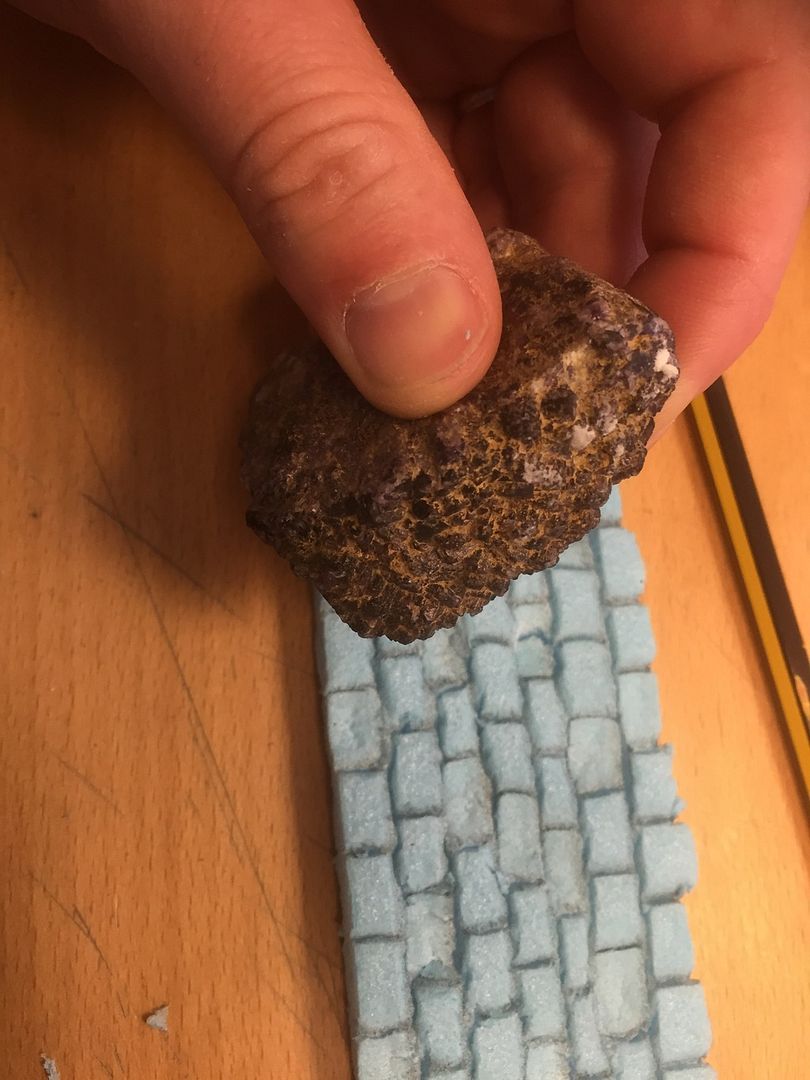
| Next I added so texture to the bricks using my stone. I've also used a ball of tin foil for this stage |
 |
| Construction done |
At this stage I was still trying out the usage of Velcro, you can see how it looked here. You may notice a prototype working door, these are still in progress...
As I wrote earlier, the Velcro was far from perfect. The bond between the fabrics was stronger than the self-adhesive glue that attached them to the styrofoam, often pulling away from the base rather than from each other. There was also a rather horrible, thick and furry join (I did consider painting this to make it look like moss!). Eventually I then tried magnets and ferrous paper:
 |
| Applying the strips to the dungeon tiles - they are self-adhesive, but I will use a few dollops of hot-glue gun to ensure longevity of bond. |
 |
| Here's the ferrous paper attached in strips to the bottom of the walls |
 |
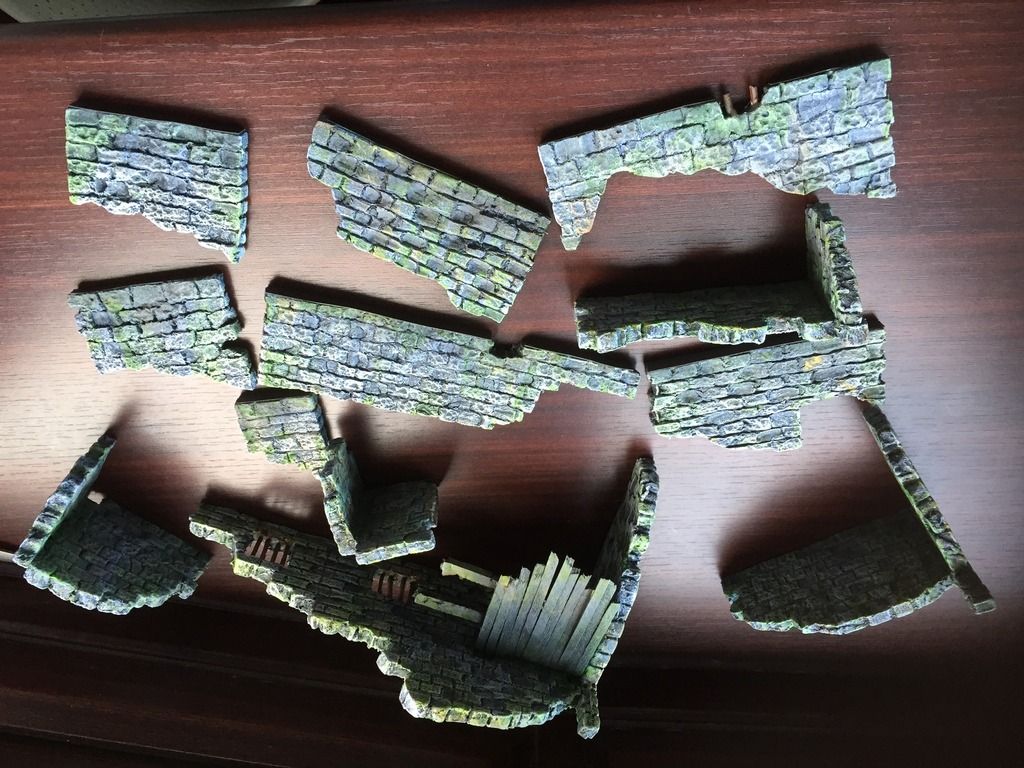
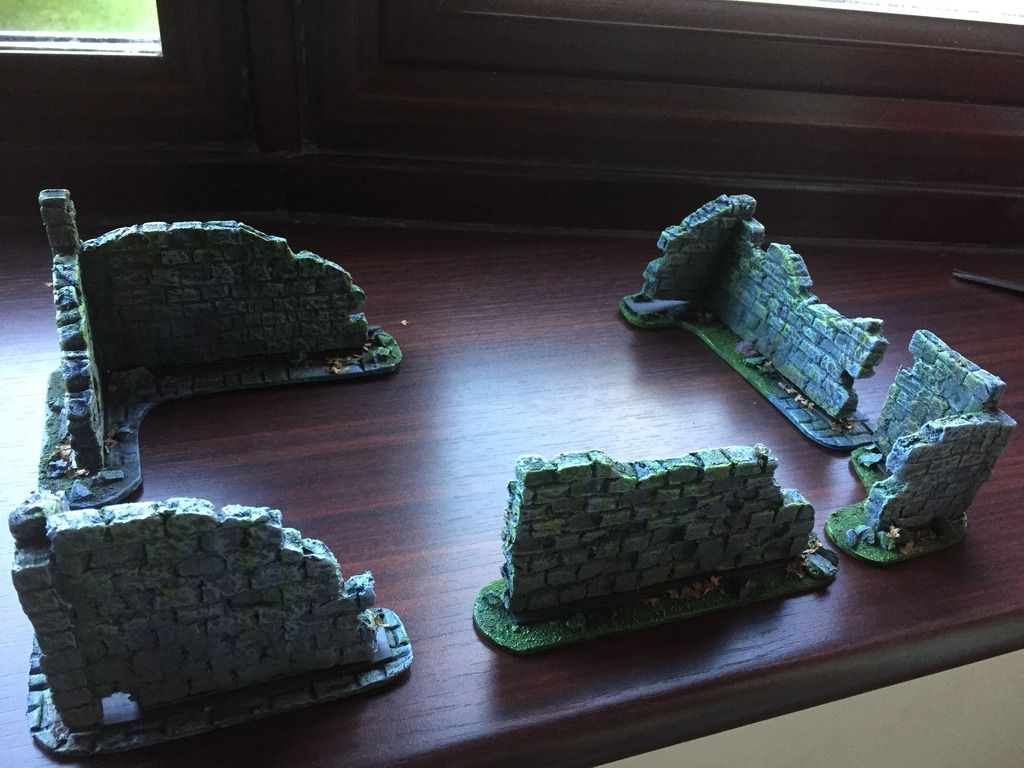
| And all of the walls I've made. Not all are straight, I've made a few with corners and one with the remnants of a second level, especially useful for Frostgrave games. |
 |
| Here they are attached to the sides of a dungeon corridor |
 |
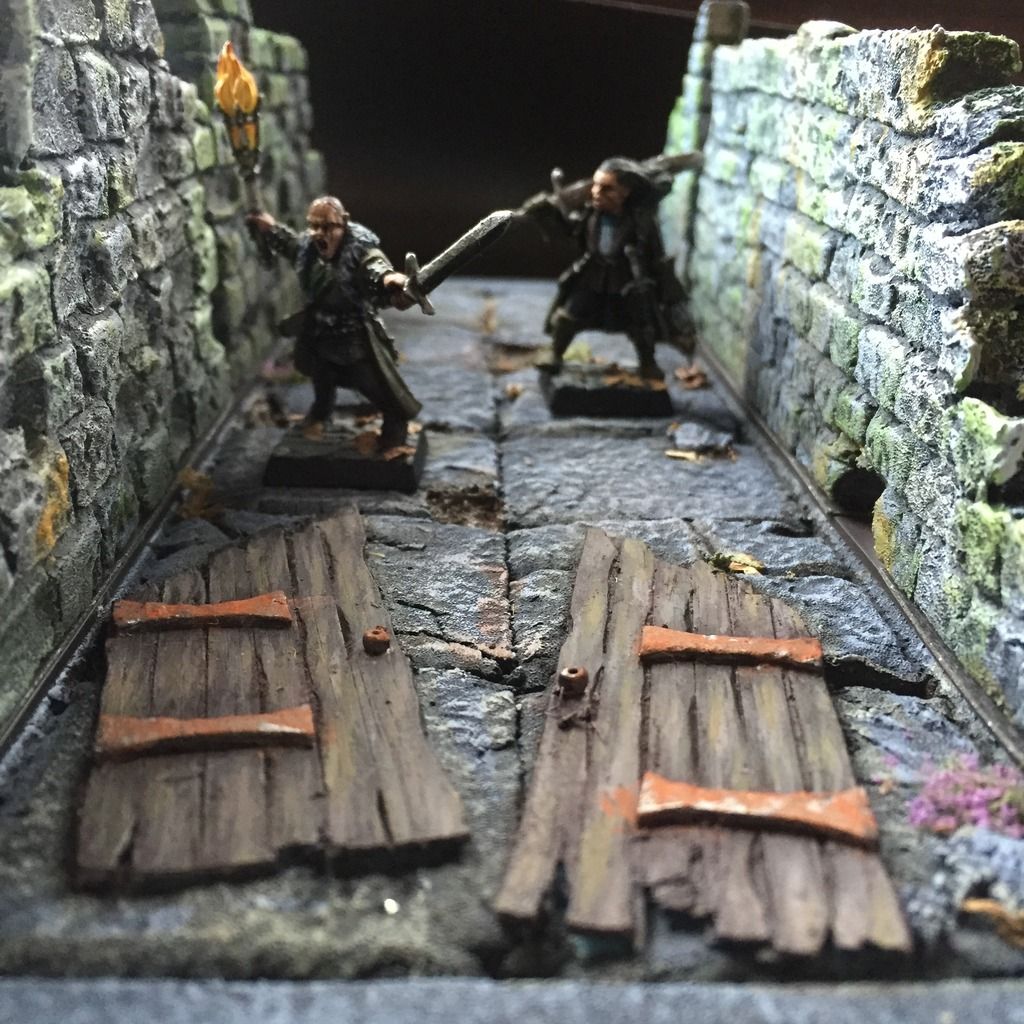
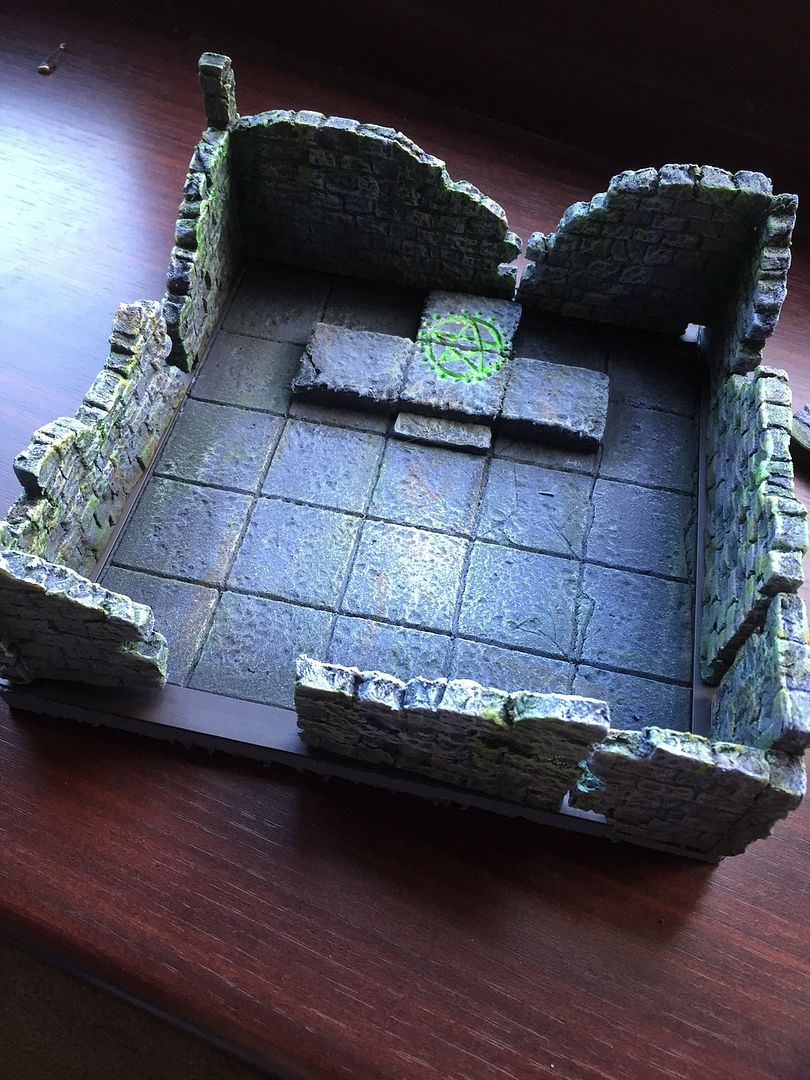
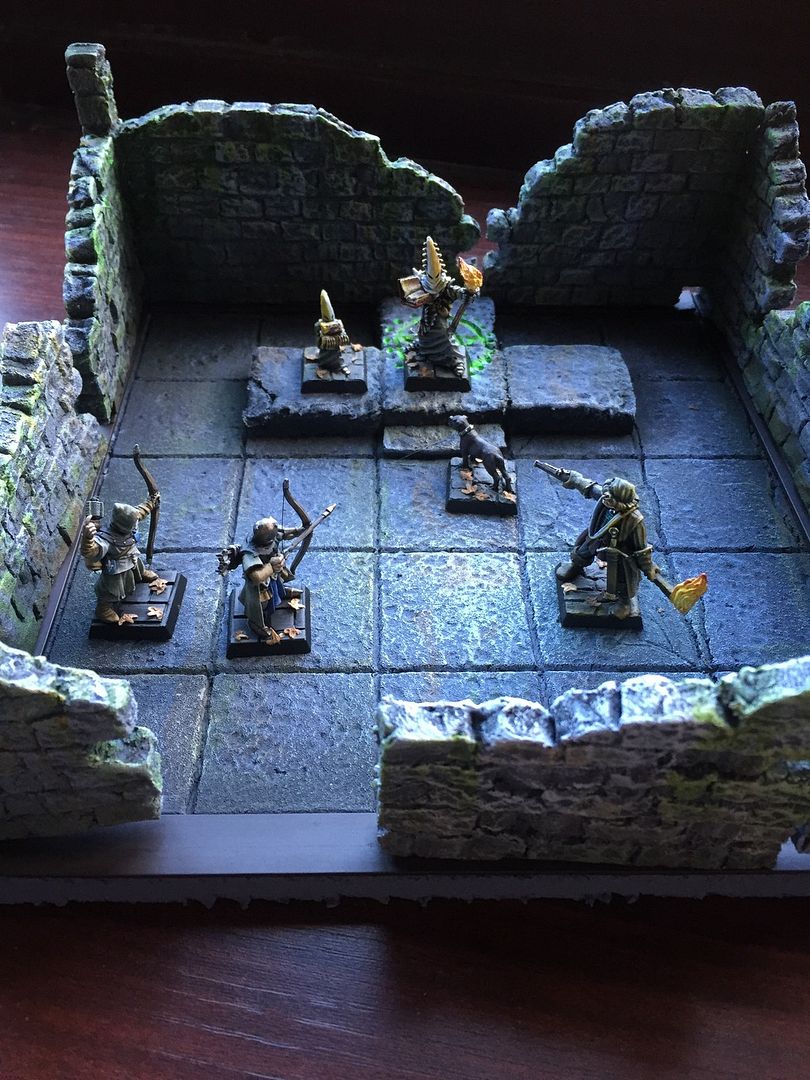
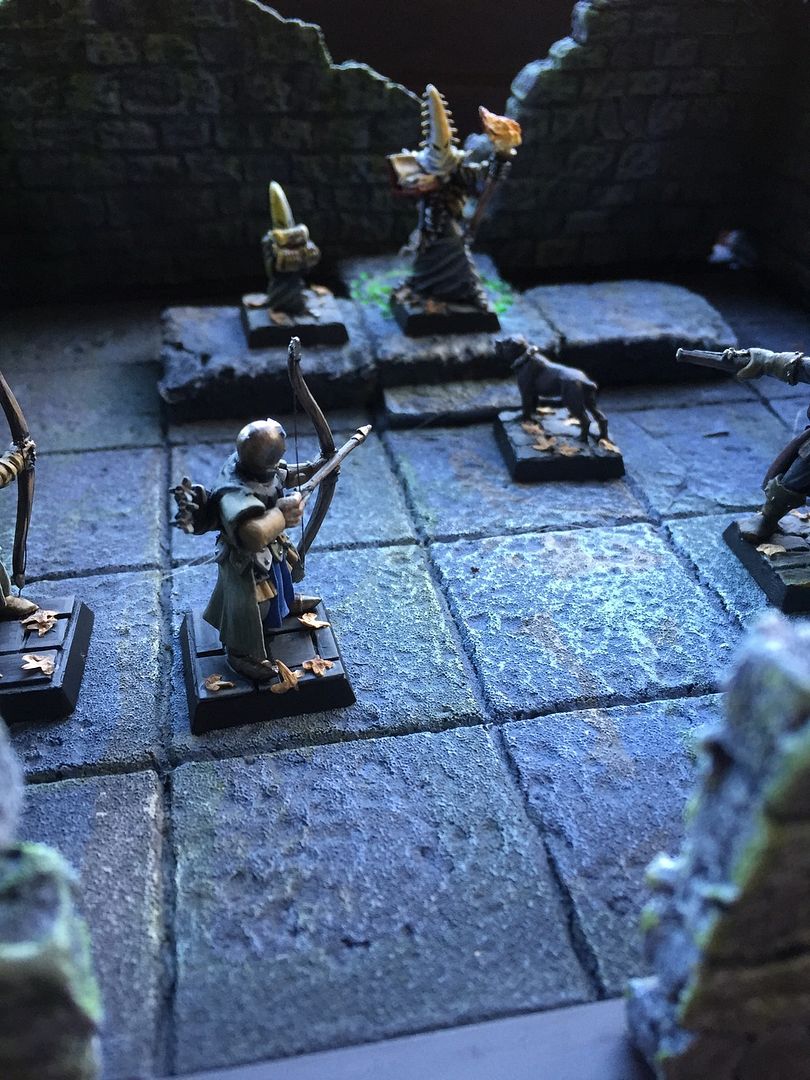
| And the view from within. I hope you agree that they add an extra level of realism and atmosphere. The magnets are slightly visible at the joins, but that is the compromise for making the walls modular. |
 |
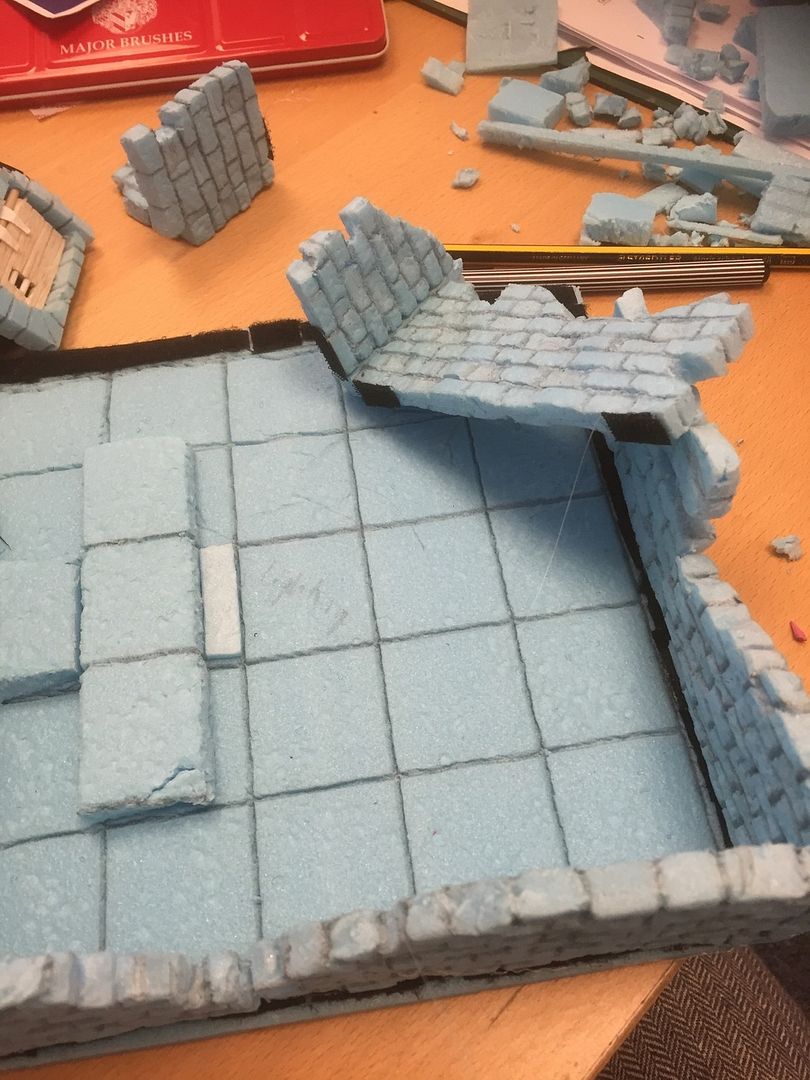
| Applying a corner wall to the a summoning room in the dungeon |
 |
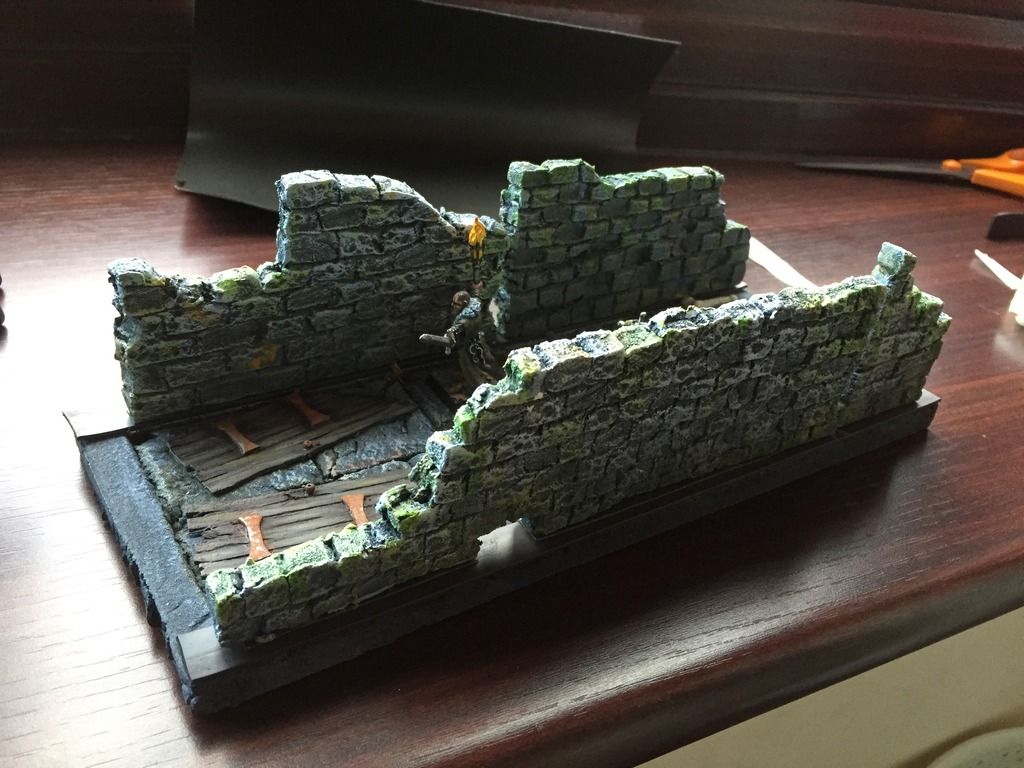
| And a fully walled room - note the space left for a door. Of course I could use a different combination of walls to allow a second door in a different wall. I also intend to make double doors... |
 |
| I like the range of heights that are created by the ruined nature of the walls |
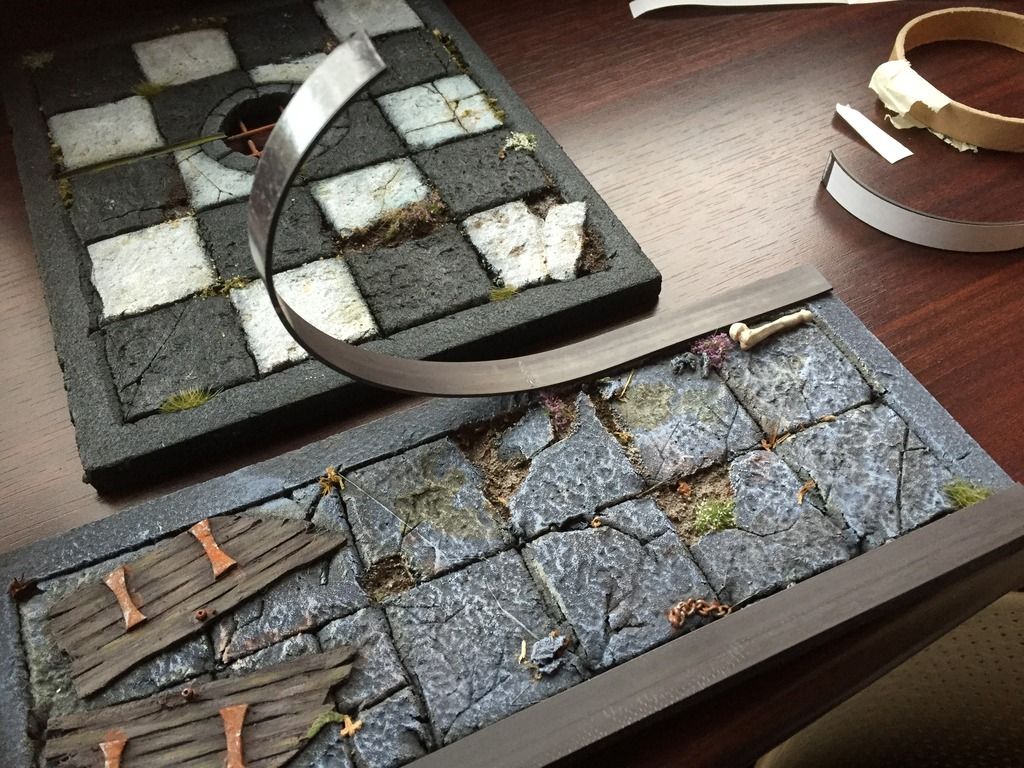
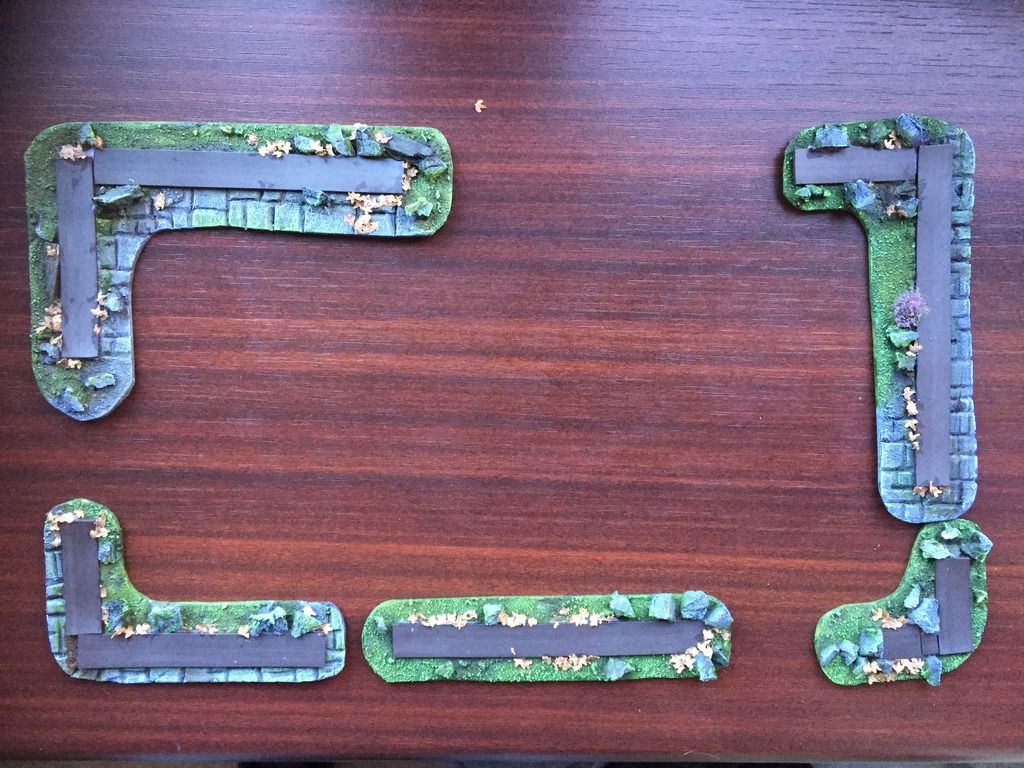
The next step was to create the bases for using these walls in a ruined city (Frostgrave) environment. Corner pieces and straight edges were prepared on some thin styrofoam (although plywood might be better):
 |
| Here you can see the magnet strips stuck to a scenic base, with both grass, rubble and cobble apparent. |
 |
| And with the wall pieces attached! |
 |
| No longer dungeon walls, these now act as ruined walls for my warbands to gain some cover. |
 |
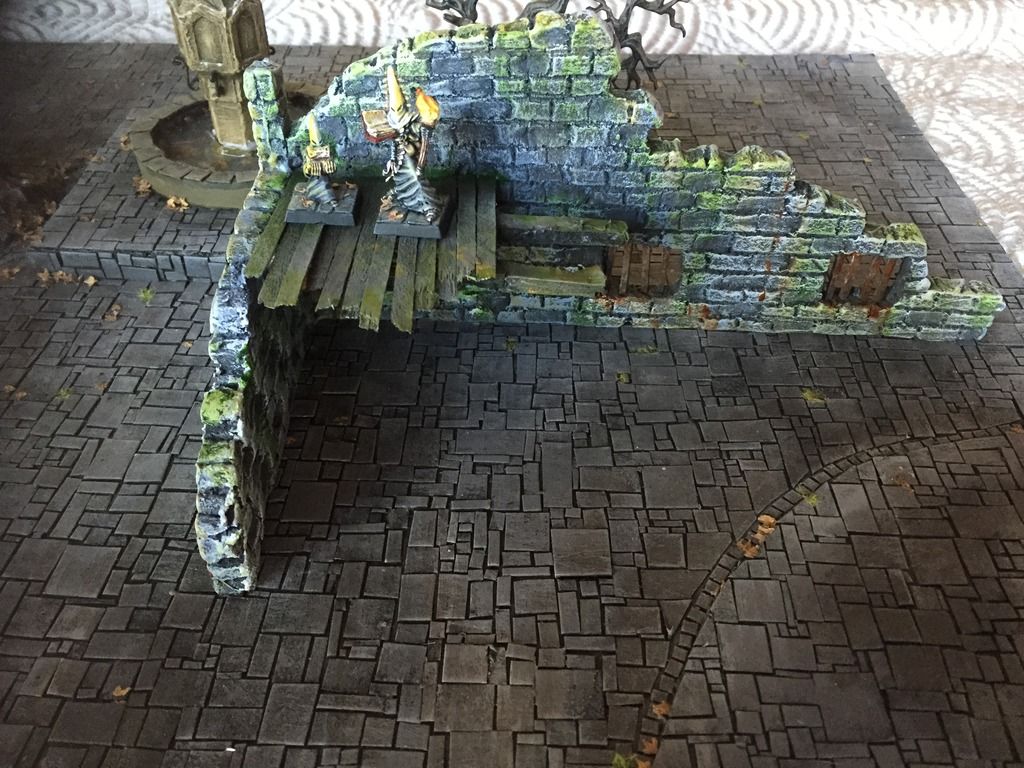
| And the sections with a second level come into their own in this game. |
In the future I'd like to add some vines and some torches to create even more atmosphere, but for now these are my magnetised, modular and multi-purpose walls. Cheers!


No comments:
Post a Comment