For some time now I've been making my own magnetised movement trays/display bases for my Lost and the Damned army, and as I was making one for my unit of 49 Diseased Flagellants I thought it would be a good opportunity to do a quick tutorial of what works for me.
I magnetise both the top and bottom of my movement trays, the top obviously so that the models stay in place, the bottom so that all my movement trays can be safe in a large storage box and don't move about when in transit. Photos of that arrangement at the end. Now I realise that I could have saved a lot of time if I had made the tray out of steel and just applied magnets to the models and to the base of my storage box, but I went this way first and besides, steel is more difficult to work with.
Below you can see the tools and materials you will need for the basic construction of the movement tray:
From left to right: self-adhesive magnetic paper (thick), steel paper, balsa wood, 3mm plywood, thin polystyrene, pva glue, superglue, pencil, scalpel, metal ruler and scissors.
The first step is to cut the plywood to size. I used plywood as unlike card, it doesn't really warp and is easier to cut than steel. For this task, I knew that my unit was to be made up of 49 models (ranked 7x7), each on a 1 inch base, so the first dimensions drawn on were 7"x7". However you need to leave space for the movement tray edge, so here I added a 1/4" all around. So the overall size of the tray is 7 1/2" square.
Once the plywood was cut with a saw, I then measured (7.5" square) of the self-adhesive steel paper, sufficient to cover the bottom of the entire movement tray. This was drawn out and cut with scissors.
Back on top of the tray I then measured and cut a 7" square piece of the self-adhesive steel paper. This leaves a border for the balsa edges to be added. I find that balsa's ease of cutting is perfect for this. I use balsa that is slightly thicker than a warhammer base, which compensates for the raised height of the steel paper. Below you can see my measured and cut edges.
These are simply glued in place with PVA and a stack of books added for weight to ensure a strong bond. Choose your books carefully and never use your best book at the bottom for fear of seeping pva! I used some of my wife's hardbacks at the bottom!
Here's the finished construction:
For the miniatures themselves, it is just a case of magnetising them. However the 25mm (1") bases are hollow, so they need filling. This is where the foam/polystyrene is great. I just superglue it in place:
And then cover it with an inch square of magnetic paper.
Here you can see the models on their movement tray and held at an angle. I could probably hold them upside down with the strength of the magnets:
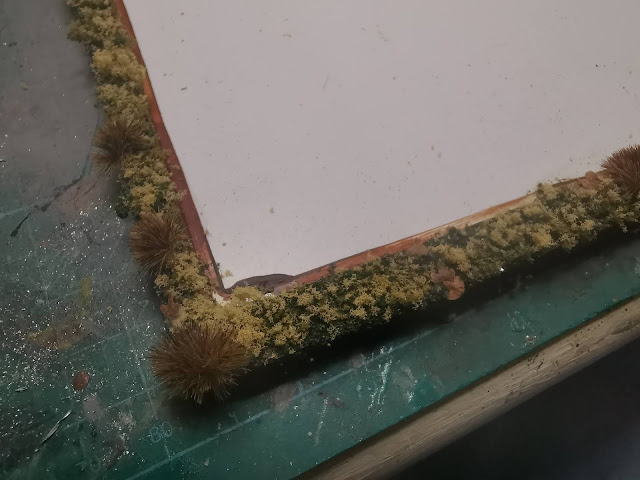
Finally the movement tray is based to match my Lost and the Damned army bases.
1. Paint the base colour brown (earthy colours as sometimes you can see this through the yet to be added foliage)
2. Then a dark green Woodlands Scenics is pva glued into place:
3. For the two subsequent layers of lighter green foliage, the pva glue is diluted with warm water and a few drops of washing up liquid and applied using a dropper bottle so as to not disturb the layer that is already glued in place:
4. The two lighter shades of green are sprinkled on, avoiding any large clumping:
5. The final movement tray with scatter leaves and clump foliage:
And a close up shot:
Can’t wait to fill this with all the flagellants I’m currently kitbashing (I’ll share these in my next post).


