Showing posts with label Dark Art Studios. Show all posts

Friday, 12 August 2016

Goldhammer. A noble and his dungeon coinage

All gamers need piles of gold, either to expand their collecting habits in the man-cave or for a gaming focus in a dragon's cave. The gold tokens and chests I've used here are a combination of Dark Arts studios and an old citadel lead one (a contrast in weight and detailed texture) and painted simply before the addition of some craft jewels and some gold glitter to add the sparkle that all adventurers seek. I've seen a few other blogs do something similar and the affect is very appealing and easy to achieve and will look great for games of Heroquest, Frostgrave or even for a 3rd edition WFB scenario...

I've also painted up a Citadel merchant/noble to accompany the coins, who'll act as an npc in games, I can imagine him counting the coins with real lust and then commanding some underling dungeon minions to distribute them across the dungeon on behalf of Baron Sukumvit or some such ....


Sunday, 20 December 2015

Frostgrave / Dungeon Tiles: Mausoleum


Frostgrave has grabbed my attention and shaken my hobby plans right up into the air. So I'm trying to ensure anything that I now make for Frostgrave can be multi-used for my dungeon/ Heroquest project as well and "multi-purpose" has become my new hobby catchphrase. So having bought the Frostgrave rulebook (it's a lovely piece of work; the rules seem simple and straightforward to pick up and there is a real old school Oldhammer flavour with the inherent need to create terrain, use your favourite models to create warbands and to play to a narrative/campaign with the chance of advancing your character - exactly what I have strived for ever since I came across GW's Realm of Chaos). There are a lot of similarities between the two systems which I may go into further in a future post...

The Mausoleum scenario describes the terrain set up as :

"A small or rectangular building.....The sides should be at least 6". Each side of the building has a door in the middle of the wall (this doesn't need to be depicted on the terrain)."

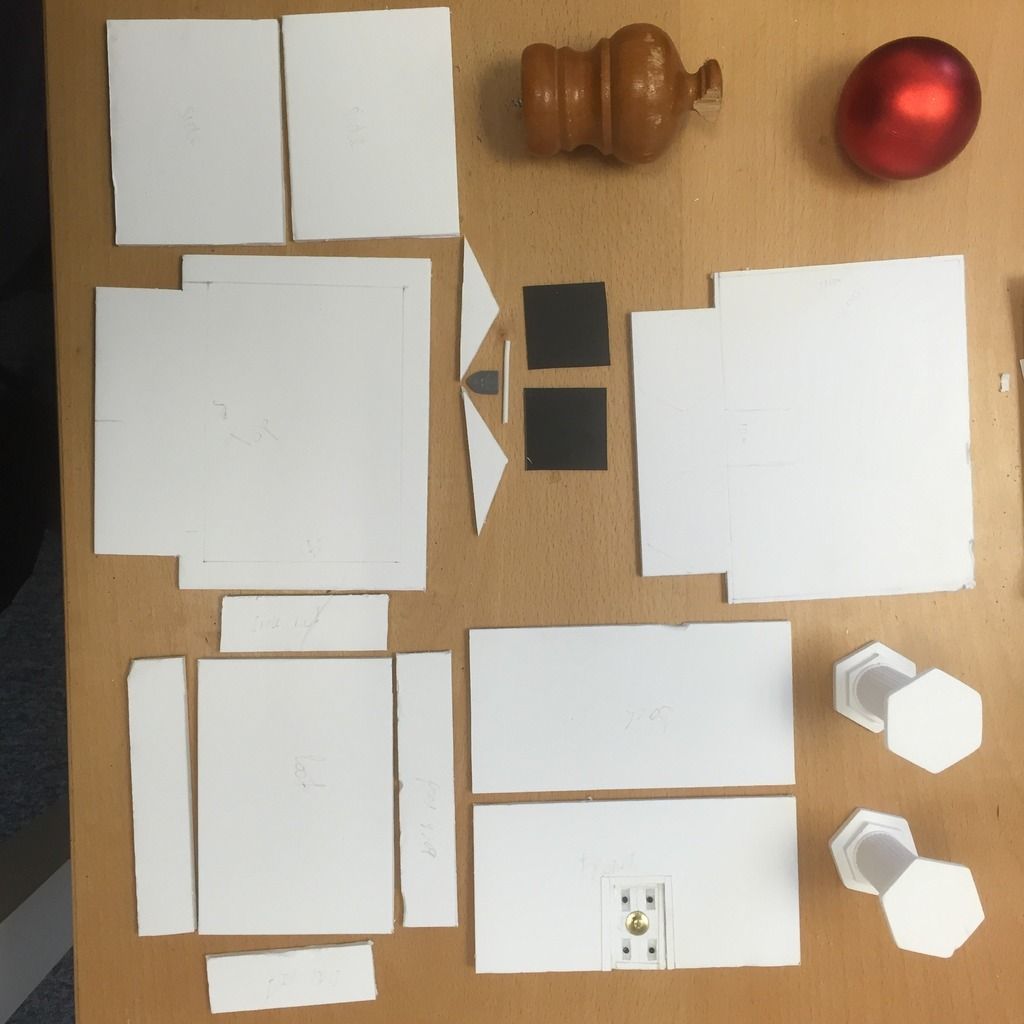
So with that in mind and having conducted my usual image research for inspiration (both real and modelled mausoleums), I dived in by carefully measuring everything out! 6" is the equivalent of four squares on one of my dungeon tiles, so it fitted perfectly with the measuring system I already had in place:

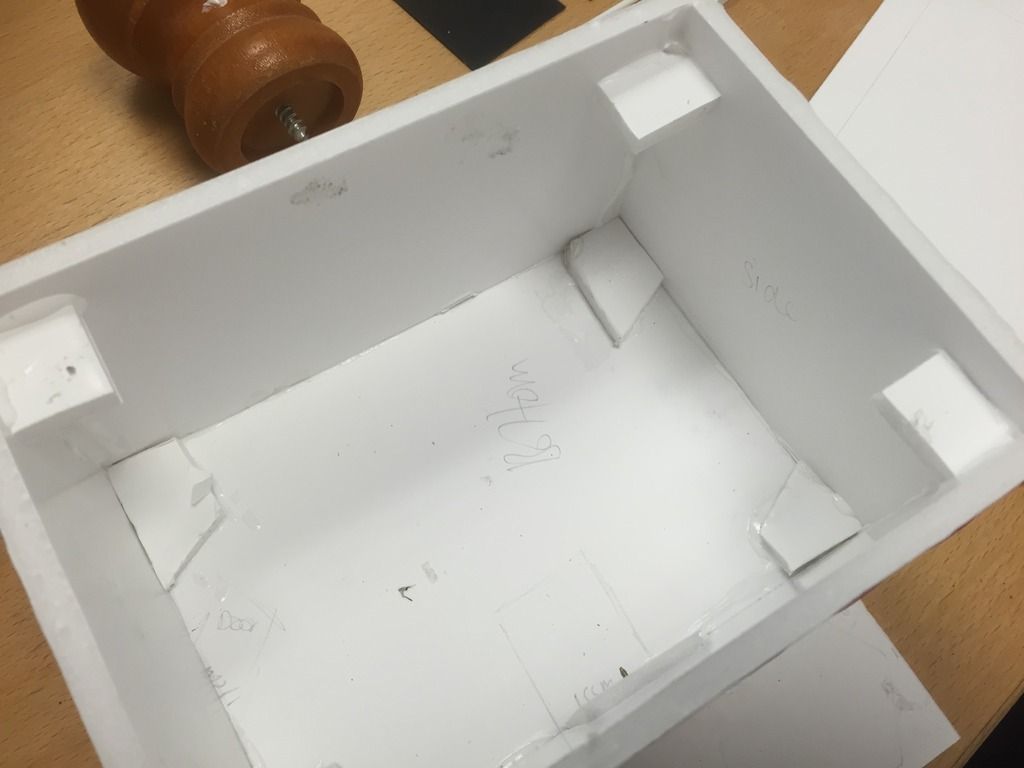
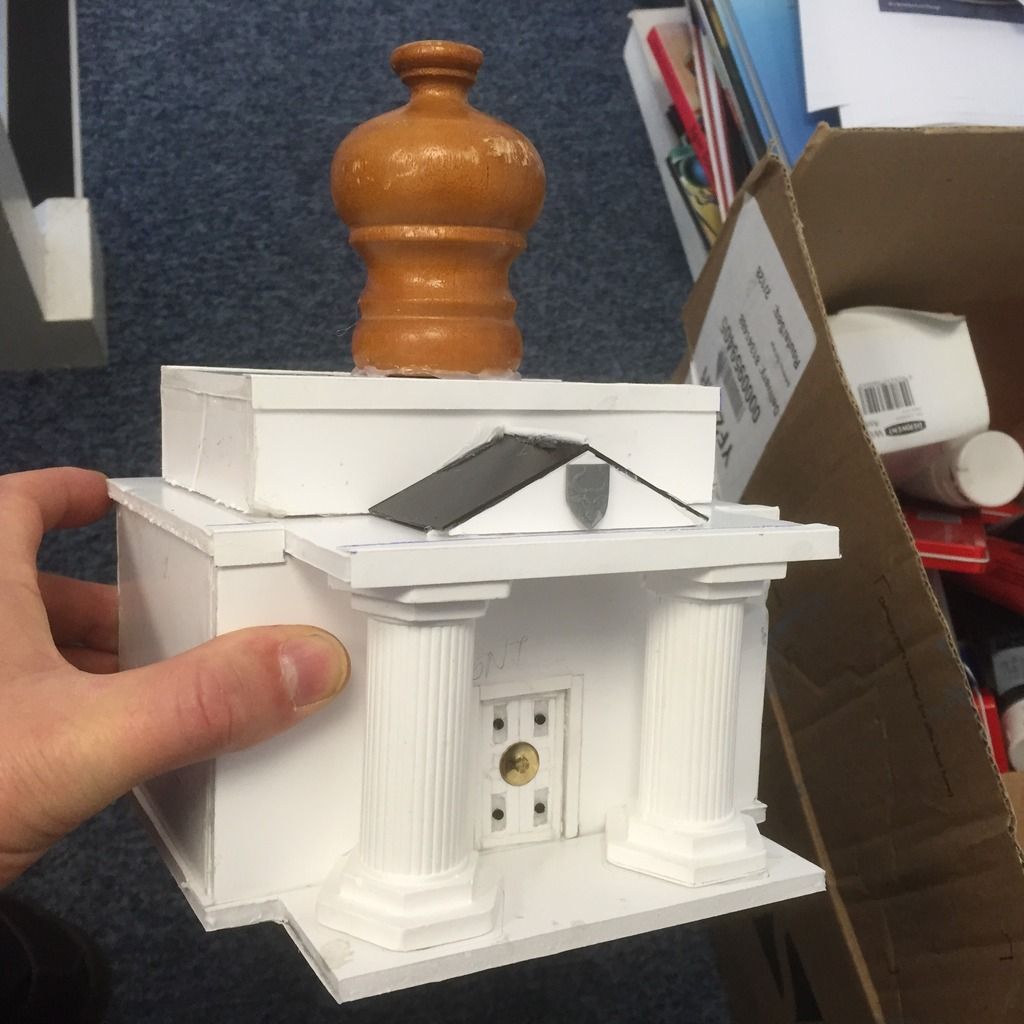
All the parts laid out after careful measuring and cutting. The building is constructed from foamcard, with a couple of plaster of paris cake decoration pillars and a bit of plasticard. At this stage I was torn between a wooden curtain rail pole end and a Christmas bauble for the domed roof.


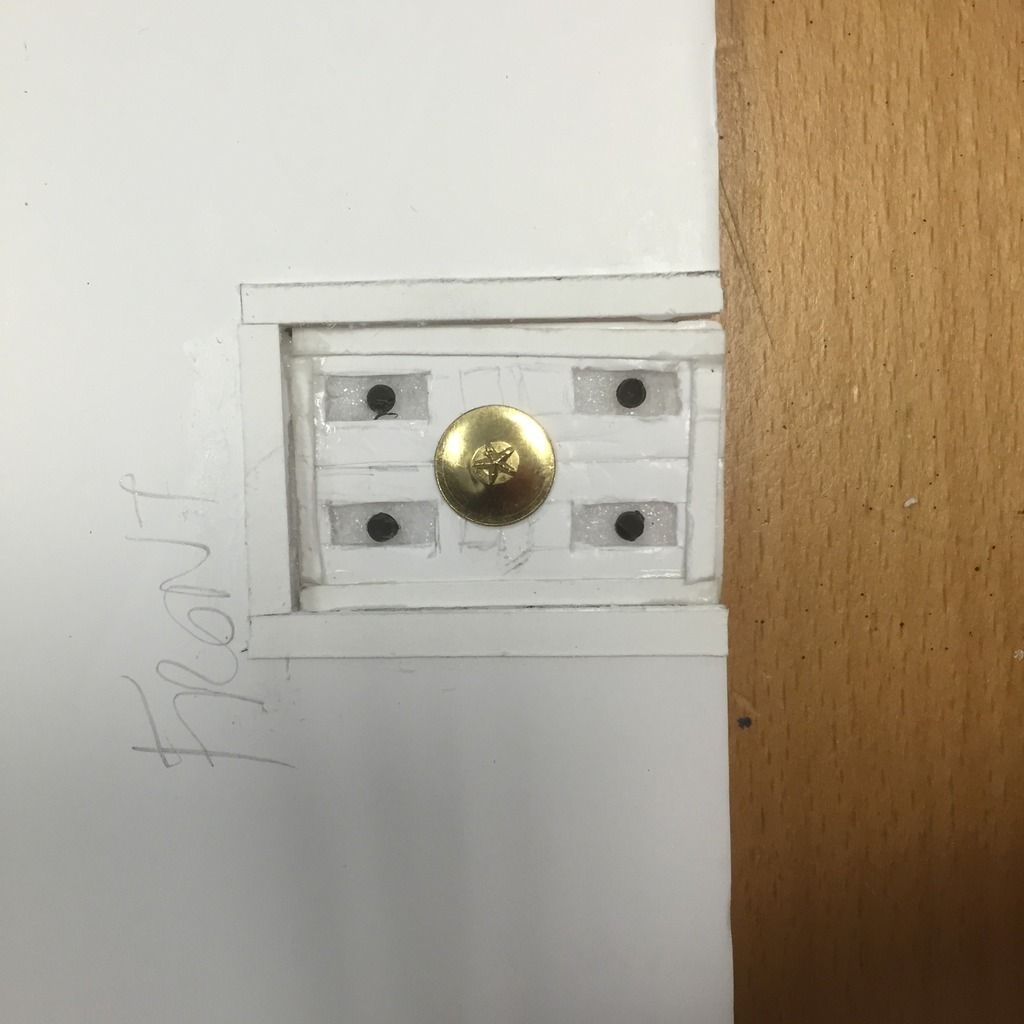
Detail of the door. Four rectangles are cut out to add depth, four small rivets punched out of some plasticard and a push-tack with a cool star emblem in the middle pushed through.


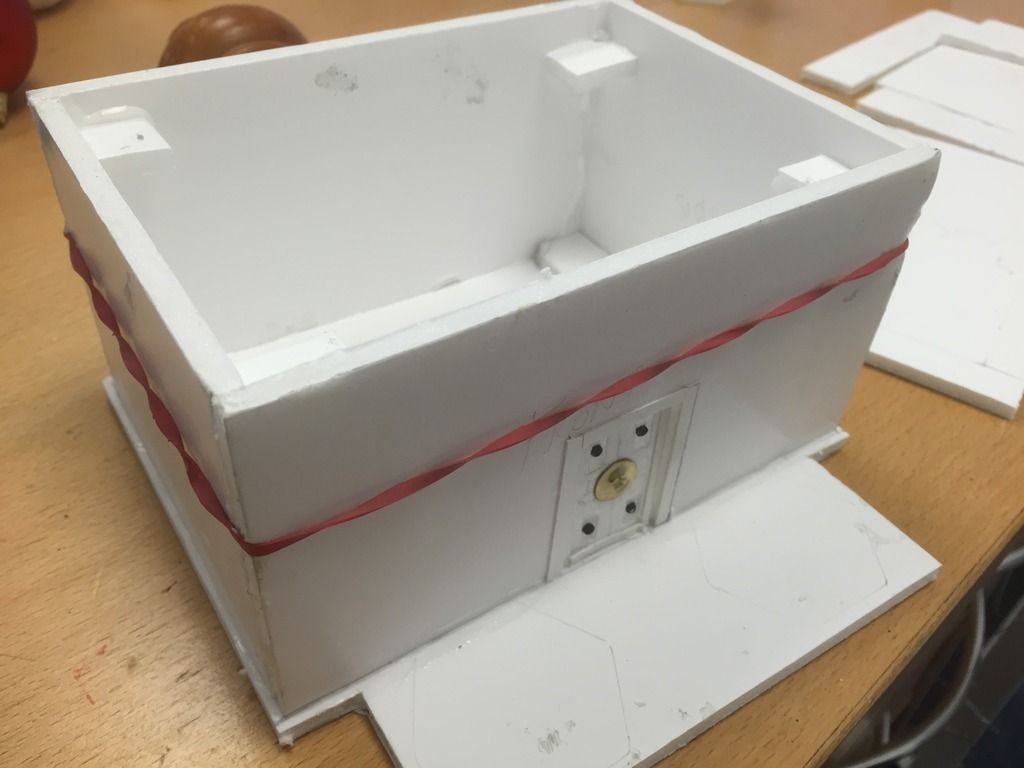
Gluing the walls together with pva and a trusty elastic band to keep the pressure on so I can keep my hands free and move on to the next part.


Scraps of right-angled foamcard are used to strengthen the corners

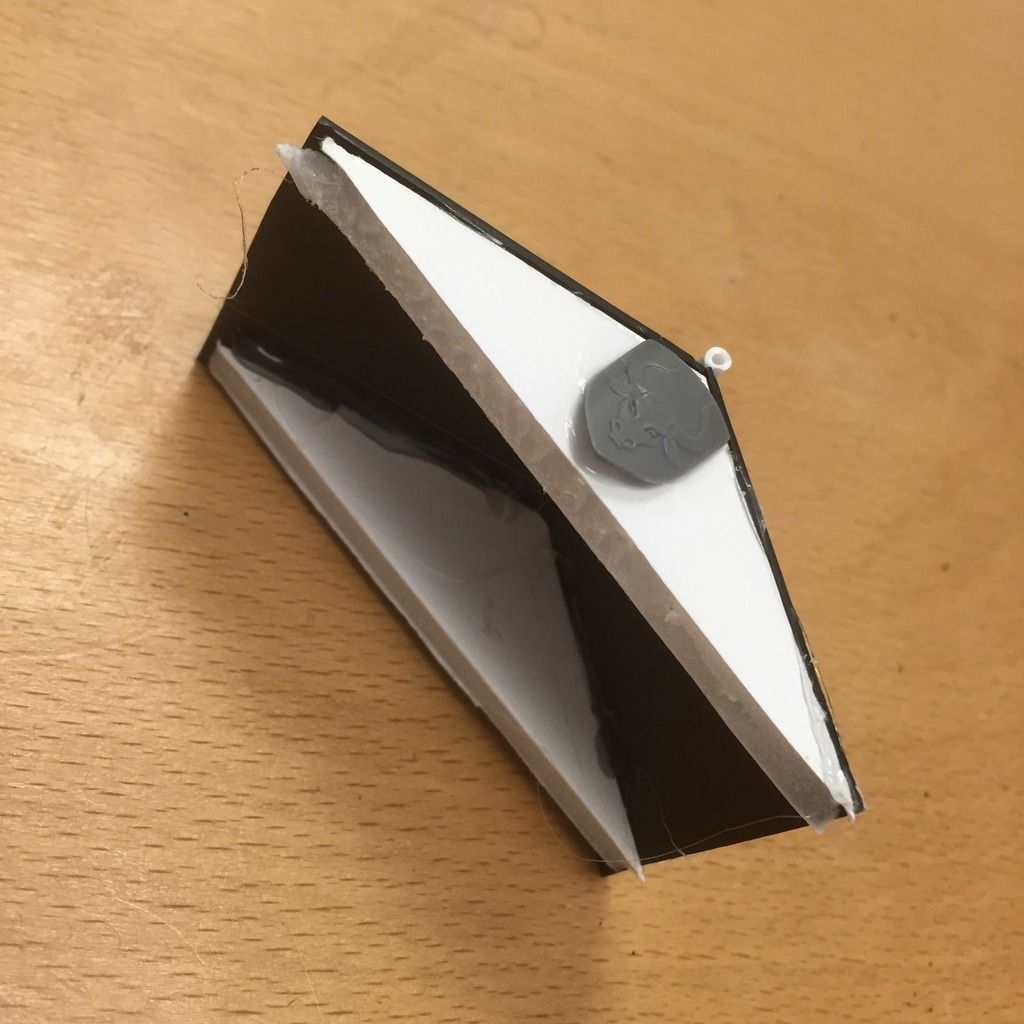
Smaller construction of the pitched roof for the entrance. Foamcard walls and thin plasticard for the roof. A piece of plastic piping to cover the join at the apex. An old Bretonnian shield from my bitz box was added to create a piece of history/narrative for the occupant of the mausoleum.
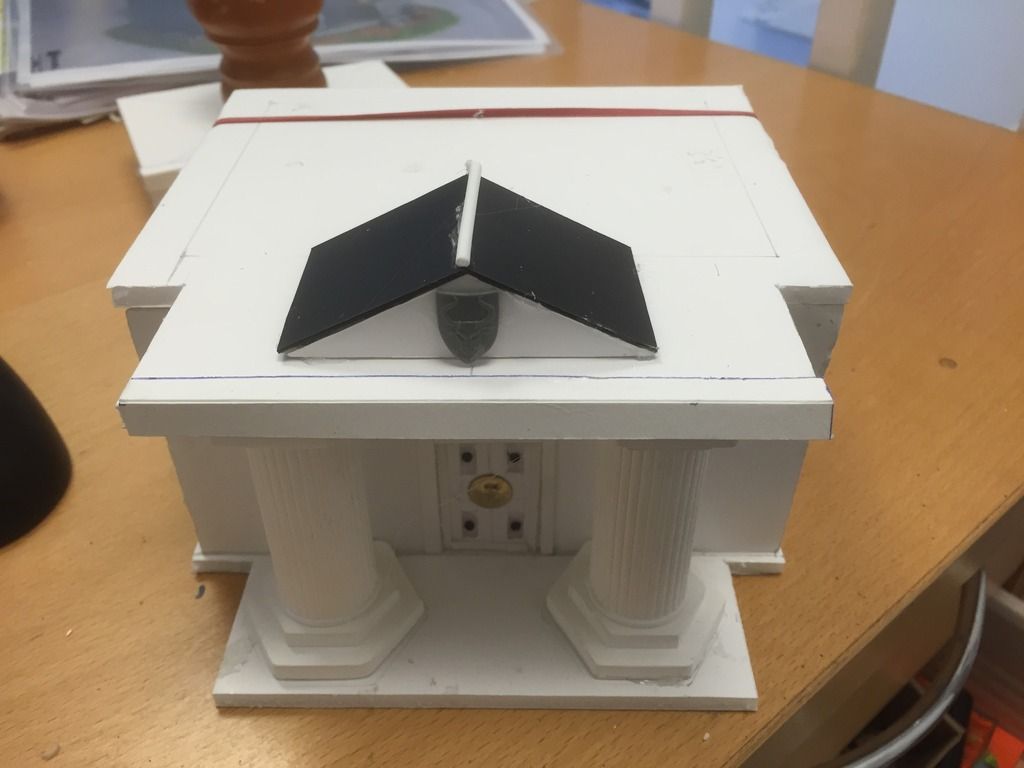
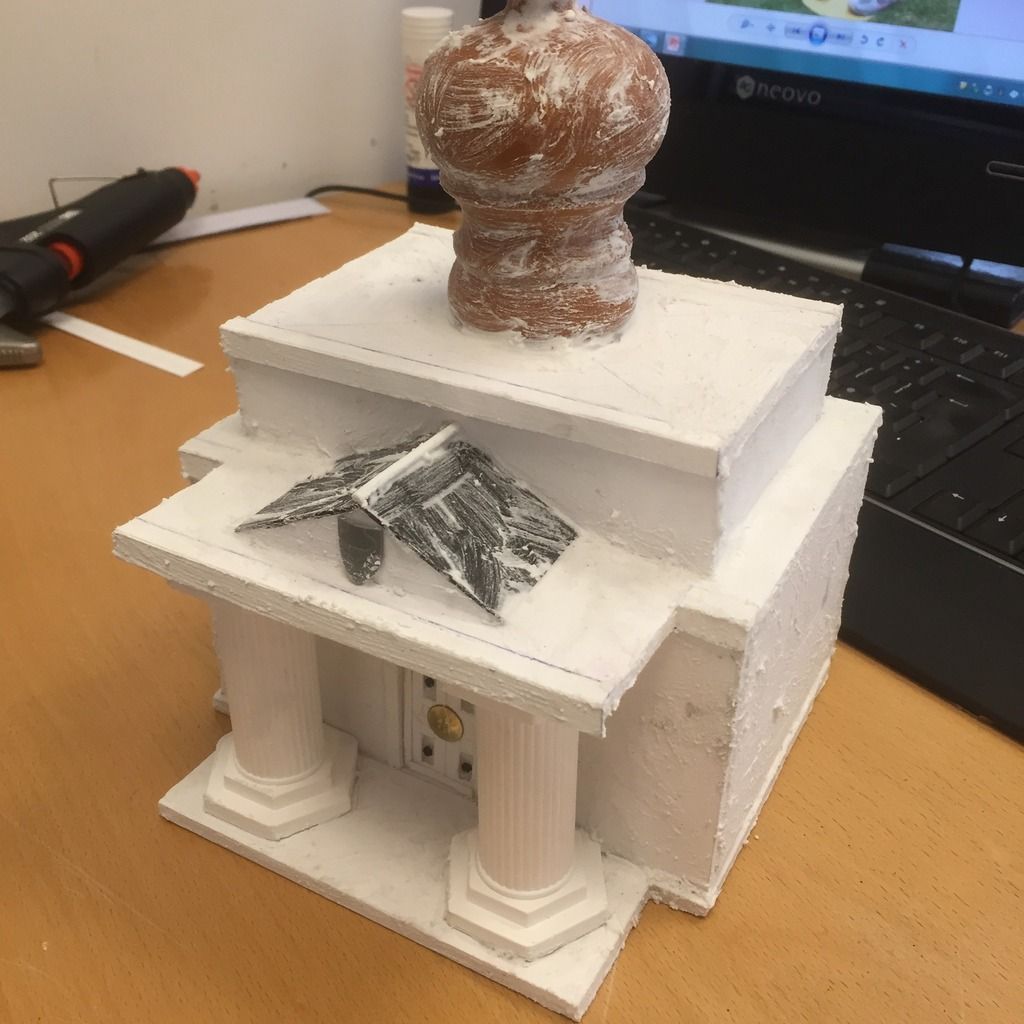
Putting the roof on and gluing the pillars into their place. Lots of careful measuring to ensure everything is central and symmetrical (and the correct height). At the front of the flat roof you can see the scored card I used to cover the edges of the exposed foamcard.
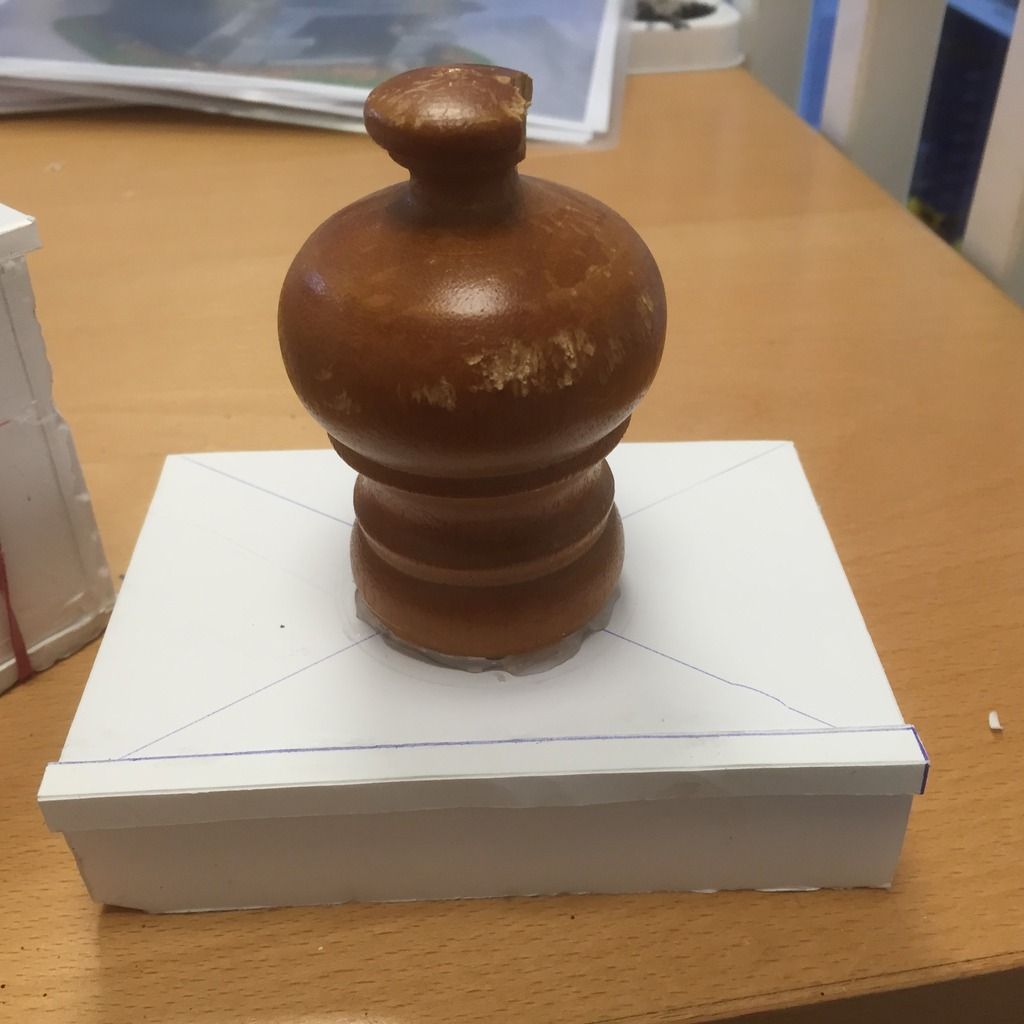
The final raised roof with the wooden pole end used. Finding the central point from corner to corner is useful for this additon.


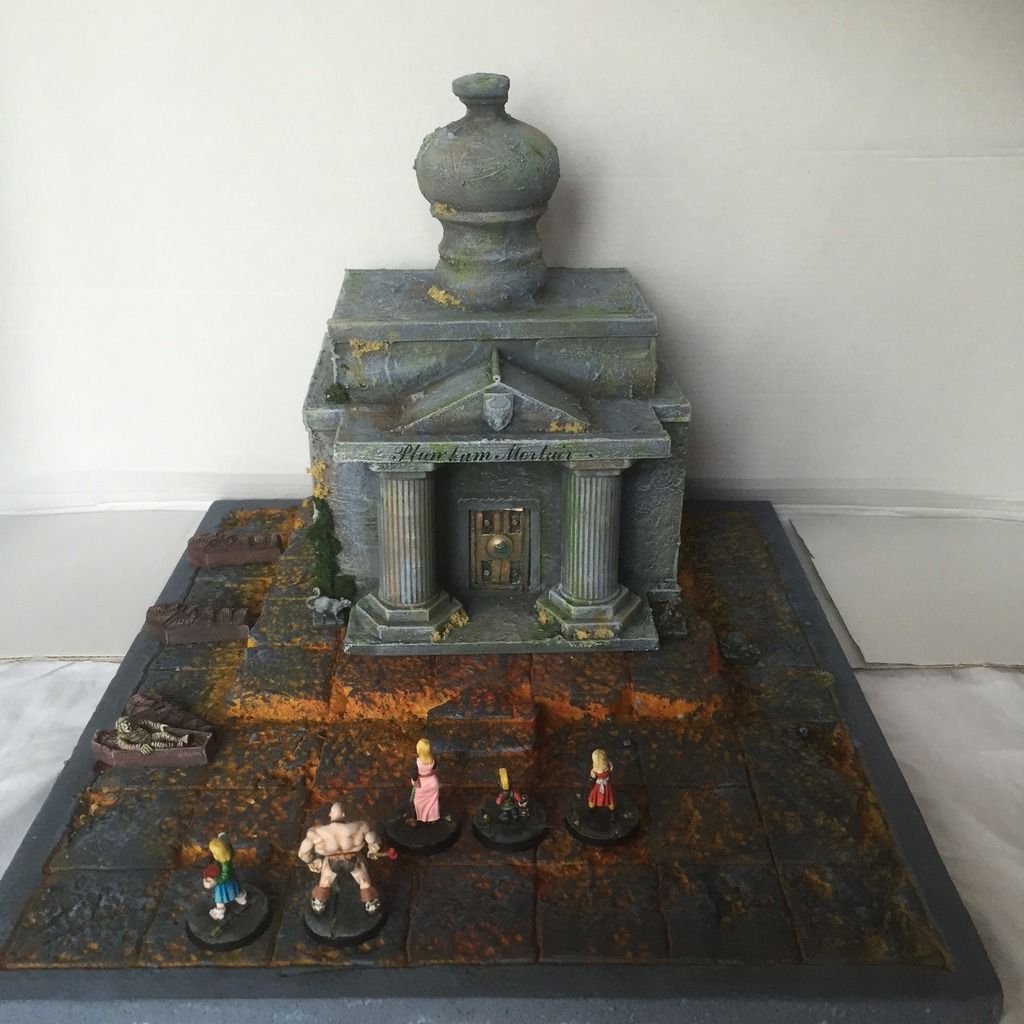
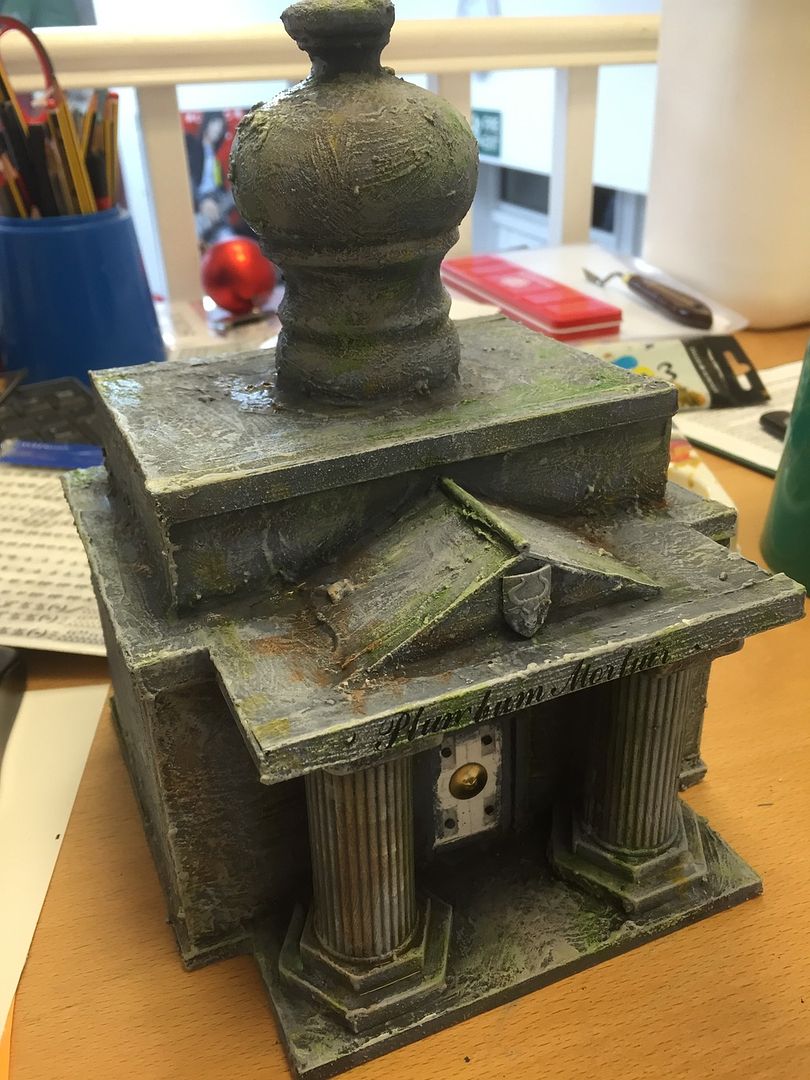
The completed structure. I quite like the contrast of very angular lines with the curved dome.

To create the stone effect, the entire structure was coated in a thinned layer of Polyfilla. It creates a nice texture to paint onto and was used to fill any tiny gaps between different panels. Obviously my measuring and cutting was so precise to not worry about this!


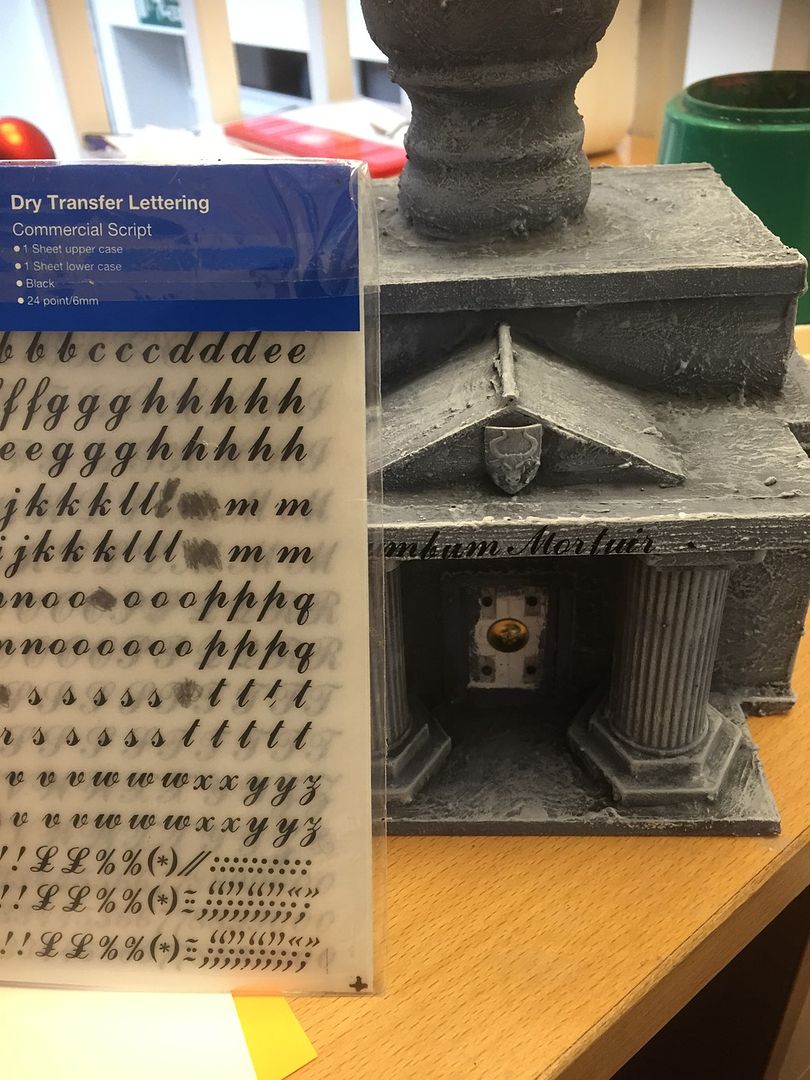
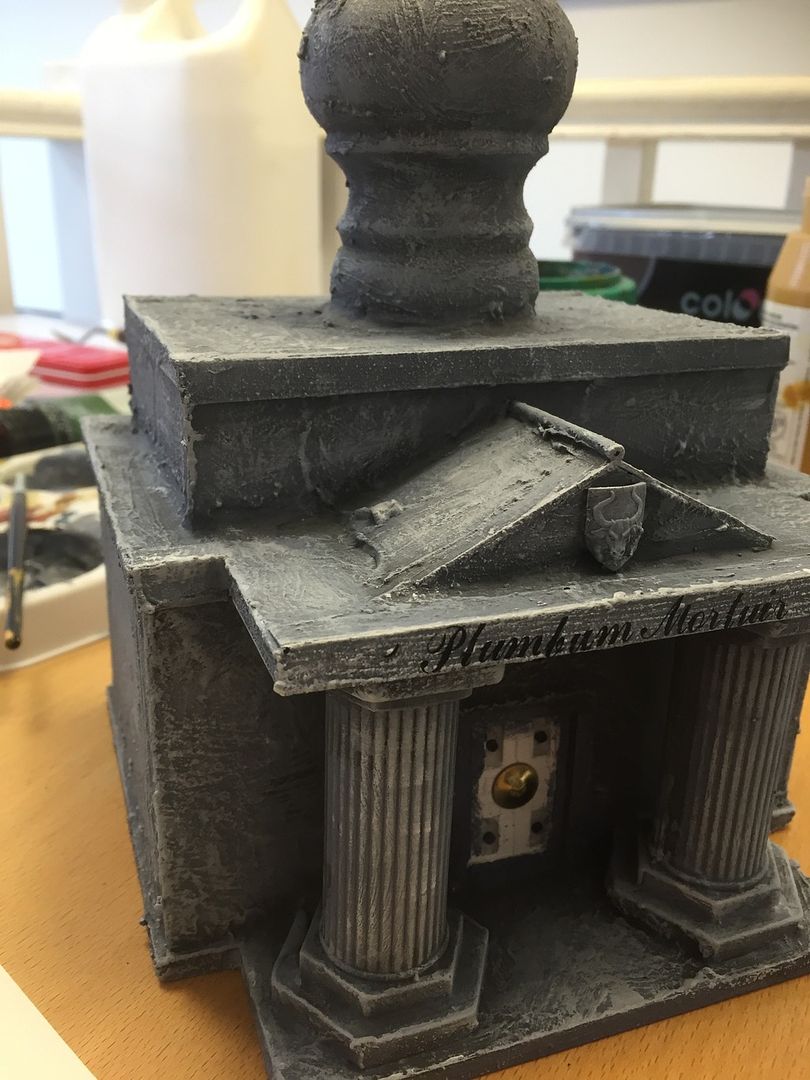
A last minute addition. After the building had been painted dark grey and drybrushed with successive lighter tones, I found some old  Letraset letter rubbing sheets. I fancied some Latin inscription and went for "Dead Lead" which translates to Plumbum Mortuis. (I now know why lead is labelled Pb in the periodic table..)
All the stonework is finished, just a corroded door to add


Some weathering with thin glazes of greens and browns

And the final piece. For the dungeon tile itself I quite simply painted a white, yellow orange  mix of acylic colour, with the lightest colour emanating from the center of the tile. When this was dry I then drybrushed my usual dark grey (but covering most of the tile away from the middle and less in the middle) and then drybrushed lighter tones of grey as normal. It didn't take very long to get quite a cool (or warm) glowing effect.

And finally these sarcophogi are from Dark Art Studios and were painted really quickly to add to the narrative of the dead being awoken. I have a bunch of Heresy Ghouls which I would like to add to this idea...
So I intend to use this for either my Family Heroquesting/Dungeoneering or for some Frostgrave once I've finished my numerous, nearly completed warbands...

Saturday, 14 November 2015

Dungeon Tiles: Throne Room


I've finished another dungeon tile, this one being the ruined throne room. I've gone big for this one as I wanted to add some additional detail in the shape of an old, fraying red carpet, the pillars, the throne itself and a side store room with barrels. It's made with the same materials and techniques as my other tiles, here's the tutorial if you're interested::


Down closer to eye level to get a bit more in there with the adventurers. You can see the size of this tile here, plenty of room for an ambush of lots of monsters or a place to meet some npc's? Wish I'd put some more thought into a backdrop rather than the lid of the big H&M box that they're housed in. A cool backdrop would have added some extra ambiance.

The adventuring party tentatively close in on the throne, checking traps under the red carpet and potential threats from behind the pillars. 

Add caption


The red carpet is created from some medium weight cartridge paper that was moistened, frayed and painted with a range of pale reds -  and then even paler down the center to show where the footfall had mostly been. A faded gold trim was also added. Mud was added with a variety of brown washes and some Tamiya Mud Weathering Stick. When dry the entire red carpet was then dipped into dilute pva and then folded back on itself a few times to make it look like it had been ruffled up over the floor over the years:


The pillars are some cake decorations that I snared from ebay, one of which was hacked apart and the middle filled with foam and sand to look like rubble. They were undercoated black and then drybrushed with successively lighter greys before washes of green and brown were added to create a weathered appearance:


The barrels are from the dungeon scenery range at Dark Art Studios:


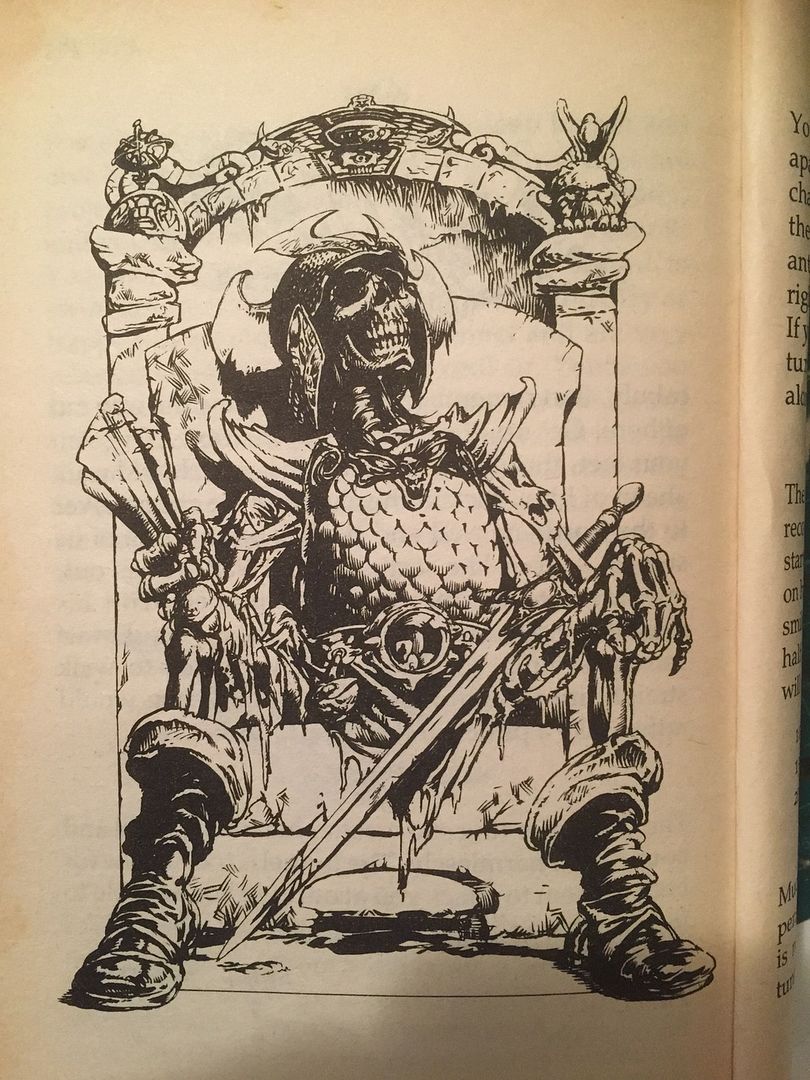
The throne itself is based upon Ian McCaig's illustration from Fighting Fantasy: Deathtrap Dungeon, you can see more on it's construction and painting here

I love this illustration so much that I've had to include it again.


Hope you like it!


Wednesday, 11 November 2015

Deathtrap Dungeon: Ian McCaig's iconic illustration re-made

I'm in the process of constructing a throne room for my dungeon tile project and along the way I happened to pick up my copy of Fighting Fantasy's Deathtrap Dungeon for some easy reading. As I was looking through I re-discovered the classic image by Ian McCaig of the skeleton, sitting on his throne, scroll in hand. It's an iconic image that I remember well from my youth and then I had a thought; a model recreation of that image would be the perfect centerpiece for my throne room dungeon tile.

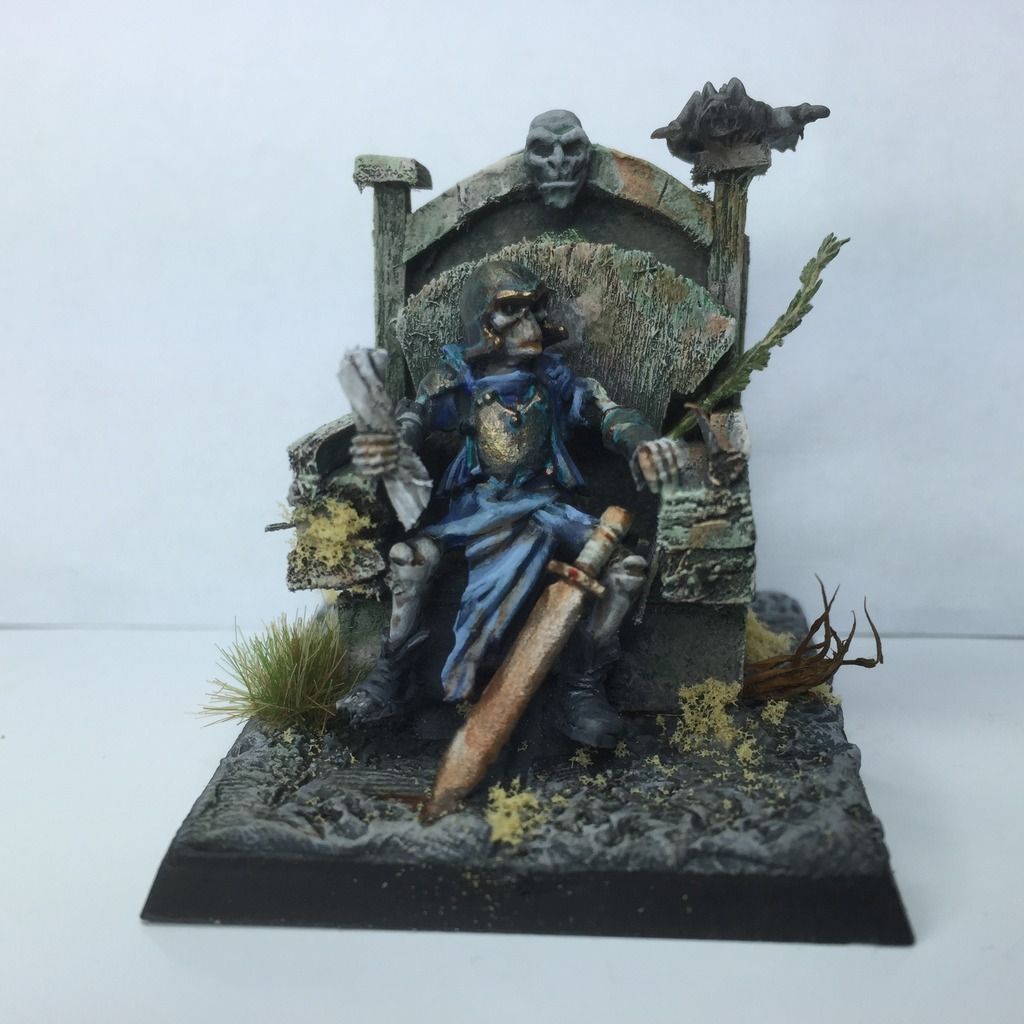
So I set off with some balsa wood, card, a bit of paper (for the scroll) a Mantic skeleton, some bitz and some paints and I created this:


The painting took no time at all, lots of drybrushing up the highlights over a black undercoat and then washing in browns and greens for some weathering. I went for a faded blue on the tunic as I imagined that he was once of regal blood and with all the neutral colours he needed a spot colour to make him pop.

The barrels are from Dark Art Studios dungeon range with a few additional bitz added to create a bit more of a narrative ad interest.


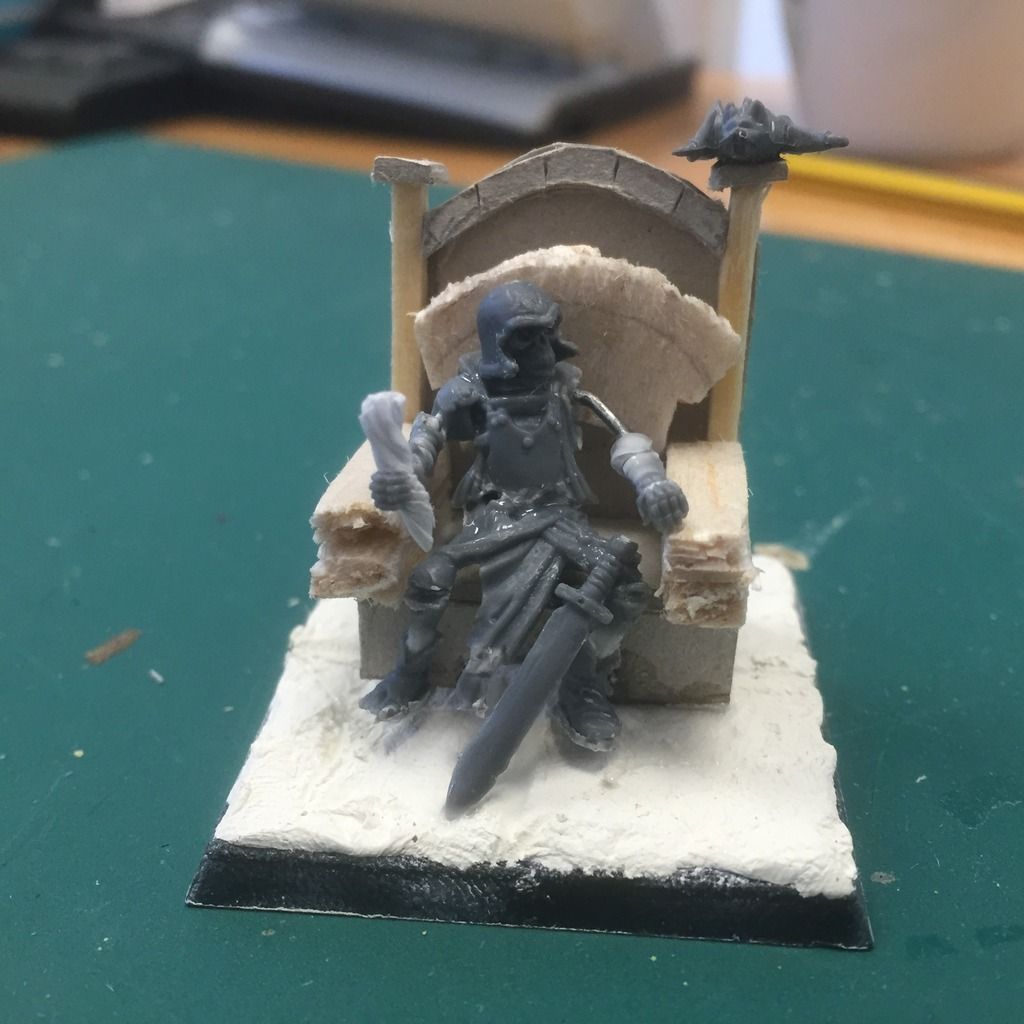
Here's the work in progress shot showing the construction of the model. I had to bend the knees to snapping point (then reconstruct his right kneecap with greenstuff) and both arms were snipped and re-positioned with the aid of a paper-clip. I built the throne and the skeleton at the same time so that I could check he would fit on it with the arms rested on the arm rests and the legs actually touching the floor. The arm rests became wider than I hoped but overall the throne isn't too big (it was at one stage..)

And here's the iconic illustration that started me off on this small, but fun, diversion, with a comparison shot below:

The throne room which he will take pride of place, is in the latter stages of painting, so not far off. I'm quite excited to see him within a scenic space. Sad!

.