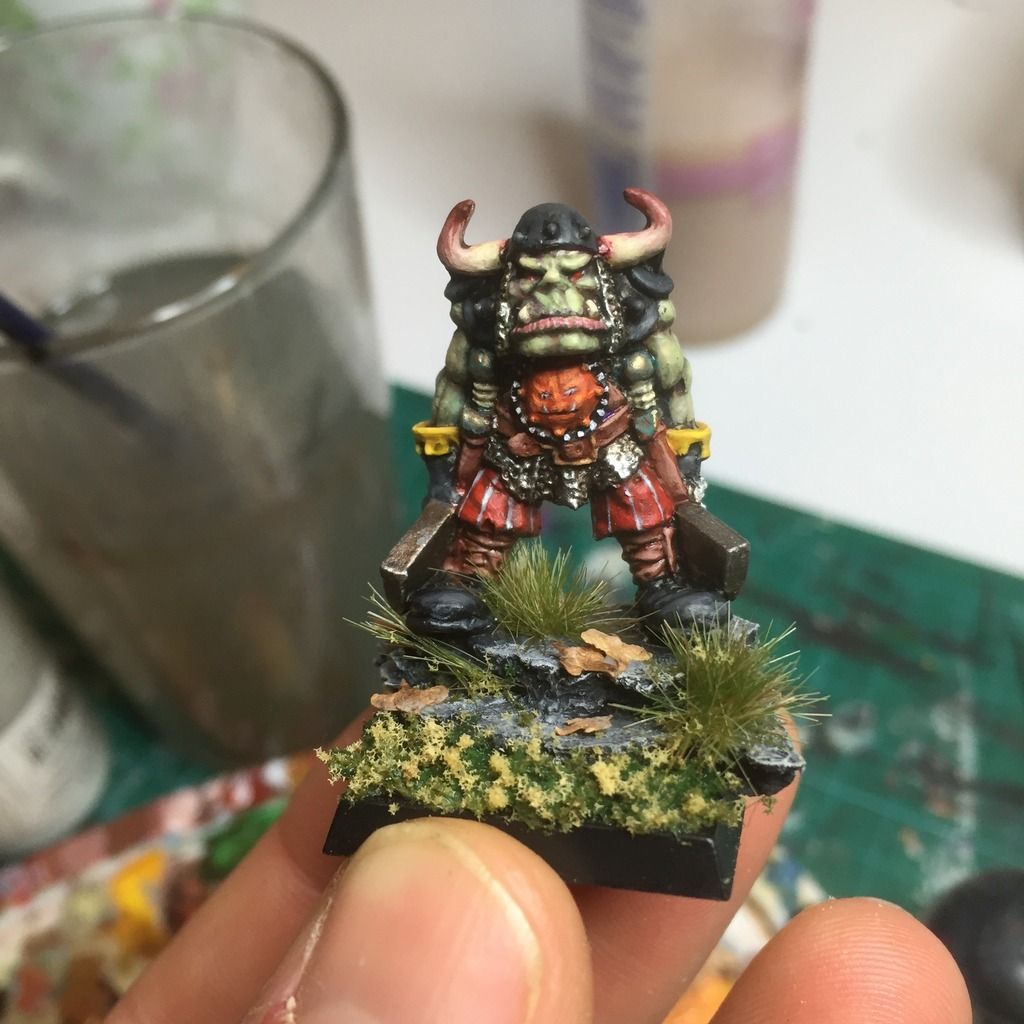
As I continue the grind of painting 21 Rugluds Armoured Orcs, I'll introduce a few of the processes of me getting through the task where I have tried to combine speed with some quality. Always the toughest of compromises. This first tutorial here involves me creating new shield designs for the boyz, using old Citadel shield shapes, some greenstuff, modelling tools, beads, small silicon balls and some bits box bits.
Here's some examples of the finished sculpting and below there's a step by step which hopefully conveys the speed and ease of making these (two minutes!). I also have my first foray into videoing myself at work (actually filmed by my seven year old son) but I cannot work out how to shrink the file and upload it on Blogger.


Here are the tools needed, a collection of beads and small balls are pretty useful:

A blob of greenstuff to get us going:

Start spreading it around to the extremes of the shield shape. You may even start seeing a face at this stage (Pareidolia)

I always start creating a crater for the eyes (or eye):

Which is then quickly filled with small beads (different sized beads work quite well for added Orciness)

Gently push some greenstuff down over the top of the bead to create an eyelid. This also helps form the expression, a more diagonal line can create angry, raised = surprised, lowered = sad etc:

A few wrinkles on the forehead to exaggerate the expression:

And some wrinkles below and to the side of the eye:

It follows to add the nose beneath the eyes. Quite simply push your sculpting tool up into the greenstuff twice to create nostrils and the thickness of the greenstuff will make a more pronounced nose shape too:

Carve open a mouth and wiggle your tool up and down a bit to make lips. Sometimes I drag a small bit of greenstuff vertically to make teeth. Create a slight indent for the snot channel between nose and mouth:

And finish by re-forming the cheeks (plumping them up slightly):

If the video was here you would see that that took exactly 2.01minutes to make. Unfortunately a bit longer to paint though... The next post will show that painting in progress.