Thursday 25 February 2016

Frostgrave Bestiary Challenge: Vampire (and all the Undead)

Well the model is actually an 80's Citadel Champion of Chaos, but was surplus to requirements for other projects and with his bone armour donned he looked suitably necromantic to be used as a summoning vampire (hence the Mantic skeleton rising from the slabs).


I tried to capture a strong contrast between the light, smooth bones and the dark, grubby cloak and the limited palette of colours made me introduce a spot colour in the blue of his swords hilt and the eye's of the raised skeleton.


And here are all my recently painted Undead, being led by their new Vampiric leader:


I'll be having a break from my Frostgrave Bestiary Challenge and returning to old Citadel Nurgle next (seeing as I've recently finished collecting all of the Nurgle Champions...)

Thursday 18 February 2016

Frostgrave Bestiary Challenge: 10 Ghouls

I absolutely love these Heresy ghoul models, I saw them years ago painted by Mika over on the Warhamner Forum and loved how he had created a great contrast between the ghouk's skin and the dark reds of the blood and gore. They are pretty dark miniatures (I found applying the blood and gore to the baby quite upsetting) but they are wonderful characterful sculpts that are a real pleasure to paint. There's actually not much to them, they are mostly flesh with a few other details so it was imperative that I got the skin tone spot on. I realised early on that it would have to have a green tinge so that it complemented the inevitable red of the blood, but I also wanted to create a layered, transparency it the skin too. This would be offset with the neutral grey basing. I also did a bit if research into how to create such blood and gore and foinf a great recipe to make the blood quite physical, see below. I usually steer clear of too much blood, but these ghouks, being cannibals and because of the additional details of body parts being butchered and eaten, these guys did need to have a realistic blood effect added.

So after some skin experiments (I'd already decided to veer away from my Orc skin recipe) I went for this approach:

White Primer
Earthshade wash
Small amount of earthshade plus increasong amounts of white, layered on for the highlights
Glazing with purples and blues in the shadows and especially apparent in the faces
Yellow glaze over the teeth
Then final glaze with green ink (and lots of medium) over the skin to remove any chalkiness from the highlighting.
Before the physical blood and gore was added (see below) I washed a mixture of purple and red inks to the hands, feet, knees and elbows (to create a little extra contrast and to break up the large areas of green skin).
Finally I prepped the areas that would be getting the blood effect with a combination of black, purple and red inks, increasing the amount of the latter where the blood was to be most fresh.

After weathering the bases I then approached the blood and gore. Quite simply I used a mixture of Tamiya Clear Red, black ink, UHU glue and a cocktail stick to mix the mess together and to apply it to the areas of stringy, gooey gore. The cocktail stick was used to stretch he goo between two surfaces , for example from mouth to floor. I didn't want to overdo it, so I had to keep restraining myself because it's a smashing effect and easily done. I decided that several of the models would not have any of this applied at all.

With regards to the Ghoul King who is digging out a grave, I decided to use a Tamiya weathering stuck (essentially an oil pastel the colour of mud) and applied this to the grave area, the base and dollop on his shovel too.

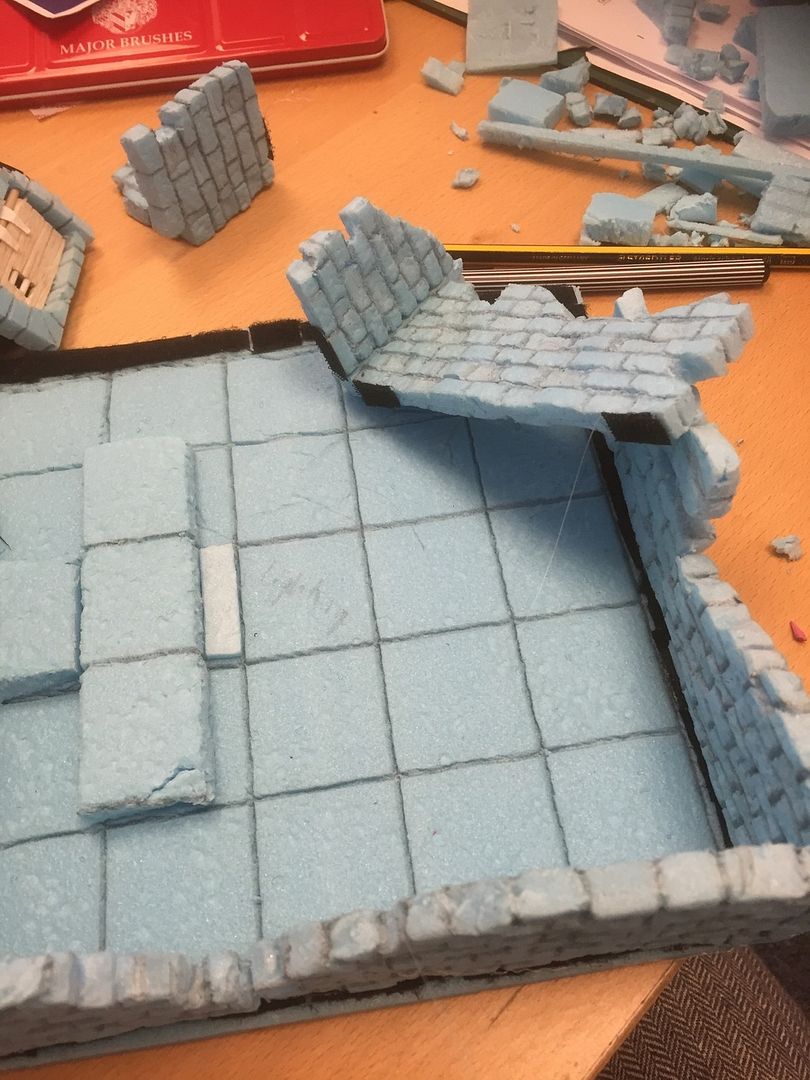
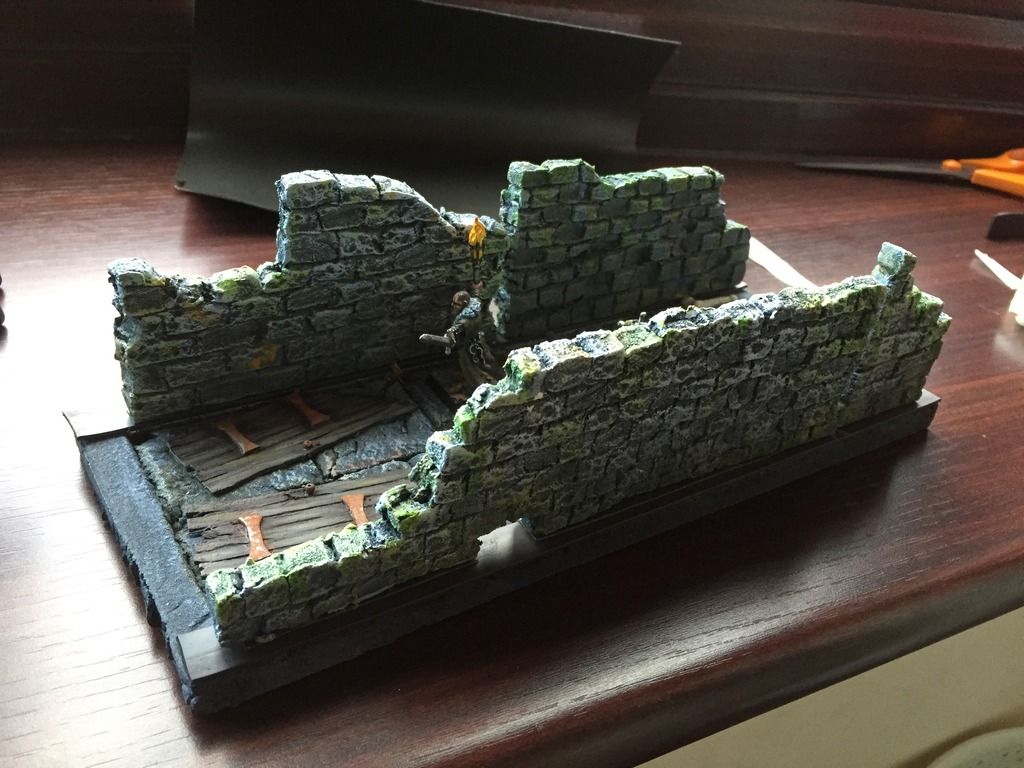
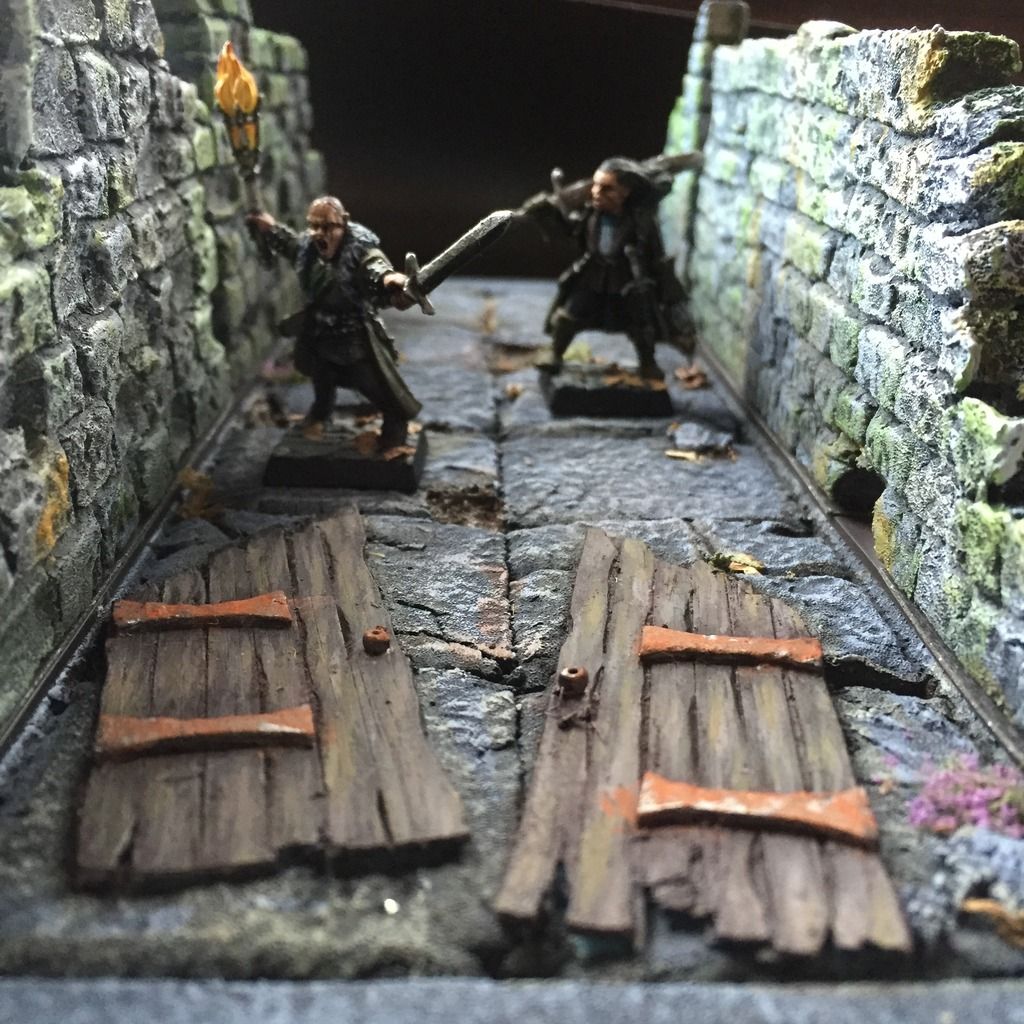
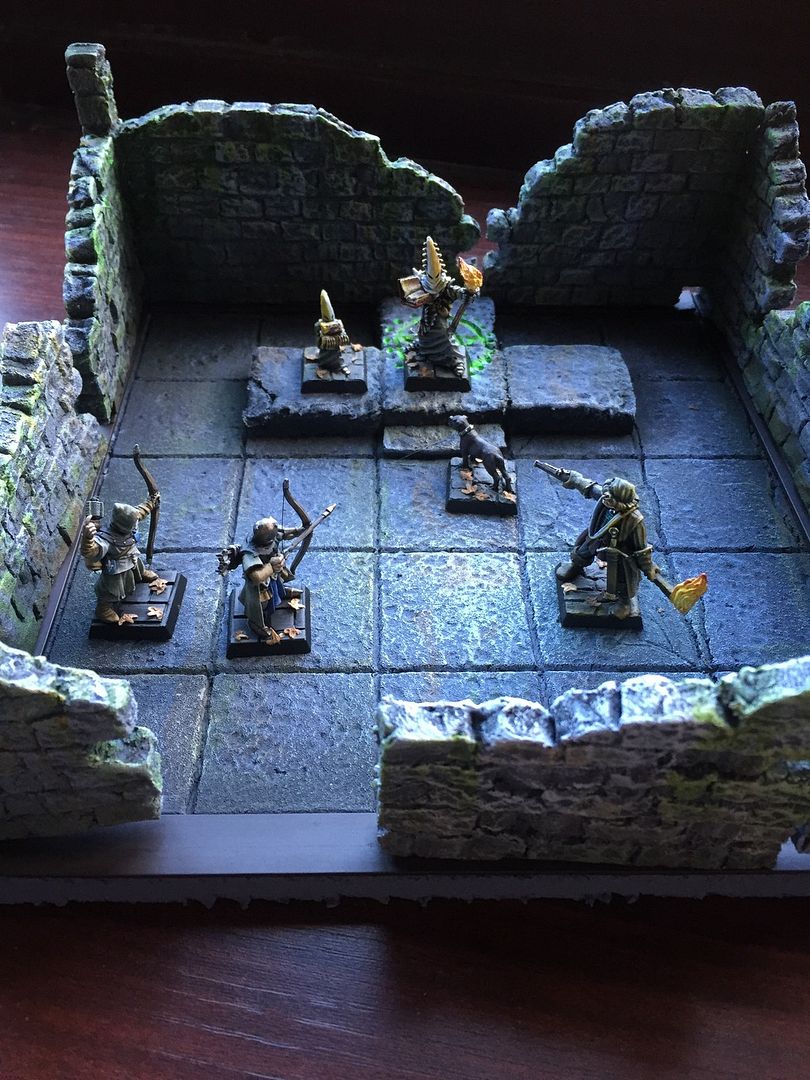
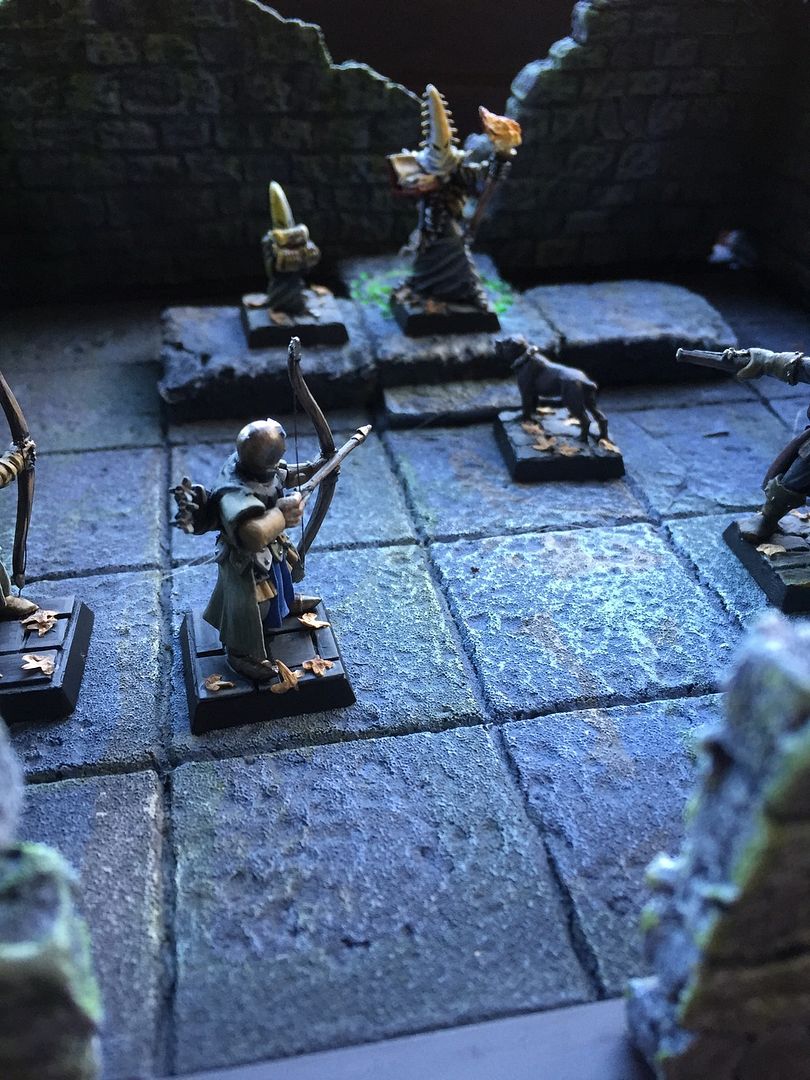
Lots of photographs to follow, as I have a new iPhone and have used this as an opportunity to experiment with it's focus and exposure corrections during the shot and it's editing abilities after. I'm pretty damn happy with these:


Sunday 14 February 2016

Frostgrave Bestiary Challenge: wraith

A very quick paint job on this LotR figure. Over a white undercoat I glazed several very thin layers of original Citadel yellow ink over the skin and drapery areas. I then highlighted up with the the addition of some white to the ink. Exactly the same process was done for the blue armour and the chainmail/metal had the usual treatment of boltgun metal followed by a wash of black and chestnut ink followed by dry red ochre pigment bound in a matt varnish:


Next up are he Heresy Ghouls; I've really been looking forward to getting some pain on these. 

Friday 12 February 2016

Frostgrave Bestiary Challenge: 12 Armoured Skeletons

I haven't painted in batches for some time, since the days of my orc and goblin army many years ago. I soon rediscovered the tedium it brings during painting, especially when you think you've painted all those leather straps (with highlights) and then find one thst I missed requiring me to break open the snakebite leather and white again... However the satisfaction, in fact joy, of finally painting those paint rims black, is almost worth it. It felt like I'd never had such a gush of accomplishment. The sculpts are pretty uninspiring, but at least the very nature of skeletons means there is a pretty limited palette and there's no need for the repetitiveness of painting a multitude of eyes, hair, glazed red cheeks/noses etc. Oh and I sped up the process by undercoating grey rather than white as most of the colours on these (from bone, to rages, to shields) used grey as a basecoat.

I had a bit of trouble with my old Citdael transfers, they didn't adhere very well to the shields, probably because of their age, and had to be enticed to stay in place with some dilute pva. Which was annoying x12.

Eventually, when the oxidation of their bronze and metal armour was completed and some other general weathering was added, I was pretty happy with how they look; here they all are in a ruined city:


Wednesday 10 February 2016

Frostgrave Bestiary Challenge: 6 zombies

I've added a new gadget to the right which is another to do list / completionist project that I've set myself; to paint all the models that could be needed for Frostgrvae. Why? I ask myself (or you may ask). Well I've got a pile of miniatures (not all lead) that need to be painted and with the help of lists and project ideas I can choose carefully from them to help me paint in a structured and efficient(ish) way. It gives me some way of accomplishing a secondary feat (crossing them off and tracking my progress towards a goal) to just the completion of painting a model and helps my mind plan ahead with a clear direction. I probably should have waited until I'd finished one of these previous lists (be it another set of dungeon tiles or the Nurgle retinue table) but it does mean I've got a nice eclectic mix of models to paint up over the coming year. And I'm sure there will be some currently unplanned, list additions along the way too.

Today I painted some Mantic zombies to add to my growing undead horde; for Frostgrave and Heroquest. Very simply these were undercoated white and a multitude of thinned glazes were applied directly over the white  to the skin, ranging from purples, blues, oranges, greens and yellows. I used some darker blues around the yellow areas to create bruising and also around the eye sockets to create some depth and a certain tired/dead look.. Some dried blood was added with a combination of red, purple and black inks applied liberally to the wound areas, mouths and hands. Small dabs of Tamiya clear red were then applied into the wounds to make them looks but fresher, as if they were still oozing a bit. So here are the zombies:

I must add that layer of green/yellow paper to represent the slime under the grille.


Monday 8 February 2016

Frostgrave Bestiary Challenge: 5 Skeletons and a dog

As I recover from an acl operation, I've slowly been able to get back into some painting, as I'm now able to sit in a suitable painting position for longer periods of time. I have next week off work and then it's half term, so I hope to be quite productive over the next fortnight; we shall see.. For now though I've quickly painted up 5 Mantic skeletons (and a skeletal canine) as the first installment of my new "Frostgrave Bestiary Challenge". It will run alongside the creation of new dungeon tiles and the slow progress of my "LatD Retinue Table Challenge".

So here they are in their dungeon room, retreating from your approach:


And some photos in a slightly better light, where they try out a few new formations:


I decided they should all have basic armour and spears to differentiate them from their armoured  brethren. The quickish painting technique was as follows:

1. Under coated white, the bone was then based with baneblade brown then highlighted/drybrushed up with a mixture of the base colour combined with increasing amounts of bleached bone. A wash of seraphim sepia to tie it together and a final highlight of bleached bone. 

2. Armour was boltgun metal then washed with a chestnut ink/nuln oil combo and small highlights added  with chain mail. Rust was added with red ochre pigment bound in some matte varnish.

3. All other pieces were under coated in appropriate colours (mostly a range of browns) and then washed with earthshade. On a few of the prominent areas they were re-highlighted with the original colour plus a touch of white.

4. The shields were painted the same way as 3, but with some old Citadel transfers added. When dry these were coated with matt varnish and a touch of blade town brown to dirty them up  (in fact this recipe was also applied around the feet and other areas to help create the duty appearance).


I decided not to go with glowing eyes in the end, I'm still unsure though and may add that detail when I've painted the remaining Undead legions... It can look very good indeed. Thoughts? 

Wednesday 3 February 2016

Frostgrave/Heroquest scenery tutorial: modular walls

I felt that my dungeon tiles were a little flat and lacked atmosphere without some walls, so combined with my hate of waste, I've used a load of extruded polystyrene off-cuts to create some modular and multi-purpose walls which will work on both my Heroquest dungeon tiles and then as ruined walls for Frostgrave. The only problem I had to overcome was how to modularise them, in other words, how they can be attached and detached from different bases (i,e a dungeon base and a ruined city base)? The dimensions for the walls were easy to work with as the measurements had to fit into the dungeon tile system where each square is 1 1/2", so the wall sections had to be in increments of this size. I decided early on that I wanted these walls to be ruined, one so that they fit into the Frostgrave environment of a ruined city and help the gaming mechanisms (cover etc) and also so that they are not too intrusive or awkward when moving miniatures around a dungeon. A full wall on the dungeon tiles would be quite high and would also look too uniform - I like the idea of the walls being different heights to give the viewer glimpses into the dungeon.


Magnetised to a corridor - you can see the different lengths of wall here, ranging from a small 1 1/2" to 3" and 6".

And here they are surrounding a summoning tile. Note the gap for a door (on the to-do list)

And then the same walls in a Frostgrave environment, note the different magnetised bases which are designed to fit into a city theme

In terms of how to make the walls modular and multipurpose for both an interior dungeon setting and an external ruined city setting, I initially I experimented with velcro as the way of attaching and detaching the walls (you'll see it in some of the initial photos below) but realised quite quickly that the bond was too strong and it left a bit of an unsightly, furry gap between both floor and wall. So I reverted to applying strips of magnets to both the dungeon base and the city base and then strips of ferrous paper to the base of the walls (bought from Abel Magnets).

So here's the step by step pictures of how I made the walls:

An unwanted off-cut from my dungeon tiles to be used as a ruined wall
Using a pencil to draw in the brickwork. You need to consider scale here - what size of bricks are they to be? I went for breezeblock size as bricks would be tiny in 28mm and would take forever..
Remember to inscribe around the edges to. You can see the aborted velcro attached here
After drawing in the edges make sure you follow the lines around to the other side of the wall so that they meet up.
Once you're happy, then press harder to make a deeper mark
Start making the vertical edges to the bricks
remembering to stagger them
The walls can look to flat, so using the back end of a pencil I squashed down random bricks
Here you can see how much better that looks, with a bit of extra work
I also removed a few of the bricks to create a more ruined appearance
Next I added so texture to the bricks using my stone. I've also used a ball of tin foil for this stage
Construction done
At this stage I was still trying out the usage of Velcro, you can see how it looked here. You may notice a prototype working door, these are still in progress...


As I wrote earlier, the Velcro was far from perfect. The bond between the fabrics was stronger than the self-adhesive glue that attached them to the styrofoam, often pulling away from the base rather than from each other. There was also a rather horrible, thick and furry join (I did consider painting this to make it look like moss!). Eventually I then tried magnets and ferrous paper:

Applying the strips to the dungeon tiles - they are self-adhesive, but I will use a few dollops of hot-glue gun to ensure longevity of bond.
Here's the ferrous paper attached in strips to the bottom of the walls

And all of the walls I've made. Not all are straight, I've made a few with corners and one with the remnants of  a second level, especially useful for Frostgrave games.

Here they are attached to the sides of a dungeon corridor

And the view from within. I hope you agree that they add an extra level of realism and atmosphere. The magnets are slightly visible at the joins, but that is the compromise for making the walls modular.

Applying a corner wall to the a summoning room in the dungeon
And a fully walled room - note the space left for a door. Of course I could use a different combination of walls to allow a second door in a different wall. I also intend to make double doors...

I like the range of heights that are created by the ruined nature of  the walls
The next step was to create the bases for using these walls in a ruined city (Frostgrave) environment. Corner pieces and straight edges were prepared on some thin styrofoam (although plywood might be better):

Here you can see the magnet strips stuck to a scenic base, with both grass, rubble and cobble apparent.
And with the wall pieces attached!
No longer dungeon walls, these now act as ruined walls for my warbands to gain some cover.
And the sections with a second level come into their own in this game.

In the future I'd like to add some vines and some torches to create even more atmosphere, but for now these are my magnetised, modular and multi-purpose walls. Cheers!