Showing posts with label painting experiments. Show all posts

Tuesday, 21 July 2020

2 Chaos Spawn (50pts)


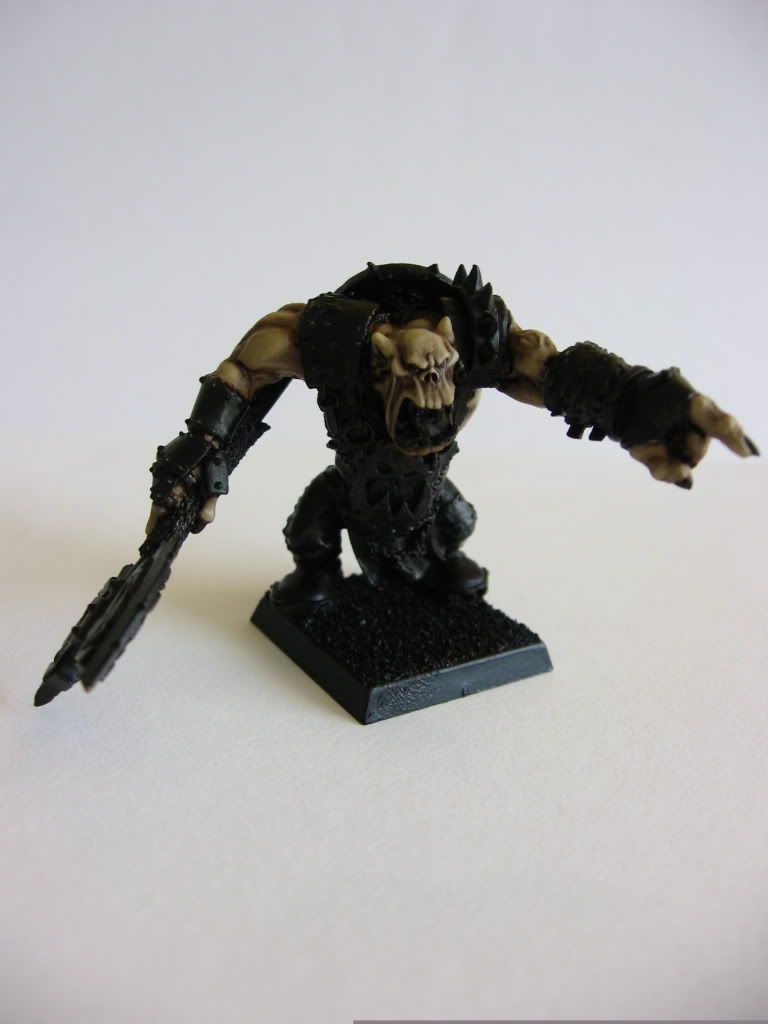
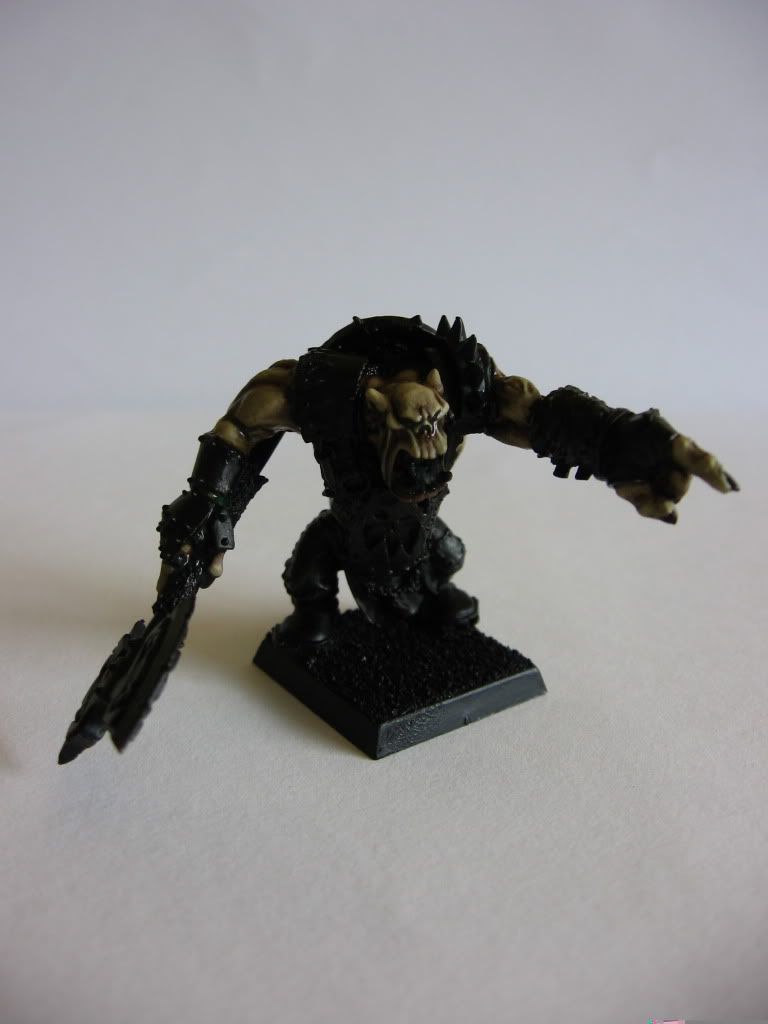
From the largest pointed unit (1200 for the Plaguebearers) to the smallest, a couple of Spawn at 25pts each. In the LatD these are described more as a pack as can (and probably should) be led by a Champion of Chaos, so eventually I'd like to do a converted spawn made up of lots of bits from my box and add him to these two and add a leader to marshall them around the battlefield.


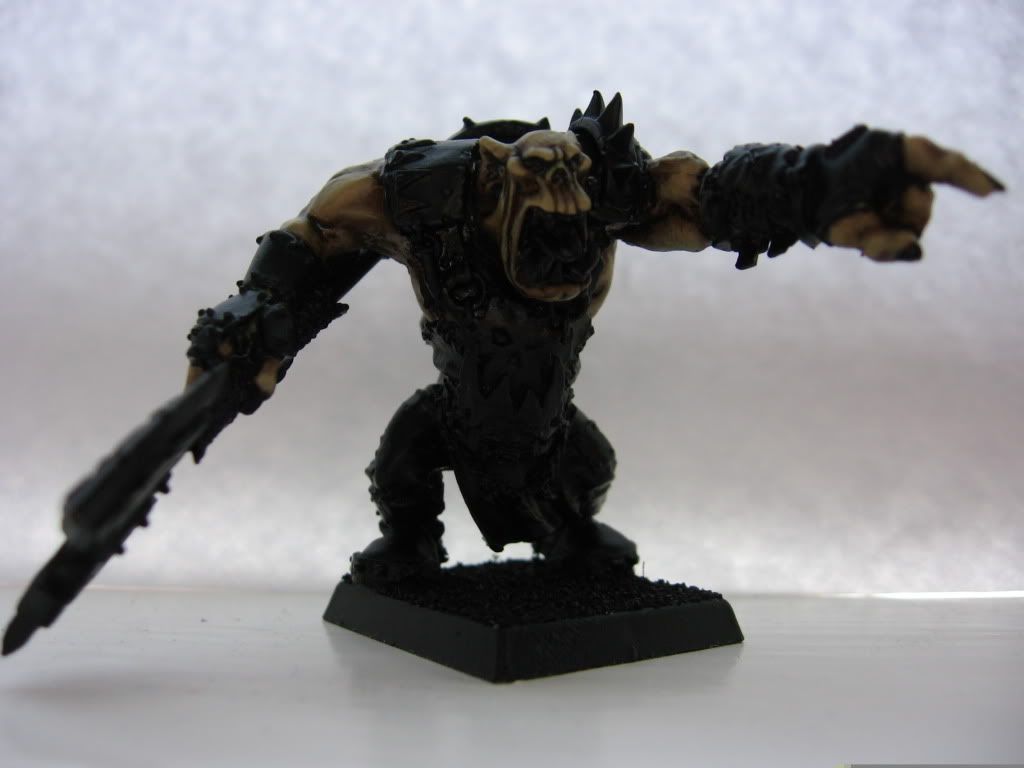
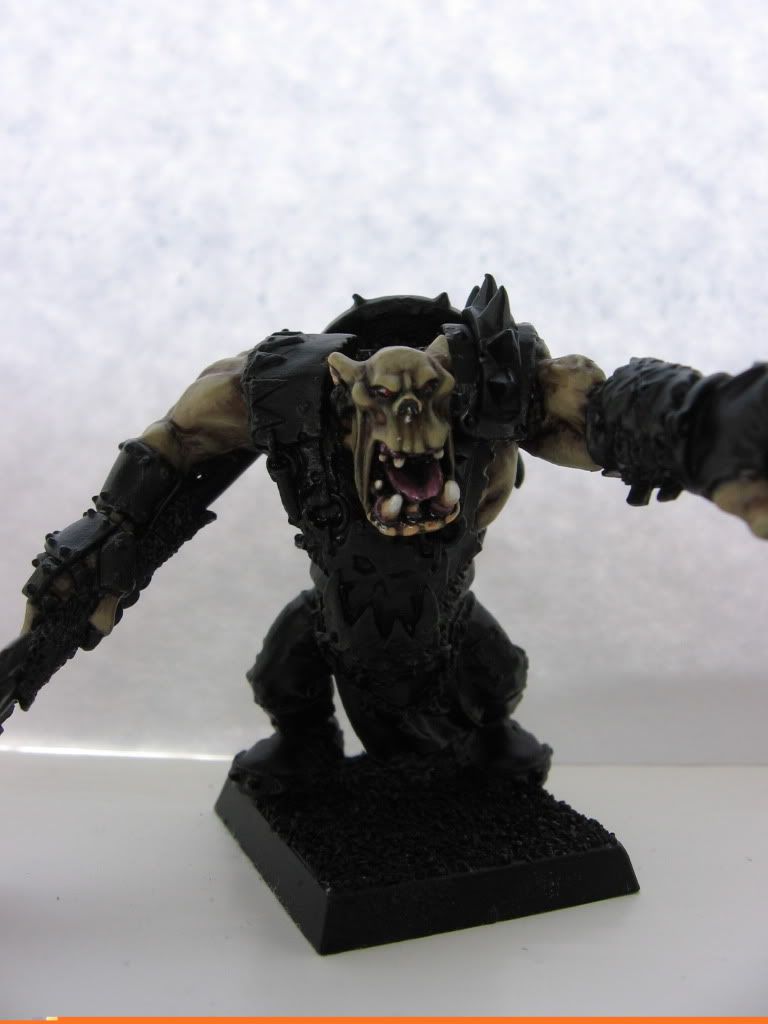
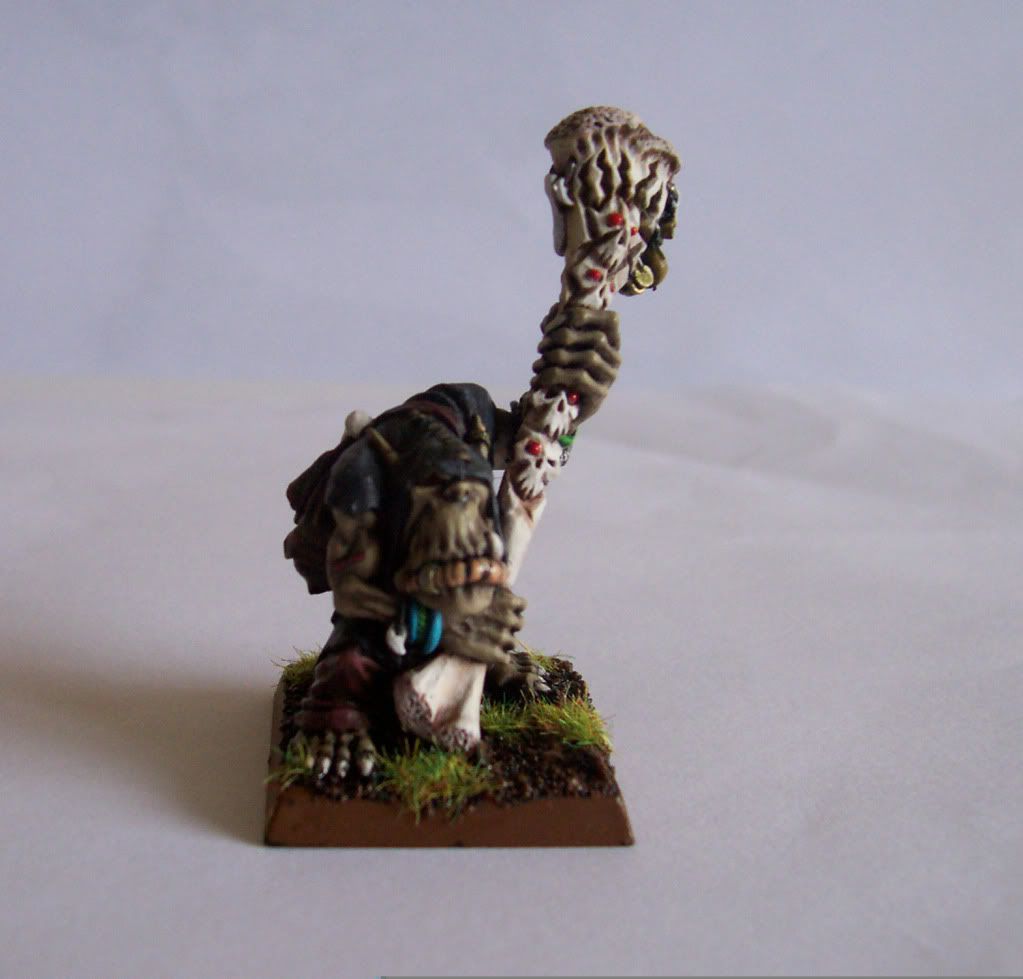
Obviously these two are both classic Citadel miniatures, the left model being an old Plague Elemental and the right one being a Spawn of Nurgle, the latter having a slight conversion in removing the funny legs that came with it and sculpting some tentacles there instead. Both these old models though suffer from the perpendicular restraints of sculpting from that time, so when faced from the front both models look quite flat and symmetrical (although with the slug spawn you can reposition the tentacles on it's head to create more dynamic movement) and hence why I've photographed them both on the angle.


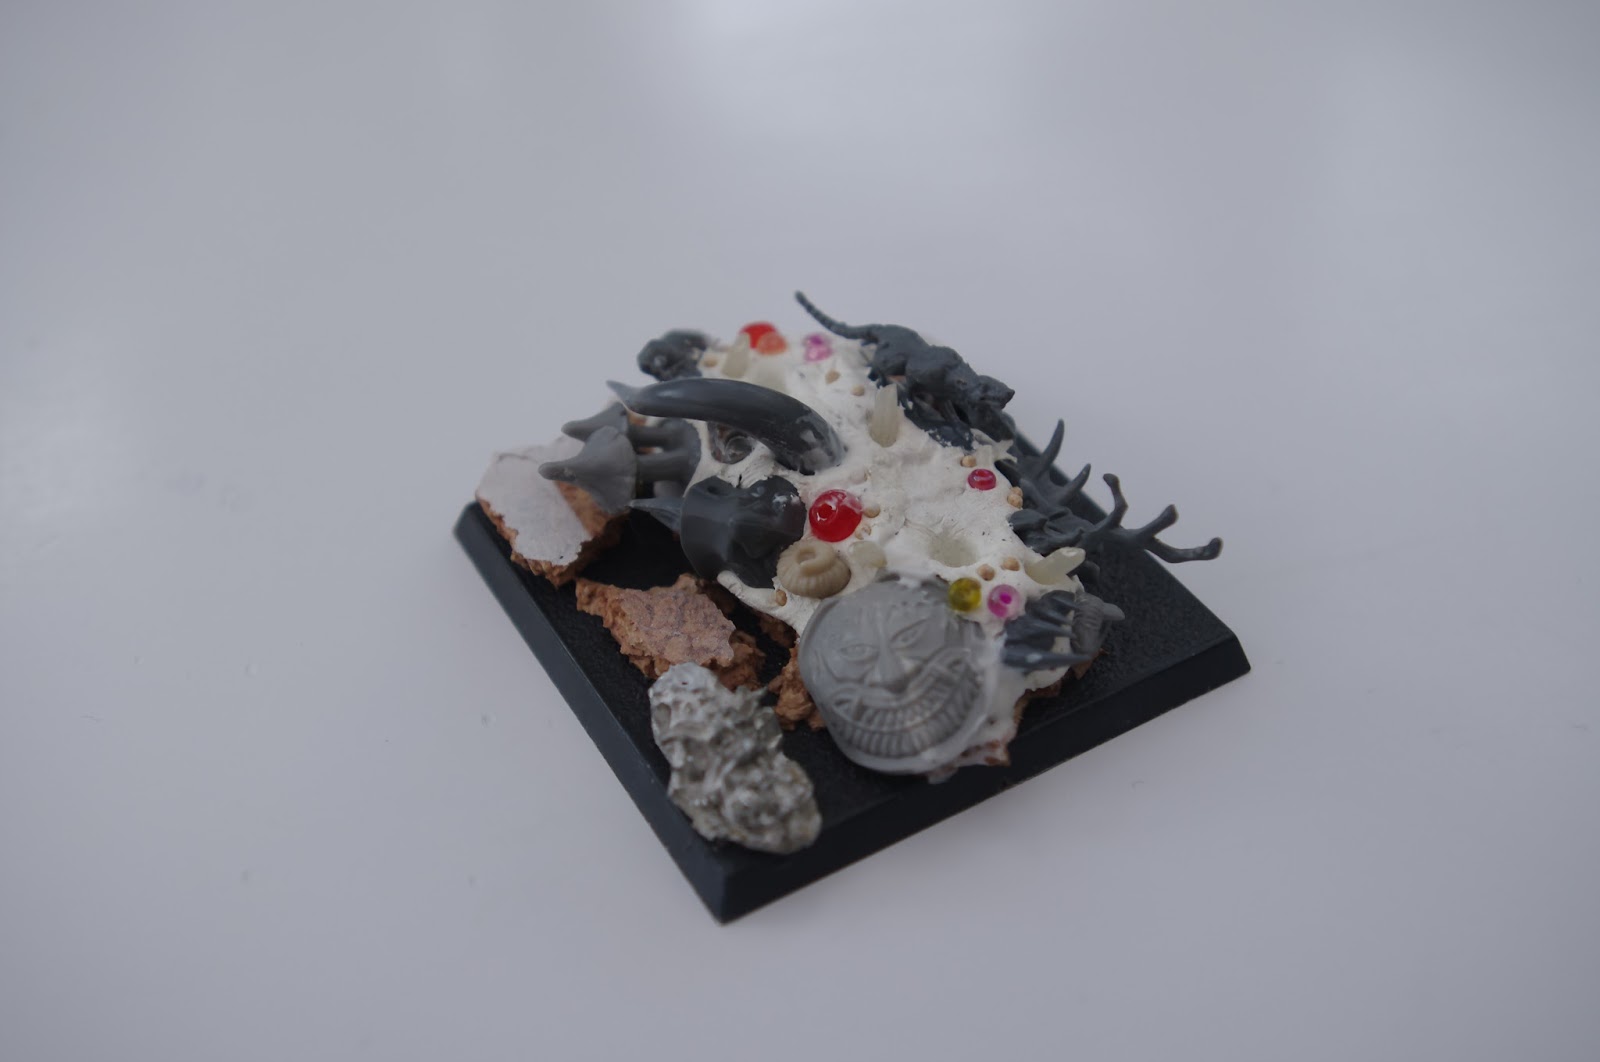
For this Beast of Nurgle I did a little research on slugs to get the correct colour scheme and used a little gloss varnish to capture the slimy nature of it's body. You will notice the basing on both models is slightly different from the rest of the army, in that there are a collection of organic shapes molded into the landscape, the idea behind this is based on the premise that:

 "the very proximity of a Beast is sufficient to kill small animals and plant.... or may age and decay perceptibly in their presence" (LatD p.20)

So a collection of small bitz from the box were impressed into some milliput and sculpted into the base to give the appearance of a dying, organic mass surrounding the model as it moves forward.


With the Plague Elemental I also experimented further with some skin painting techniques. Over a white undercoat I painted all the pinks with Contrast paints and highlights. Over this I then mixed some crackle medium into the pale green colouring of the skin and dabbed this onto areas where I wanted to create a peeling, cracking skin effect over the pink, exposed areas.


And to finish here's a group shot of the army including the most recent units for a cumulative total of 4405pts


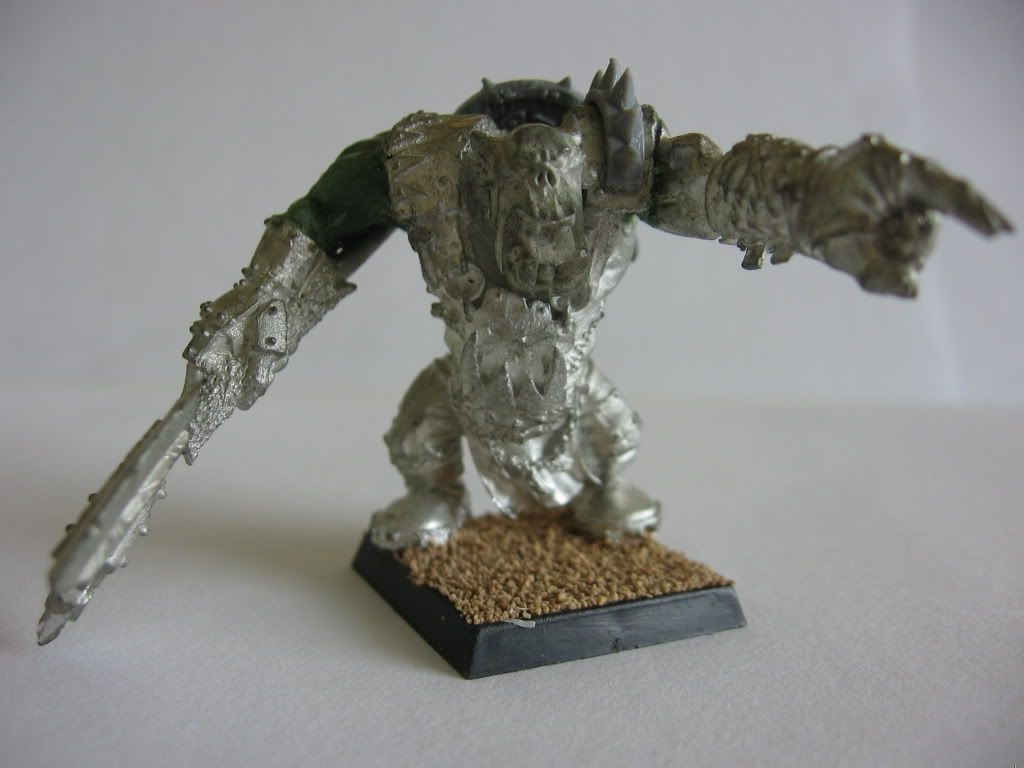
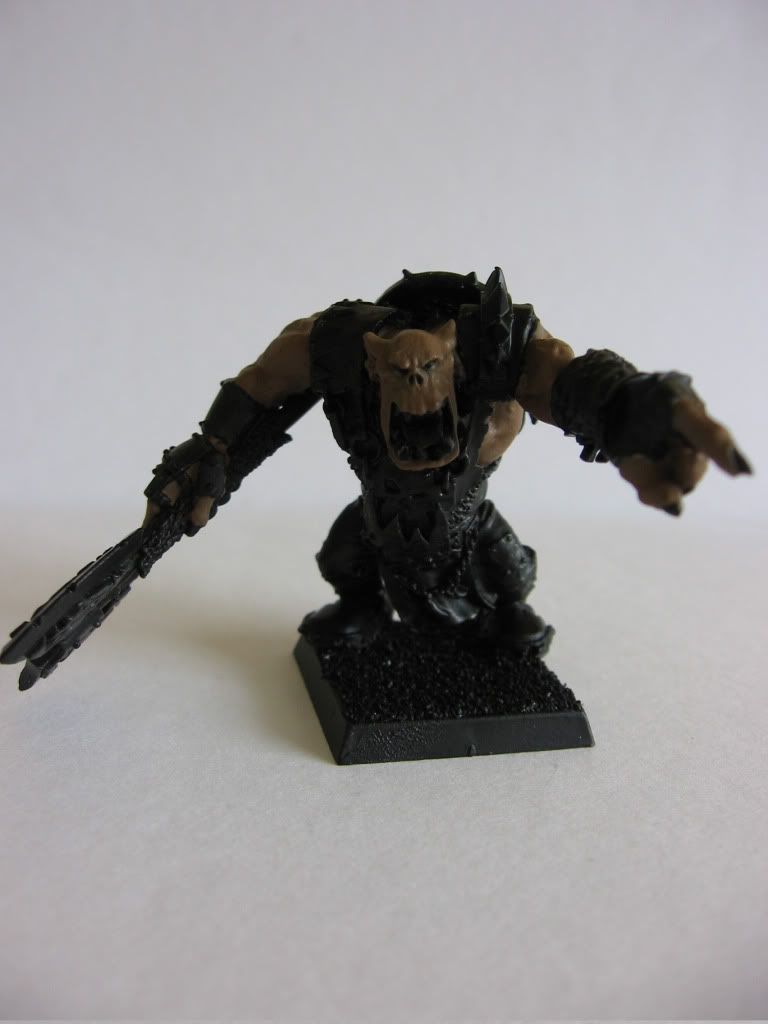
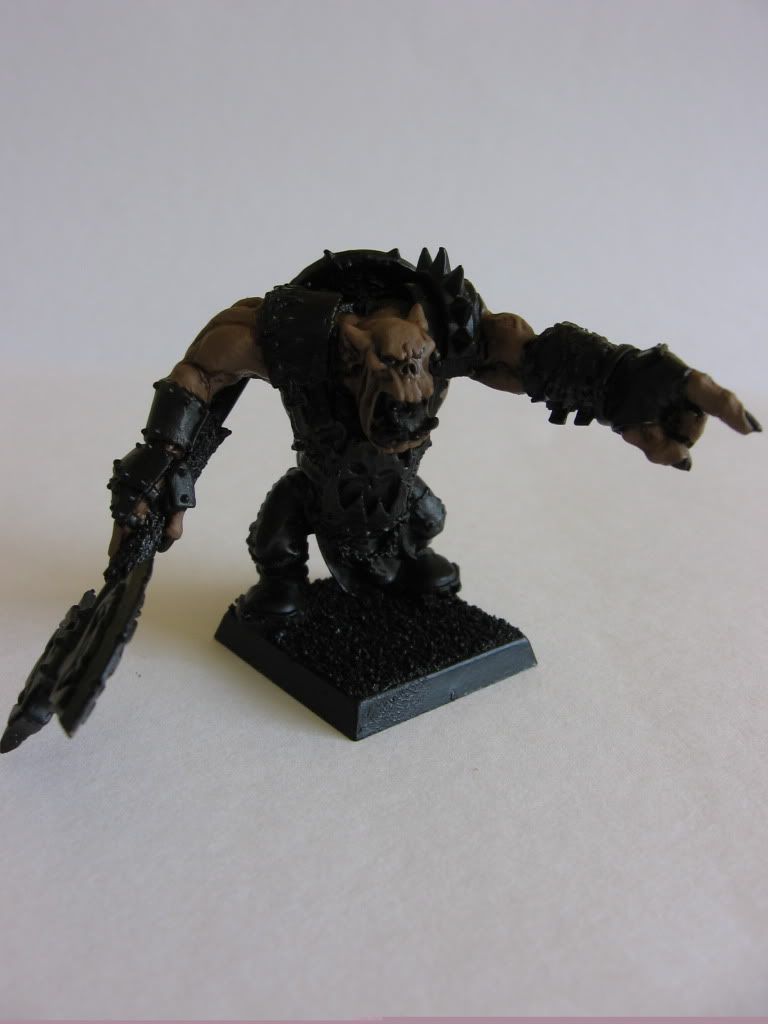
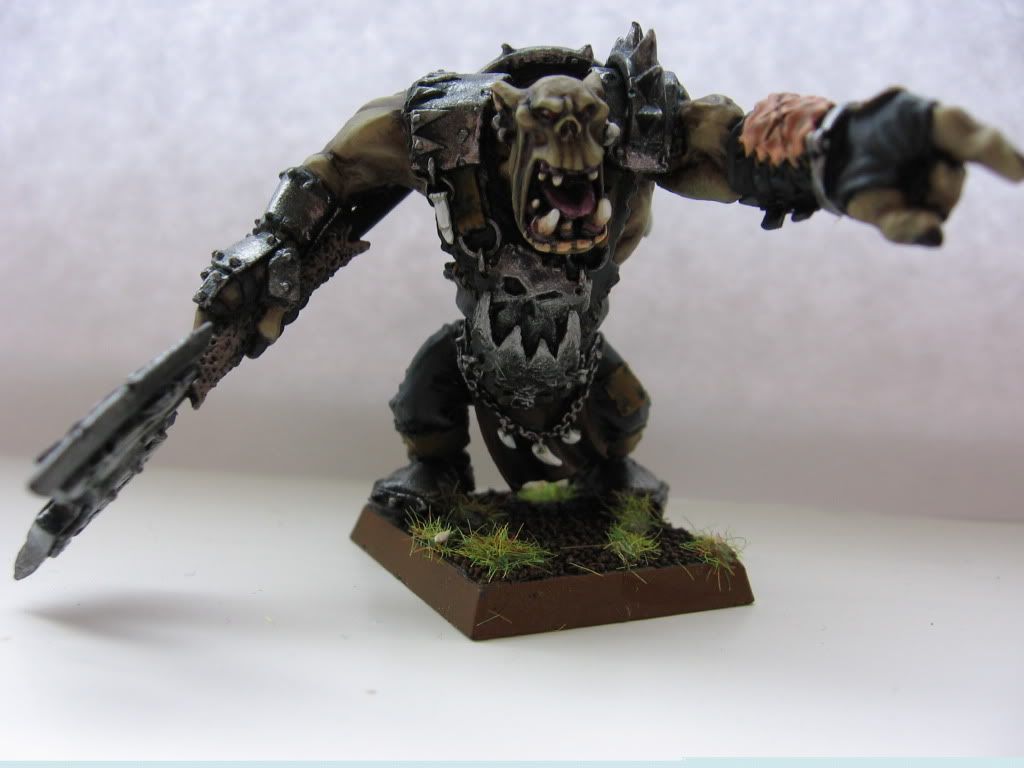
Next up are some kitbashed Nurgle Beastmen, using mostly plastic kits...


Monday, 22 June 2020

7 Chaos Warhounds(160pts)


I think these are some cracking sculpts, but having now completed them, I wish I’d thrown in some more conversions to make each one a bit more unique and Nurglesque. Anyway, here’s the unit of 7 on their display tray.


I tried doing a lot of Contrast paint work on these and then highlighing up on the raised areas. These first two are relatively straight forward:


These two I went a bit darker and tried adding a bit of pattern to them as well (again, this is something which I should have explored further)


The warhound on the left here is the most converted model based on the warhound sculpt. I received it incomplete and so added an extra head, a troll’s back leg and a tyrannid’s arm at the front. The dog on the right was painted using Typhus corrosion, which gave a really interesting effect as the colours separated (I didn’t shake it enough) and then I highlighted up from that base.


The leader of the pack is a conversion I had started years ago, based on a metal cold one and with a wolfs head, horns and horses tail added. The base colour for this was also Typhus Corrosion which adds a bit of texture to the model and highlighted up. It’s not a good paint for this technique as it’s quite thick and certainly isn’t great for your brushes.


So that brings the tally up to 3155 points. I’ve got some spawn and plaguebearers on the painting table at the moment. More of that next. 

Wednesday, 6 March 2019

Layers of character

When I'm sitting at my allocated hobby space, about to start painting an individual character miniature (as opposed to batch painting) I realise that in my head, as I look at the piece of sculpted lead, I contemplate bringing it to life with some sort of colour scheme. I'm sure I'm not alone in having this internal monologue about how I am going to make this mass consumed model, unique and interesting to paint; in other words flesh him or her out by creating a backstory and therefore an individual character. This all happens before and sometimes whilst painting. One of the joys of older Citadel miniatures from the 80s is that they are so very characterful and individual and when I look at the details or the expressions, or clothing or weapons I can easily imagine a backstory to the character and I like to think the original sculptor would have done the same as he was mixing the green-stuff. The dwarf adventurer range is a prime example. These aren't well equipped, beefy mono-pose  soldiers but rather that wonderful pathetic aesthetic from this era; the flawed, ill-equipped, even scared or wary looking models from a bygone era. I challenge you to not find these quirky, bearded stunties interesting and characterful!


So once I've chosen which of these models to buy (I now only buy models that have character and that I want to paint, otherwise it has to be converted) I start the painting process and it hit home as I was about to paint this dwarf adventurer, that I was having an unusually long internal chat with myself (perhaps even with the model) to find out who he is and how that will determine my painting approach. Here he is with some base coats on, the decisions behind each is outlined below:


Now this fella is to be the hero of my tale as I narrate and build a dwarf warband around him. I needed to make decisions about how to paint him and this depended on such questions as to whether, for example, he is  young or old, wealthy or poor. In more depth, his age determines the colour of his beard, his wealth determines the condition of his weapons, armour and attire, his wealth is determined by his success as an adventurer etc, etc.

So I decided he was to be old, poor and not very well equipped (more on the backstory when he's finished). I then gathered a few images to help me paint in these realistically and tried to colour match them with the paints I would use to recreate them:

 Balor brown and Dawnstone


Mournfang brown and baneblade brown (lighter areas with Balor brown or dry pigment)


Doombull brown and black. Scratches with Balor brown.

Baneblade Brown and Dawnstone 


So with the model now nearly finished, the decisions I made in my colour palette and the choices I made in his appearance have helped me make my own unique miniature, especially when I write about his backstory in my next post. I see these two elements of the hobby as intrinsically linked and (in my book) there should be no random approach to painting or collecting miniatures! Choose a characterful model (or convert one) and create your own character out of that characterful model!

Monday, 13 July 2015

Plague Elemental

One of the first Oldhammer blogs that inspired my own blogging, is the work of Don Hans, not just his incredible glowing and layered colours but also his distinctive basing technique. For this Plague Elemental I wanted to create something similar, in that I imagined the Plague Elemental leaving a trail of organic detritus in his wake and surrounding environs. I combined this with my regular basing technique and threw in some swamp too for good measure! (More on the base further down).

The miniature is not a great sculpt, it seems quite "flat" and looks particularly bad when viewed from straight on, but better from these angles it does have some charm:


Hopefully you can see from the images that I have re-mastered the crackle medium skin technique that I tried (unsuccessfully) to share with you here. I realised that you need to lay it on pretty thick for the effect to work. Partly scared that I would lose the detail on the model and also for a desire to show the plague-ridden skin falling off in patches revealing the pinker flesh underneath; I applied the crackle medium (mixed with some Nurgling Green) in small, thick clumps on more prominent areas of the skin. Hopefully you can see the effect in more detail here:


For the base itself you can see below how I used some cork board to build up a raised area and then smoothed out the plastic base where the swamp would go. A layer of milliput was added and whilst still wet a load of organic looking plastic bitz were added, including some beads and bits of rice to look like boils/bubbles etc. A two headed rat was added as a little follower too:

I then attached the model and used some artist's modelling impasto to join/fill/smooth everything up and add some texture too: 


You can see from the completed model that lots of gloss was also added to the swamp area and the organic plague area too. It was painted with a multitude of thinned washes over white, ranging from yellow, pink, green and some brown:


This model was also painted for the Warhammer Forum's Painting Challenge and you can see the results of  which here.

Thanks for looking!


Tuesday, 9 June 2015

Tutorial: Orc skin painting guide

I thought I'd offer another painting tutorial as a few people have mentioned my Orc and Goblin Army and the recipe I used to make browny/green Orcs. Here's an example of an Orc Shaman I painted a few years back:
Image
 
And here are the steps to get there:

Image
1. The converted model ready for painting.


Image
2. Primed black, with Graveyard Earth basecoat. I now use Baneblade Brown which is a silmilar coloured brown.
 

Image
3. Apply a very dilute Brown Ink wash (I now use Aggorax Earthshade). Re-apply Graveyard Earth over the areas which are to be highlighted, i.e those that are raised.

Image
4. Two/three highlights of Graveyard Earth < Rotting Flesh. I still have some Rotting Flesh, but perhaps Nurgling Green would be a substitute? I thin my paints so that they are transluscent enough to leave some of the underlying colour to show through. This helps "blend" the subsequent layers easily.


Image
5. Apply a very dilute Green Ink wash (with a touch of washing up liquid mixed in to help the flow).

Image
6. Re-work some of the extreme highlights if needed.


Image
7. And finishing up with the details. Adding some Gloss Varnish to under the nose, in the eyes and inside mouth to make them look wet.  Some very dilute Elf Flesh to the lips (sometimes I add this to the end of the nose and on the cheeks too to give a slightly ruddy complexion). And a highlighted purple tongue.


Image
8. The finished model. Ta da!
 

So if you've got some unpainted Orcs in your paint queue and you're tempted to avoid the usual Greenskin colour recipes, try this out and see if it works for you. Good luck!


Saturday, 6 June 2015

Tutorial: Nurgle skin painting guide

A few people have asked me how I paint the skin on my Nurgle models, so what better way to respond than by doing a step by step photo guide. I've sensibly chosen to work on a model that has lots of skin for this guide on how to paint skin, so I've gone for an old school Plaguebearer; here's the finished article:


Now this chap didn't turn out as well as usual, or indeed as I hoped! That's partially because I tried out something new and also because I lost my rhythm a bit as I had to keep taking photos. Excuses out of the way, here are the steps to achieve this type of look:


1.  Halford's White Undercoat/primer
2. Carroburg Crimson wash. I added a glaze medium and a touch of washing up liquid which helps make the paint more transparent and flow better respectively. This smoother application prevents pooling and tide marks and helps bring out the details (as the wash sits around theme) which ultimately makes the highlighting steps easier as the detail is pronounced.

3. Same as stage 2 but this time I've added a little Nuln Oil tothe wash. This one is applied to the darkest recesses and shadows. I don't always include this stage, but may instead re-apply stage 2 to deepen the wash colour.

4. Highlighting. Because the washes are very transparent, the general colour of the flesh at this stage is of course very pale due to the white undercoat. Therefore the highlighting colour is based upon the original wash colour (Carroburg Crimson) but only a small amount with a large amount of white. I apply this to the raised areas (and also I imagine where any light source is coming from - usually from above).

5. Subsequent highlight layers are added, each time a greater quantity of white is added to the mix and applied to a smaller area of the raised detail, so that the previous hue is apparent. By adding some glaze medium to each highlight the paint is quite transparent which means that some of the colour of the underlying coat shows through - which helps blend and unify the highlights.

6. Now this was the experimental part. (I did have some prior success on a Chaos Warrior - scroll to the bottom of that post) where I used some crackle medium. In that post I applied the crackle medium straight onto the model. In this case I mixed it with a touch of Nurgling Green in the hope that the separating nature of the crackle medium would reveal the crimson undercoat between the cracks, like so:


Imagine the cracks here revealing the crimson colour beneath a pale nurgling green layer - here seen as brown.
Alas the addition of the paint and it's own medium combined with the crackle medium, seems to have counteracted the effects of the crackle medium so the Nurgling Green layer has ended up appearing just like a glaze - not what I was intending - but it still looks ok.
7. So I continued on (but more experiments are needed in a future post), by working in some highlights for the uppermost layer of skin. Adding larger quantities of white to the Nurgling Green for raised highlights.
8. To create a greater contrast between the skin layers and the open sores, I mixed up a bloody combination of red, purple and black inks and applied several thin layers into the relevant areas. Again a touch of glaze medium and washing up liquid was used to help improve the flow.


9. Finally some Tamiya Clear Red was applied to small spots of the open sores to create a glossy, oozing feel to the wounds.

10. The teeth and horns were painted with layered up yellows (from Bestial Brown to increased amounts of Sunburst Yellow and white). I think I may have gone a bit too yellow and should really tone it down with some Bleached Bone. But that will never happen - I rarely go back to a miniature when it's completed! The tongue is painted with Titillating Pink. Any excuse to paint with it and name check it in a post.

11. The basing tutorial in all it's detail.


So the completed model. As I said it's far from my best ever paint job, but serves a purpose in sharing how I paint (if anyone is still interested!). Furthermore it shows my enjoyment of experimenting with new and different techniques, even if they don't always succeed. But I will persevere.


As an Art Teacher, I'm often asked how we mark artwork, well some of the criteria are:
  • how students (hopefully successfully!) experiment with a range of materials
  • how students realise their intentions
  • how students have developed their work, often through looking at how other artists have worked.
Well with regards to miniatures, the later we all do I'm sure - who doesn't have a folder of inspiration on their PC? Or at least we have all looked at an 'Eavy Metal article / Golden Deamon paint job from a White Dwarf of yore and based our own work on that. The last two criteria I haven't been so successful with here, so I certainly wouldn't mark this highly - I'll give myself a C.

I may go into this link between "successful" GCSE/A-Level art and miniature painting in a bit more in a future post, stay tuned, I bet you can't wait!