Monday 26 January 2015

A Chaos Dwarf Mortar

I painted this up for a small challenge on the Warhammer Forum, entitled "Rise of the Machines". Originally I was going to finish converting and then painting a Nurgle Chariot, but it became too lengthy and so as to meet the deadline I switched to this model, thinking it would be easier.... 

However the detail is not as crisp as it could be, making painting detail a challenge and I also really struggled with a colour scheme. After a few aborted attempts I went for this (I am at least pleased with my perseverance if not the outcome itself):


I went for a Mario Bros feel for the faces on the mortar-balls and used some etched brass for the first time on the fern leaf you can see here. I've thrown in a couple of old-school checks too.


They were also a nightmare to photograph!

So there's always a plan. For these guys they will be part of an in progress 3rd Edition Chaos Allies list which will ally with my, in progress, Nurgle Army. Everything is "in progress", One day I'd really like to tick off one of my many projects...

So where next, Jes Goodwin Ogres, Family Heroquest, LotD retinue table or the Orc Bloodbowl team? I'll see how I feel next time I sit at my painting table.

Tuesday 13 January 2015

Jes Goodwin Ogre no.3

Here's the 3rd of my Mercanary Ogres, a quietly calm and calculating model, waiting patiently for his foe with his axe rested on top of his foot. Possibly a slightly earlier sculpt in the oeuvre of Goodwin's collection as the model doesn't seem quite as coherent and crisp as the previous two ogres I've painted, but still a joy. I like the way he is cupping a skull in his right hand, the overall pose and of course the ubiquitous 80's underbite.

I've continued to use a range of colours and patterns to help bring the fella to life, this time going for a black and white check halved with orange and blue stripes; here he is with his two buddies, looking to fight and pillage for a tidy sum:


My camera struggled a bit to get all the macro detail in focus!


Next up is the excellent thug ogre with his slightly raised left hobnailed foot, which I still think is quite a unique and distinctive pose amongst miniatures. I've decided to go for a bit of a green theme for him...:

Sunday 11 January 2015

Heroquest (another) project.. But a cool one.

At last I've got my hands on a copy of Heroquest, I've been wanting to get a replacement for the one I had as a kid for ages, primarily so that I can start some gaming at home with my kids (and maybe wife..), but also because I've got a dream of making a scratchbuilt dungeon and scenery to play on with some really well painted miniatures. I'm resolute in making it happen at some point in the nearish future.

So I've now got the game (I was so excited upon opening, exactly the same as when I opened my original some 25 years ago - ripping open the packing paper, carefully removing the lid and then picking up the miniatures and pieces to study closely with a revered awe and imagination running away with me with all the possibilities..:


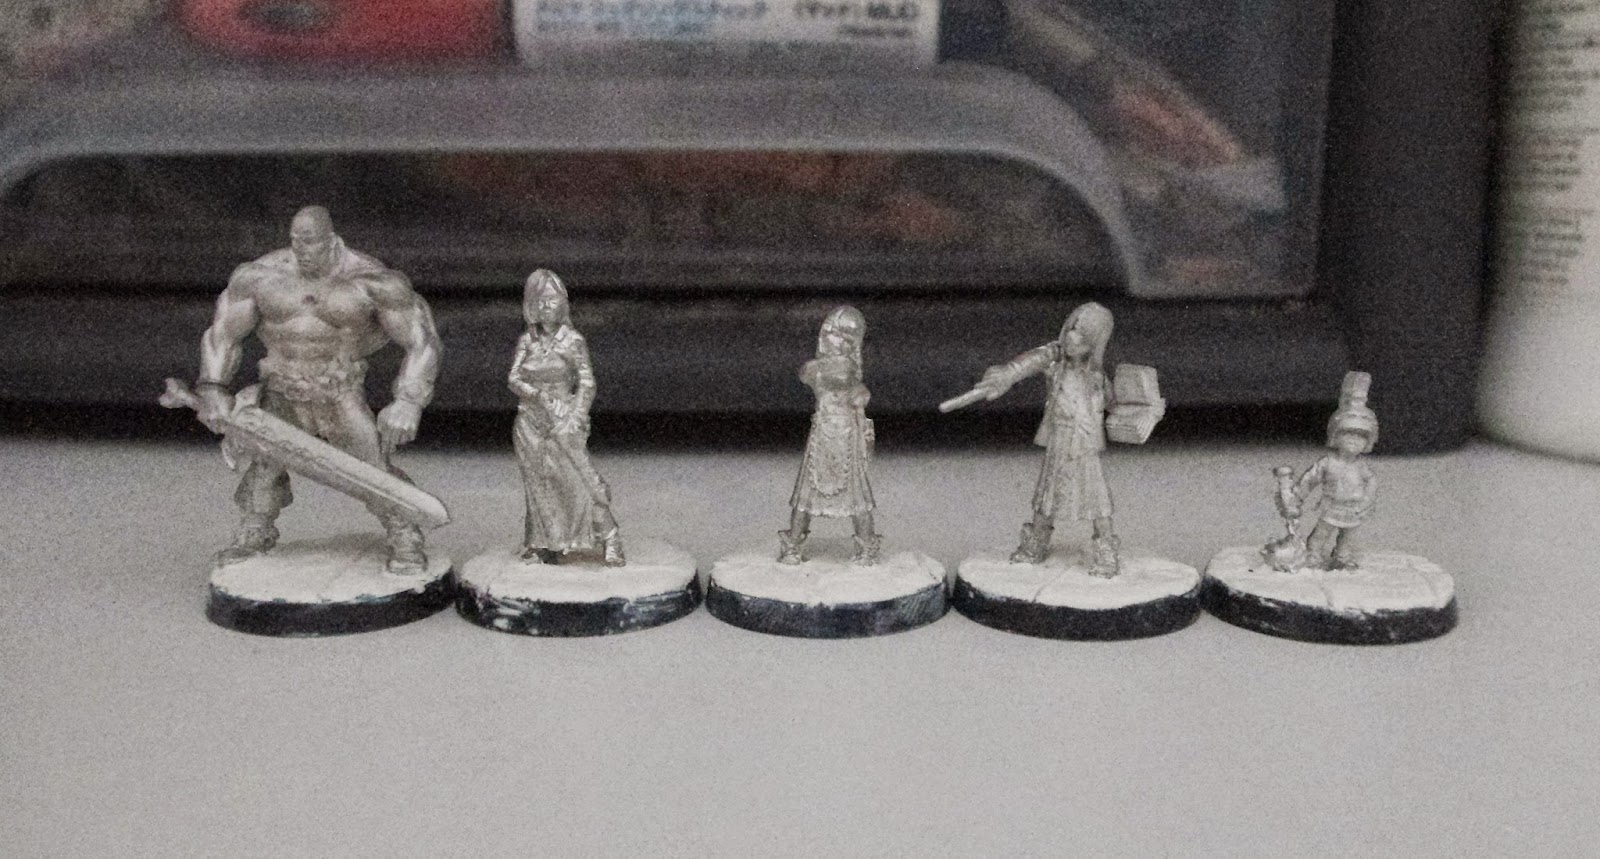
In anticipation of this new dawn in my hobby life, I also ordered some excellent miniatures from Hasslefree to represent my family as dungeon explorers. From left to right; obviously myself on steriods (I am bald and will even paint my tattoo on), my wife giving an icy stare as she calculates her next move, my two daughters (one in full on strop mode and one who always has a book in her hand) and my son dressed up in oversized armour with a flail ready to join in the action. He's 2 and a half and quite likely to hit one of his sisters (I'll write this into his character description):


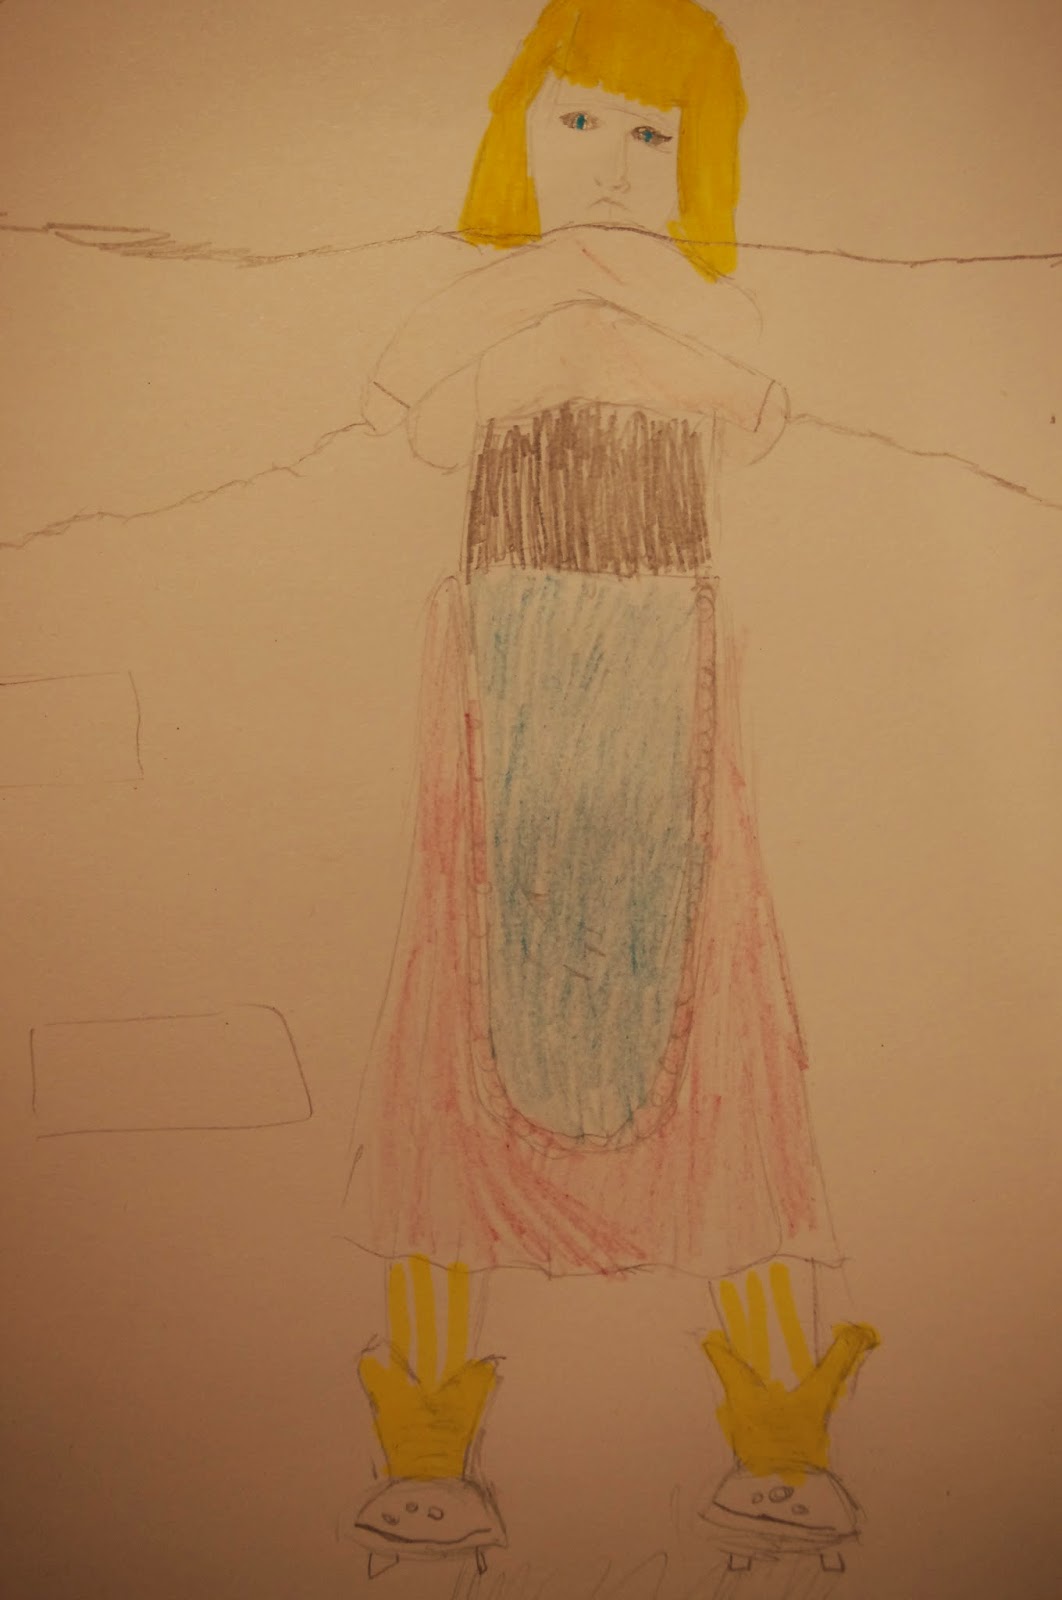
Both my daughters wanted to design their colour scheme for their model representation (I helped them a bit with the outline) and this is what they've chosen for me to recreate when I begin painting:


I quite like the idea of yellow and white striped tights! My eldest even wrote out the levitation spell she would like to cast on the floorboards to lift her up - there's definitely potential in her rpg skills....:


When these are all painted I will photograph them and make their own character cards with traits and stats etc to help them immerse themselves into their character. I'm convinving the wife that by playing this as a family it will help the kid's imagination, problem solving, literacy and numeracy  skills and that I might need to "invest" further in this as a project for "them" to get the most out of it!
Obviously I'll keep you posted here, especially after we take our first adventure into the game itself, perhaps next weekend.


Sunday 4 January 2015

Jes Goodwin Ogre no.2

Known as the "Bandit Ogre" this is another amazing sculpt to paint, I love the way he is really grasping that bag, no doubt laden with lots of hard-fought gold coin.

 As a lad I'd always dreamed of having my own Mercanary Contingent of Ogres to add some extra muscle to my Orc and Goblin Army, but I never got around to saving for, or buying any of these classics.

I can (kinda) afford them now and they will eventually be a Mercanary Contingent for my growing Nurgle Army. 3rd Edition Warhammer Armies state that I need 5 basic ogres plus the level 20 hero as a commander, so only four more to go.... 


Next up are some orange and blue strips halved with a black and white checkerboard pattern on this fine fellow:


I've always liked how he's resting his axe on his foot. To be continued....


Thursday 1 January 2015

Snow and Ice bases - step by step tutorial

Following on from my last post, a few people were interested in the specifics of how I created the snow base of the undead champion http://thelostandtheverydamned.blogspot.co.uk/2014/12/back-cataloogue-undead-champion-in.html so here's a quick step by step I've worked on over the past few days, although it really only takes a very short amount of time (excluding drying times) to make - perhaps 30 minutes:


The most important material is the Distress Crackle Paint seen below, you actually only need the one on the left for the ice efect, which is called clear rock candy. The right one is good for non-transparent cracking that you may want to paint over (ie cracking armour, mud etc).


There's lots of ways you can prepare a base for this technique, but ultimately you want a hollow recepticle of some sort. You can buy rimmed bases or you can make do with a traditional GW one as seen below, but you'll also need to use some plasticard too:


And cut away the main section, leaving just the rim of the base:


You'll then need to cut a 40mm square of plasticard for the rim to sit on:


And use polystyrene cement to make a water-tight base:


To create a raised area on the base, usually where the model will stand, I use ripped up cork tile and layer it up with a smaller section on top, using superglue to adhere them together and to the plastic base:


At this stage you will want to add any decoration to the base lower, soon to be submerged part of the base, perhaps a frozen body, shield or in this case some reeds. These are made from the bristles of a cheap brush and then cut to size with a scalpel:


And superglued into place:


The next stage I accidentally missed out - paint anything that is about to be submerged by ice, including the base of the cork tile. Oops. But when this is done you should apply a nice thick layer of the distress crackle.
I should say at this point that this is the simplest way to get the effect but you could make it better (as I did with my Undead Champion version) by laying down a thin layer of the opaque crackle first and painting this a pale blue when it is dried. Then applying some layers of Woodlands Scenic water to bulk up the water area and then apply the Distress Clear Rock candy on top.
For this tutorial though I've just applied the Distress paint really thick, up to the height of the lower level of cork. Remember that the thicker you apply it, the bigger the cracks and delamination:


Leave it to dry (I did overnight, but I think it could be ready earlier) and voila:


You could also add some dabs of either scenic water or superglue or the distress crackle iteself to the reeds or other decorations to imitate icicles etc.
Now some painting. I mixed up a very dilute, pale blue wash to apply onto the ice, basically so it runs into the cracks and leaves a little residue on all the ice. Less is always better:


With the cork now painted (!), I can then apply a quite heavy drybrush of white paint over the ice, catching the ridges of the ice cracks:


The next step is to decorate the top of your base - here I've used some Army Painter Swamp tufts:


And the final step is to then add the snow, which in this case is baking soda mixed with a little diluted pva dabbed on. Whilst this is still wet, I sprinkle some of the baking soda on so that it sticks to the adhesive and gives the dry effect of snow..: 


Have a go and let me know if you can improve, add to or even simplify the technique, I'm always looking to make things easier or better! I'll find some time to paint an appropriate miniature to add to the base in the near future.
Please let me know if you have a go, I'd like to see your results.