Showing posts with label experiments. Show all posts

Tuesday, 21 July 2020

2 Chaos Spawn (50pts)


From the largest pointed unit (1200 for the Plaguebearers) to the smallest, a couple of Spawn at 25pts each. In the LatD these are described more as a pack as can (and probably should) be led by a Champion of Chaos, so eventually I'd like to do a converted spawn made up of lots of bits from my box and add him to these two and add a leader to marshall them around the battlefield.


Obviously these two are both classic Citadel miniatures, the left model being an old Plague Elemental and the right one being a Spawn of Nurgle, the latter having a slight conversion in removing the funny legs that came with it and sculpting some tentacles there instead. Both these old models though suffer from the perpendicular restraints of sculpting from that time, so when faced from the front both models look quite flat and symmetrical (although with the slug spawn you can reposition the tentacles on it's head to create more dynamic movement) and hence why I've photographed them both on the angle.


For this Beast of Nurgle I did a little research on slugs to get the correct colour scheme and used a little gloss varnish to capture the slimy nature of it's body. You will notice the basing on both models is slightly different from the rest of the army, in that there are a collection of organic shapes molded into the landscape, the idea behind this is based on the premise that:

 "the very proximity of a Beast is sufficient to kill small animals and plant.... or may age and decay perceptibly in their presence" (LatD p.20)

So a collection of small bitz from the box were impressed into some milliput and sculpted into the base to give the appearance of a dying, organic mass surrounding the model as it moves forward.


With the Plague Elemental I also experimented further with some skin painting techniques. Over a white undercoat I painted all the pinks with Contrast paints and highlights. Over this I then mixed some crackle medium into the pale green colouring of the skin and dabbed this onto areas where I wanted to create a peeling, cracking skin effect over the pink, exposed areas.


And to finish here's a group shot of the army including the most recent units for a cumulative total of 4405pts


Next up are some kitbashed Nurgle Beastmen, using mostly plastic kits...


Wednesday, 22 May 2019

A Wizard's Tower (WIP)

With most of my miniatures (painted and unpainted) packed away and my hobby supplies largely out of reach due to ongoing building works in my house (dust, workmen, very limited space for the five of us to inhabit), I've been recently focused on making some scenery. Having finished the laser-cut houses I had a scratch-building itch to scratch and decided upon creating a Wizard's Tower. That's not quite true actually; I'd always wanted to make a Wizard's Tower and had never got around to it until I inadvertently picked up a plastic bottle and some other recyclable objects to put in the blue bin and thought "hold up, these could be put together to make that Wizard's Tower idea that's been shelved in my memory".

Here's where I am now with it:


For the construction, in the back of my mind I had the Fighting Fantasy illustration of Yaztromo's Tower as inspiration, that slightly asymmetrical, jutting tower with several floors leading up to some sort of magical observatory.


And thus this is how the build started with a plastic drinks bottle for the main structure. However I soon realised that the plastic was too flimsy and filled it with some expanding foam which had been left lying around by one of the builders. I then superglued/epoxied a few more interesting plastic packaging shapes to the exterior (including some sort of fairy light) and raised it up higher with a piece of thick cardboard tubing and some sort of water filter container. 


I then decided that I wanted to make a scenic base for it, partly for decorative purposes but also because it was very top-heavy and it needed to be stuck down on a larger stand, in this case an mdf off-cut. Some blue expanded polystyrene scraps were used to build and shape the base, a Hobbycraft skull from Halloween cut and added at an angle and then all the surrounding areas built up further with that same expanding foam (which itself was then cut and shaped to look more like rocks). Finally some cocktail sticks were poked through and a sprinkle of sand for small rubble.


Some details were needed and it just so happened that I already had a stash of resin doors and windows (I can't recall where from) and these were super-glued into place. The last stage was the addition of lots of polystyrene bricks, cut up from some unwanted furniture packaging. These were cut into roughly equal sized brick and stuck on with a glue-gun over several evenings. They were then textured by rolling a ball of silver foil over the surface (this could have been done first for ease in hindsight - or I've even seen people put them all in a bucket with a few stones and smash them around). Finally, once attached, I covered all of the polystyrene in several coats of glue to stop the primer from eating into it.


The next steps I need to address are to add some twisted wire to emulate vines creeping up the side and to add some sort of wizardy gargoyle design from my bitzbox to fill that empty plinth in the middle. Perhaps some sort of dragon or flying creature? I'm also toying with the idea of carefully suspending a ping pong ball above the parapets at the top or to make a telescope? Thoughts on this please would be much appreciated?


Friday, 6 May 2016

A new banner for my blog


I've decided to improve my little corner of the web here with some of my own art and a slight change in ambience, trying to make it easier on the eye and a little bit more damned looking. When I first starting blogging, I was entirely unprepared and unoriginal in choosing Les Edwards iconic illustration from the cover of the Lost and the Damned itself. It really is an image that stayed with me from a teenager to a middle aged geek and seemed appropriate for the introduction of this blog of mine.


However as the blog's developed and my influences increased, I started thinking about creating my own unique illustration, based on some of my favourite GW artwork from when I was a kid, particularly that of Adrian Smith and also some of the illustration from Fighting Fantasy which I have already used liberally in miniature projects.
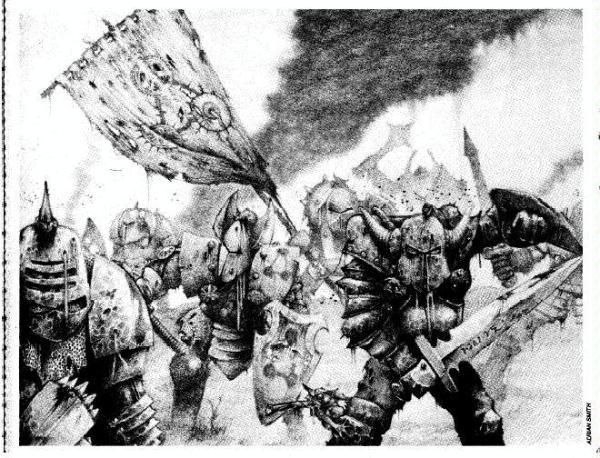
For example the illustration of some Nurgle Warriors, below by Adrian Smith, has the characters facing us head on, in lovely contrasting black and whites, with a somewhat blighted background. But I have a personal dislike of compositions where the legs and feet are completely cut off, it prevents the figures from having the same grounding in their environment.


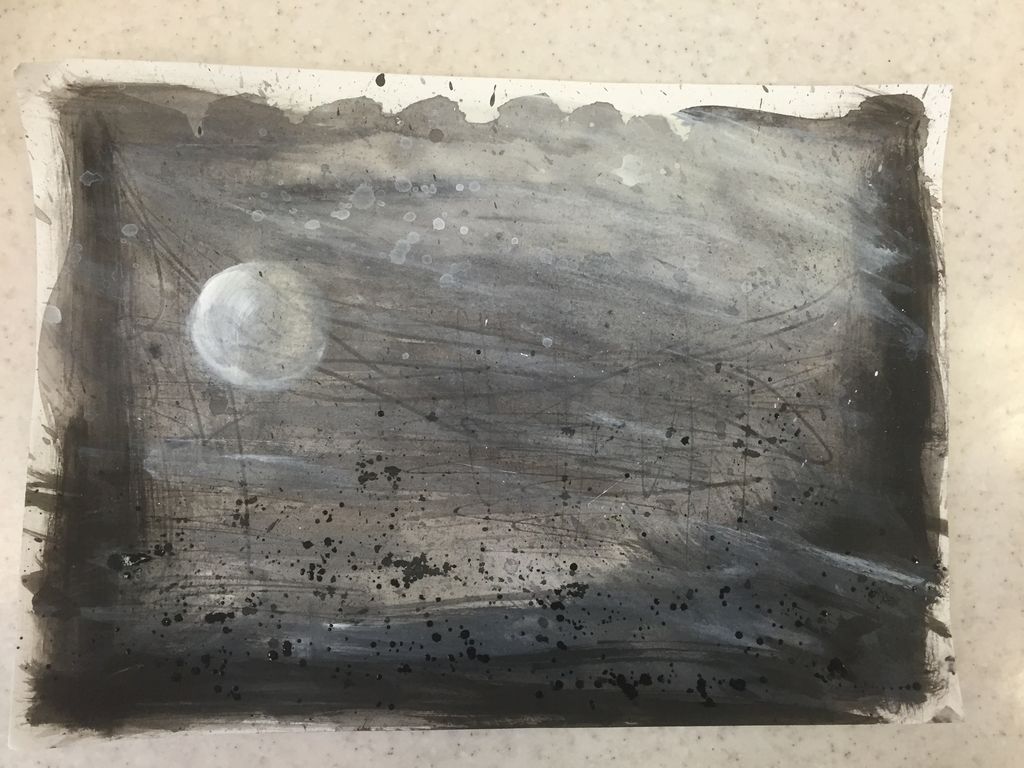
So I'd kind of decided upon the style (black and white, contrasting tones) with a Nurgle based subject matter - characters face on to the viewer with a dark ambience in the background and starting playing around with some black and white acrylics and inks:


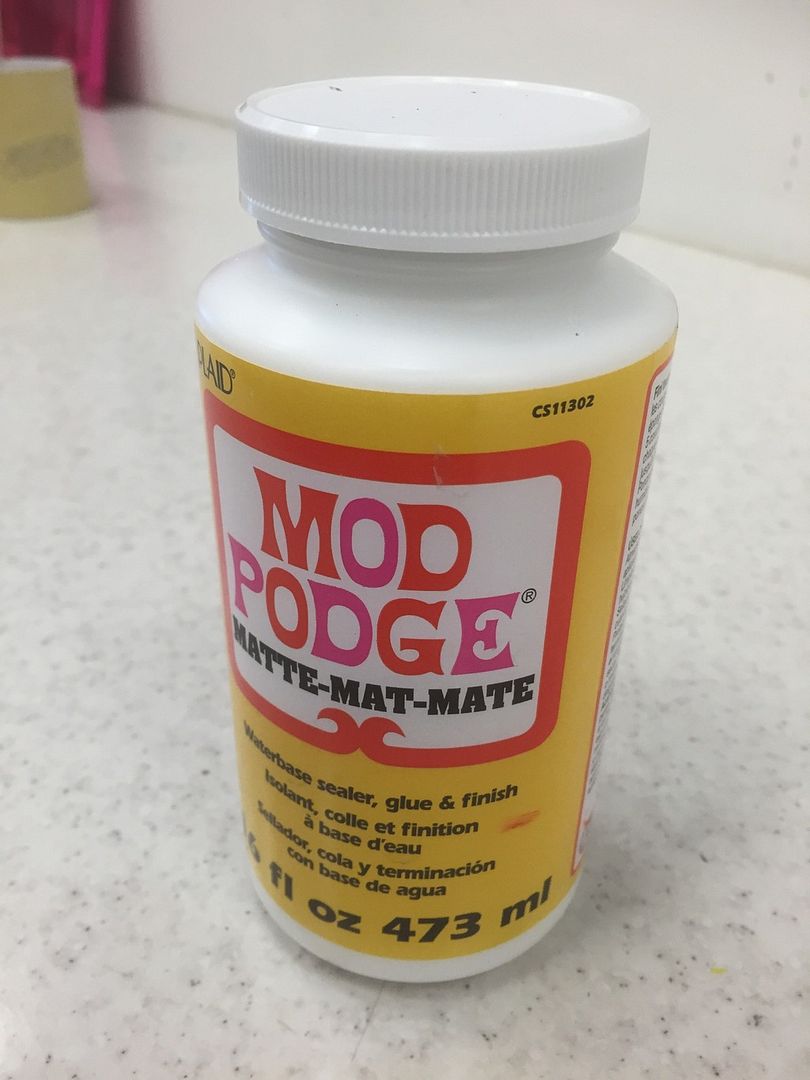
I then decided that I did not want to lose all connections with the Lost and the Damned tome, so I thought about how I could incorporate some of the text from the book into my illustration. The art teacher in me thought instantly of good old Mod-Podge:


 and with a  mirrored photocopy of the opening page of Nurgle from the great book I was able to combine the text onto my background and re-work into it with some additional tones and drips etc.


So what for the illustration itself? I played around with the idea of creating my own Nurgle characters, but I wanted to link back to miniature painting exploits on this blog, perhaps drawing up one of my favourite models or greatest accomplishments. And then it hit me! Having recently completed the collecting and painting of all the original Nurgle Champions I considered working from one of my very own photographs of my very own models, this one in particular:


Below you can see the initial drawing outlined in black pen (and the title of the blog Mod-Podged on)


And then bringing in some further contrasting highlights with some white acrylic washes:


I think there's still room for improvement in the contrasting and definition of each drawn figure (although I wish I hadn't worked in A4 size - what a simple mistake - always work larger and scale down!), but I am interested in hearing your thoughts. Cheers in advance!


Ps. How do I resize the image at the top and why have I suddenly lost a load of my comments, I think all those from Google +? All help and comments appreciated (if they show!)


Sunday, 27 September 2015

Tutorial : Basing Trees

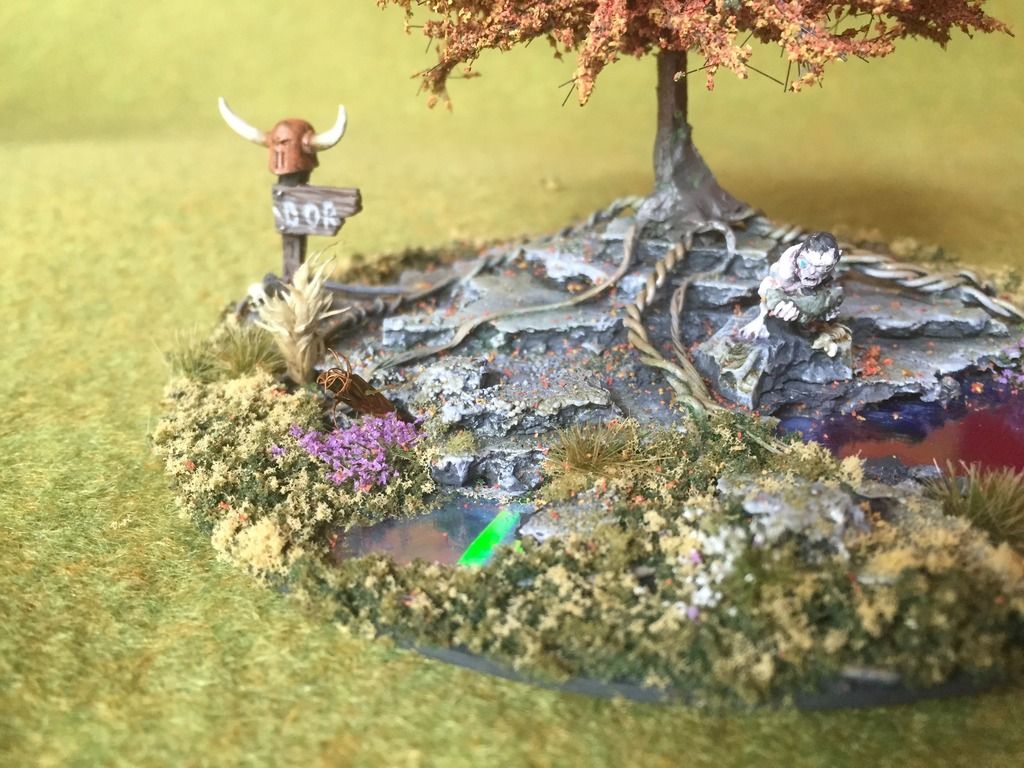
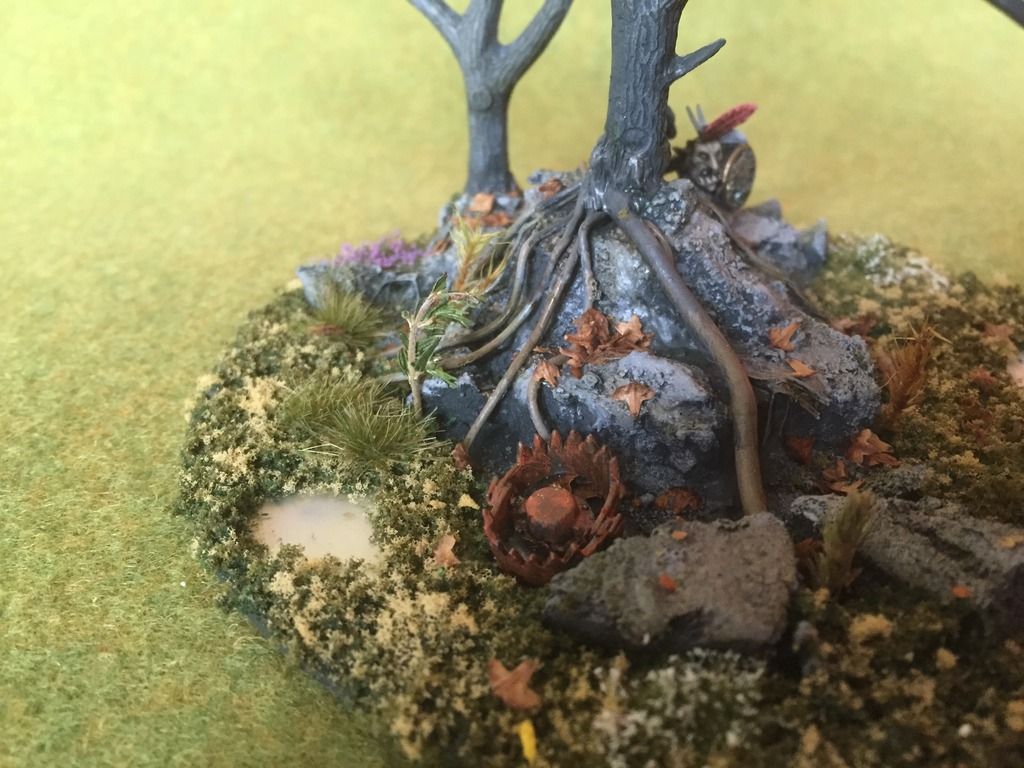
I decided that it was about time to have some trees in my scenery collection. I was toying with the idea of scratch-building the trees themselves (possibly from twigs), but after some research I felt reluctant that I could actually make them look as good as bought ones, so I went shopping at Antenocitis Workshop, did some experiments with ideas and materials and came up with these:


This blog post will show you how I made them.

I've always found it annoying that for gaming trees are often just plonked onto a small base and then become ripe for getting caught on the sleeves of your clothing or knocked over easily and in fact just end up being a pain in the arse when gaming. So they then just get moved out of the way. So to combat some of these issues I decided that my trees needed to be scenery pieces in themselves and to do this I would need to base them in an interesting way and if the base was large enough I can add some interesting details, experiment with some ideas/materials and also add stability to the tree itself. So I decided that a cd would make an ample sized base.

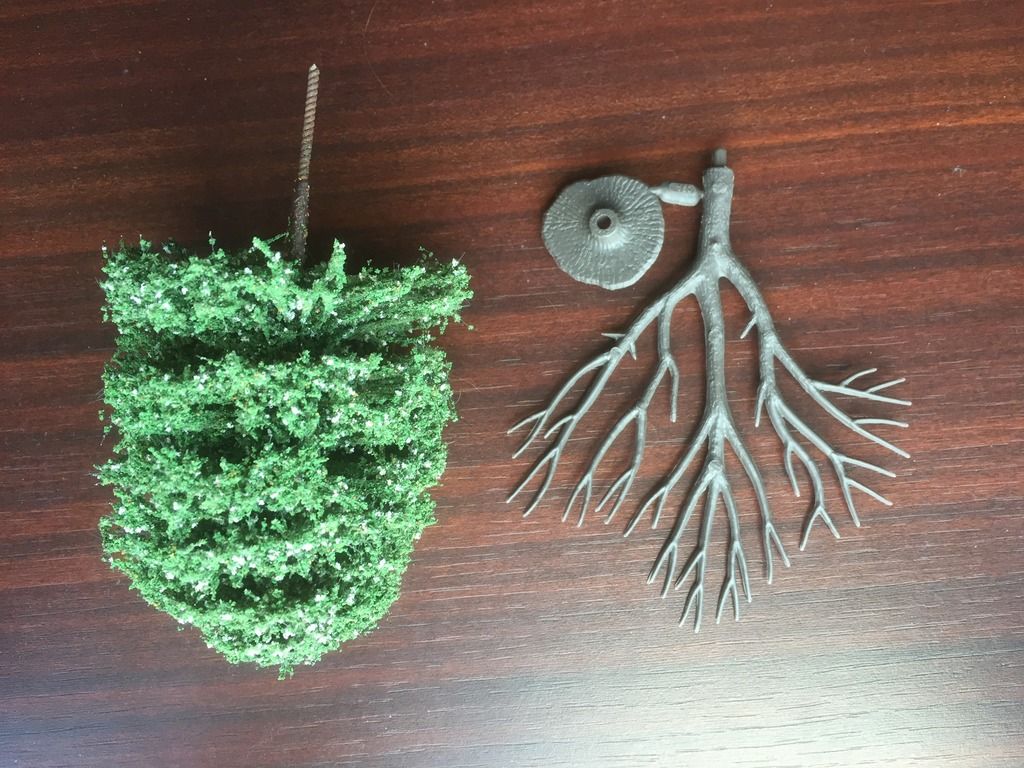
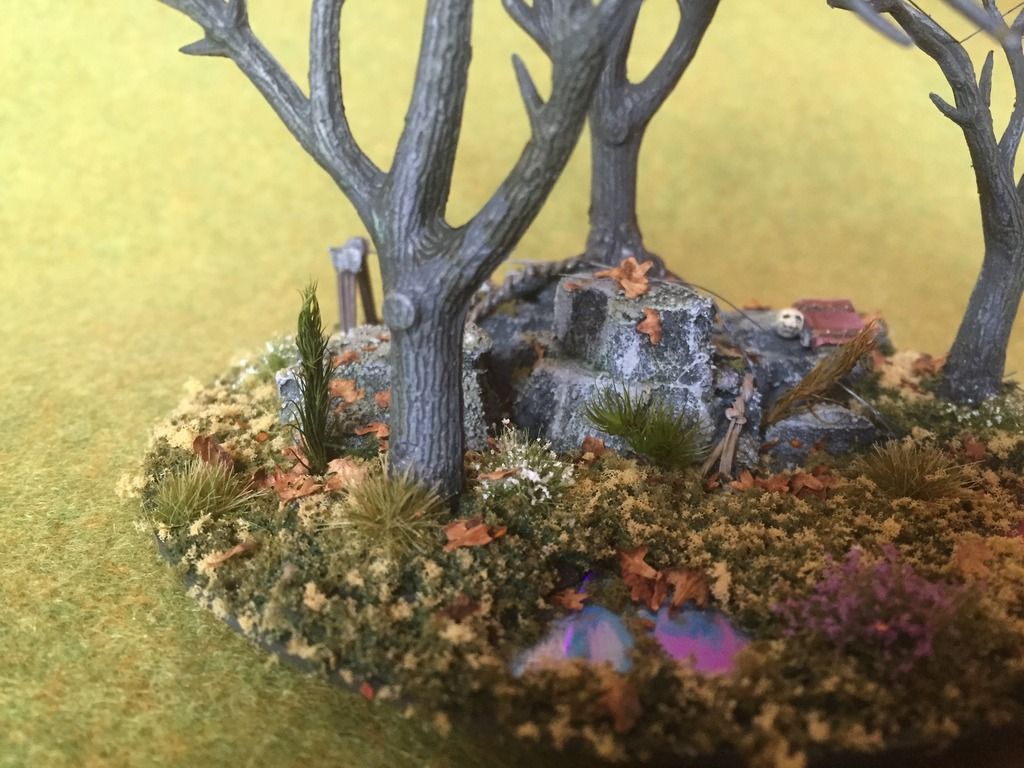
I was torn between using some of the armatures as old, gnarled and barren trees or maybe combining them with the lush looking ones on the same base. In the end I decided to (for now) make two of each on separate cd bases.


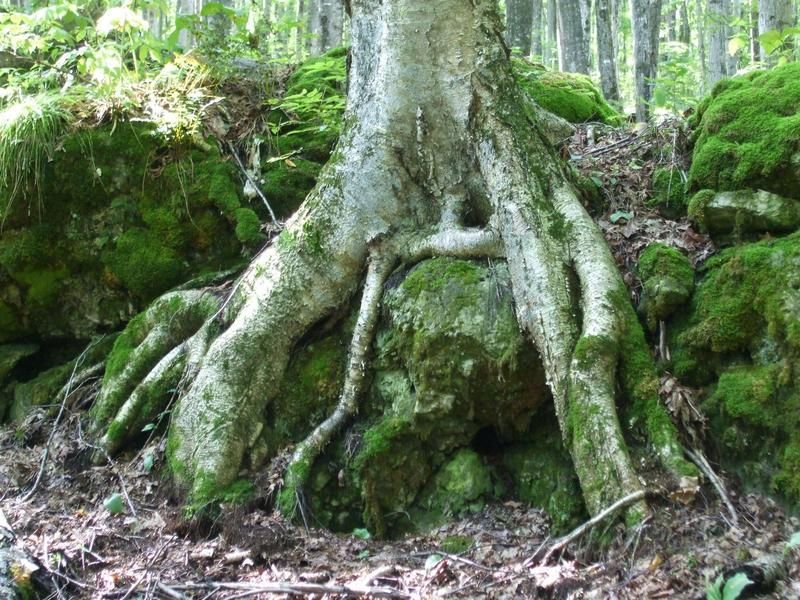
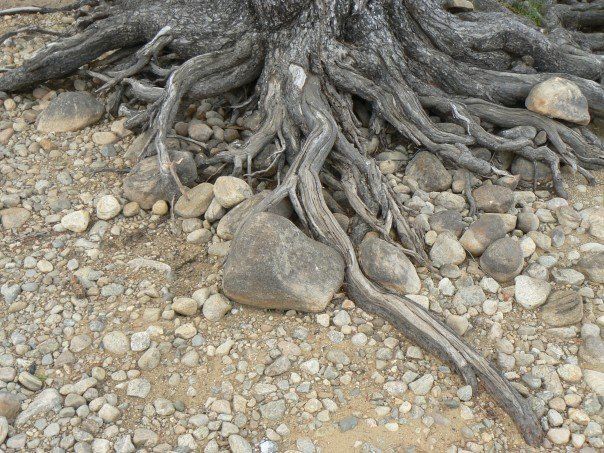
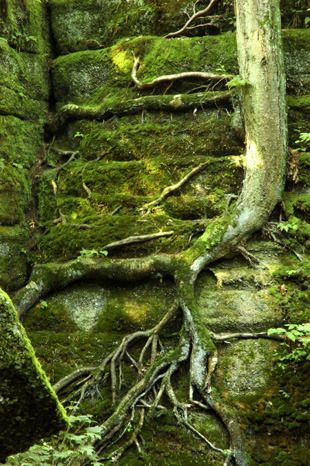
I always like to conduct some image research on Google images before I start and I was keen for my trees to be perched on rocks to give them a bit of extra height and interest and to challenge my modelling skills. These were what inspired me:


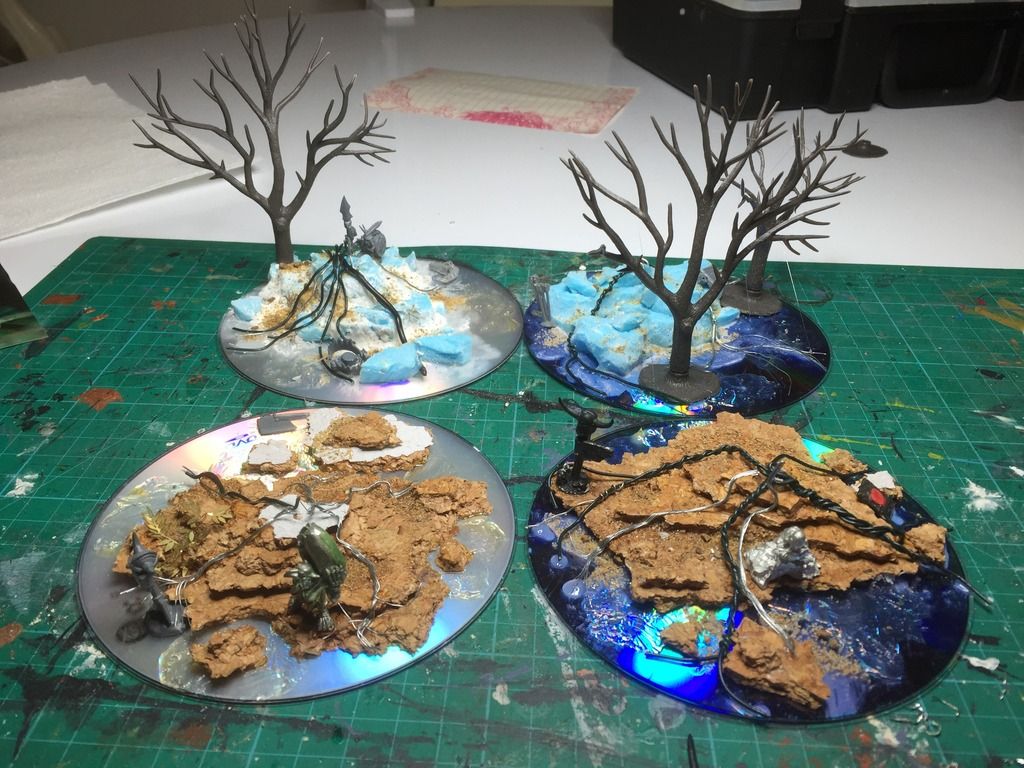
So here are the WIP photos:


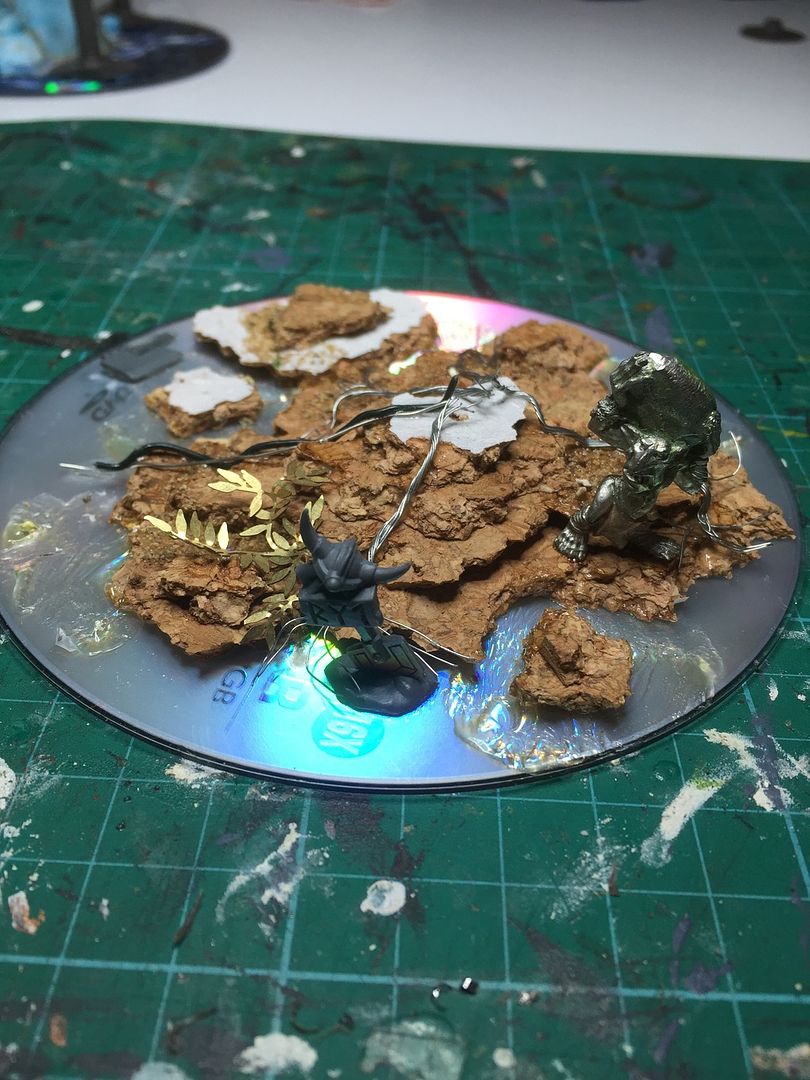
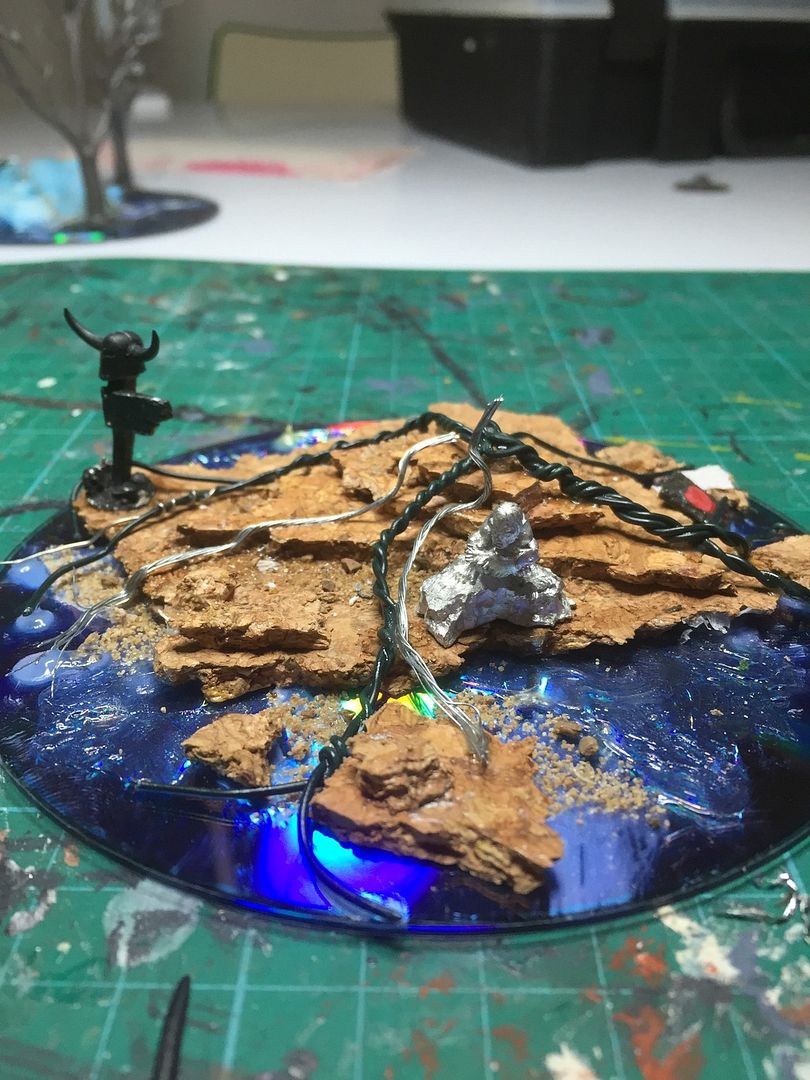
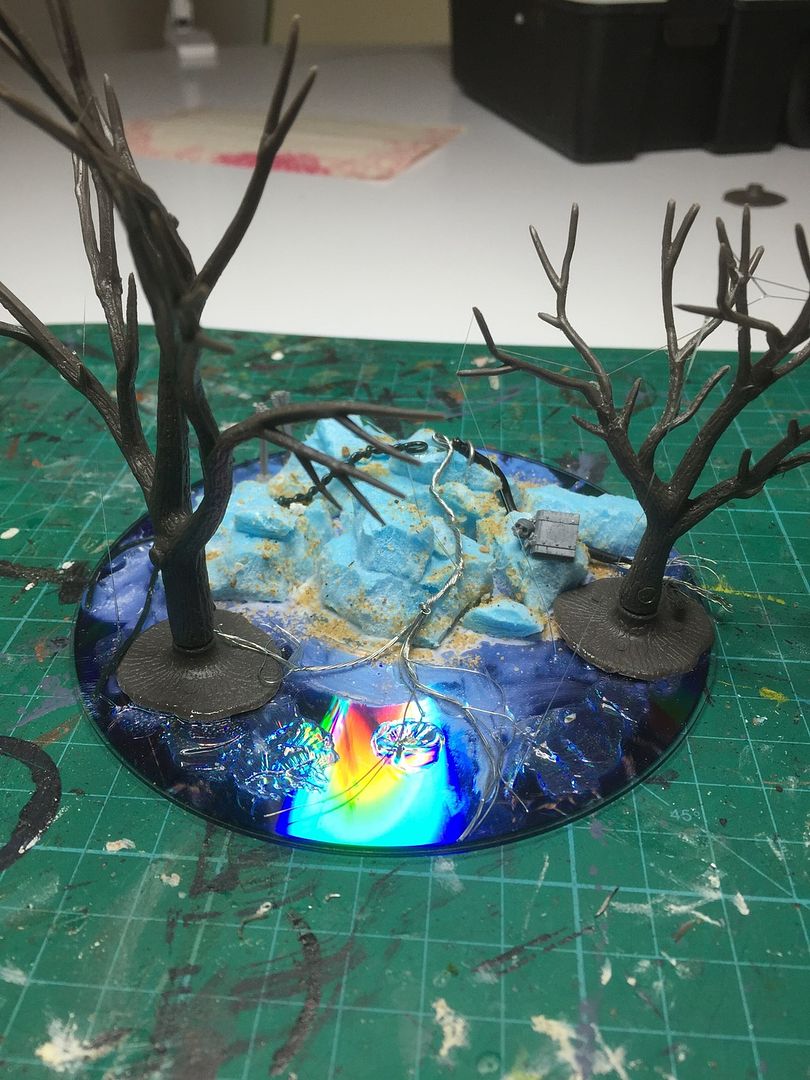
You can see that I've used old CD's for the base, extruded polystyrene and/or cork tiles to make the rocks (these have then been coated in pva so that they can resist the aerosol from the primer) and different gardening and diy wires which were twisted and then used for the roots. Halfway through the process I found some wire in the garage which is already twisted into strands (I think these are from a picture hanging set) and this was ideal for unwinding from a thicker stem into several smaller roots, as you can see on the left one at the front.

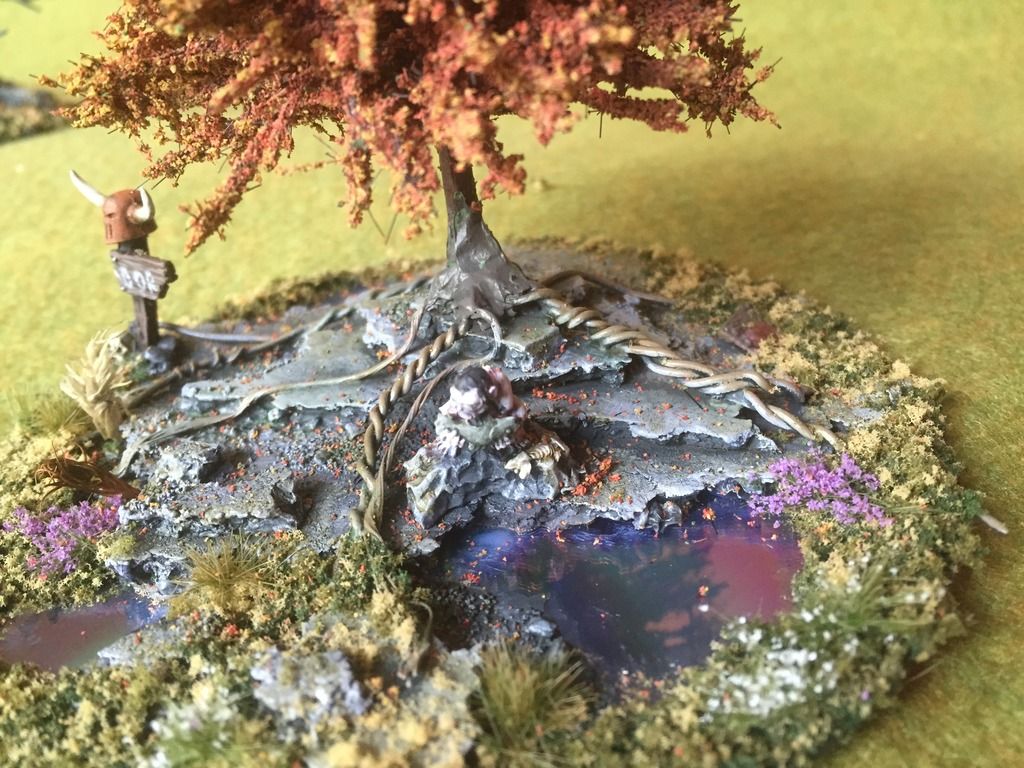
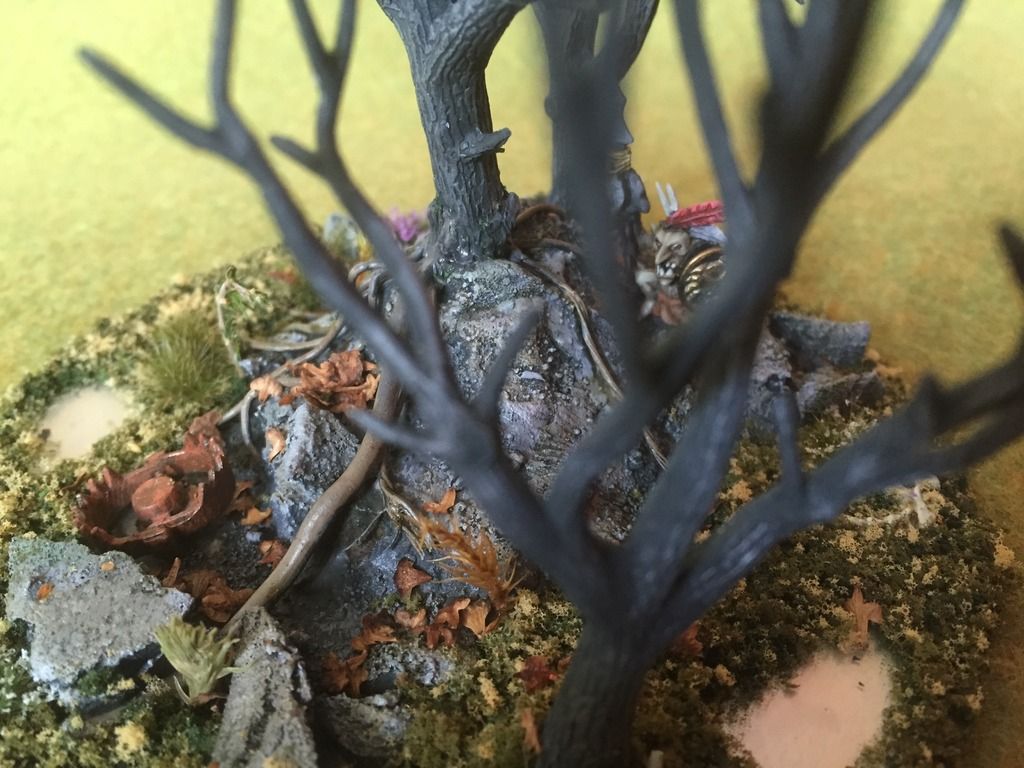
The dull, wrinkly patches on the CD's, which look like pva residue, is actually masking fluid - the idea being that after these are primed and painted, I can peel the masking fluid away to reveal the shine of the cd and have a very quick water feature / reflecting pool! I've also added some stuff from my bitzbox to add a bit of narrative to each scene:
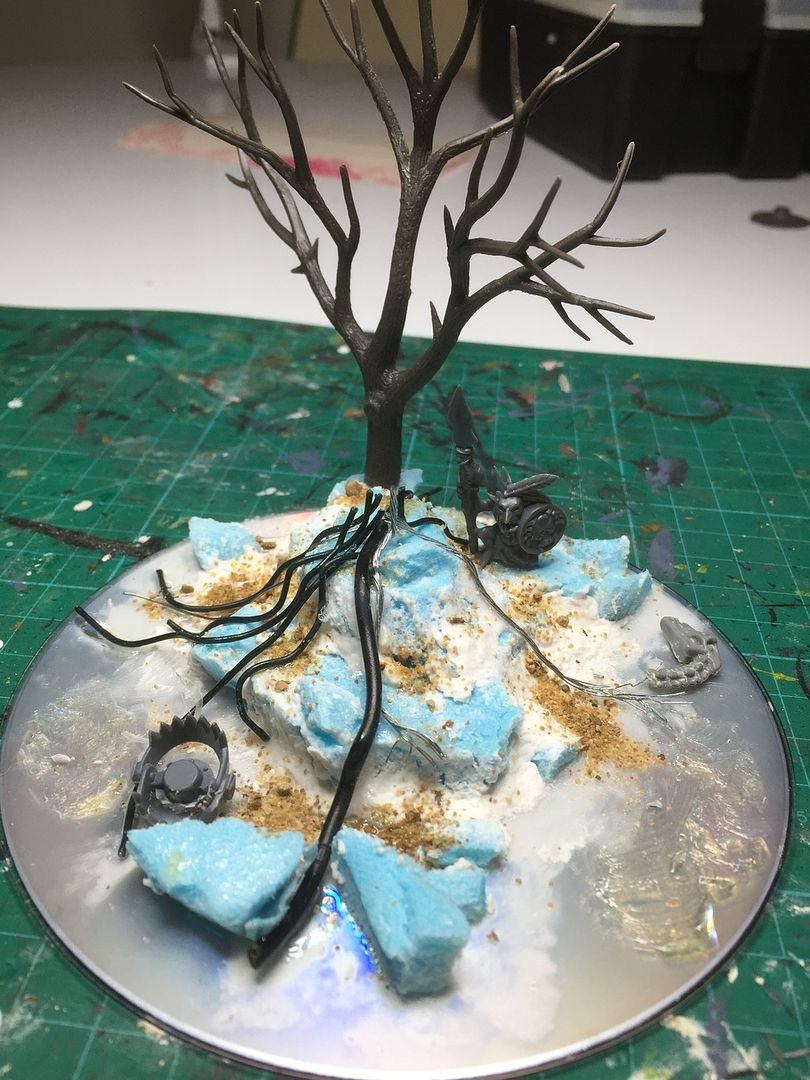
A forest goblin guarding his patch (with the help of a trap)

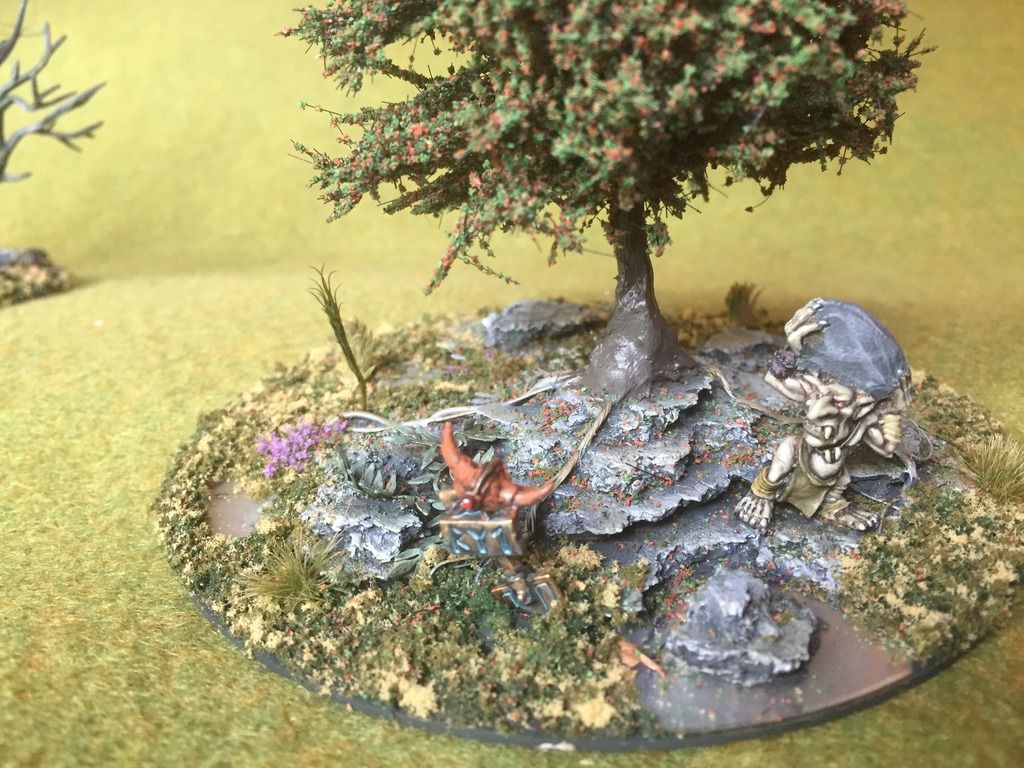
A goblin stealing a rock, from what appears to be a Dwarven area. Some brass etched leaves have been added here too

Gollum with a fish by the pool. You can see his reflection in there which adds to the narrative. And a broken signpost in the background which will say "Mordor" on it.

This one has a magical tome on the rock, which could be used as an objective for a scenario. I plan to add an elf leaping between rocks, I have a perfect old model from my bitzbox for this.
Once all the wires were superglued into place, some sand was added to pva to create a bit of extra texture to be painted as either smalls rocks on the base, or where I've added it to the rocks themselves, as moss.

The entire thing was then spray undercoated black ready for painting. In fact the painting was the quickest part. All of the bare trees were dry-brushed with two tones of grey and the rocks with highighted/drybrushed with about 4 tones up to a very pale grey. Lots of washes of greens and browns were added, once the rocks were dry, to create a weathered appearance. The bitz/details which I added took the most time to paint and in the end, to be honest, were a bit of a chore to complete. The problem with adding extra detail is of course that they still have to be painted to a decent standard... You may have noticed through my blog posts that I don't like to do things by half...

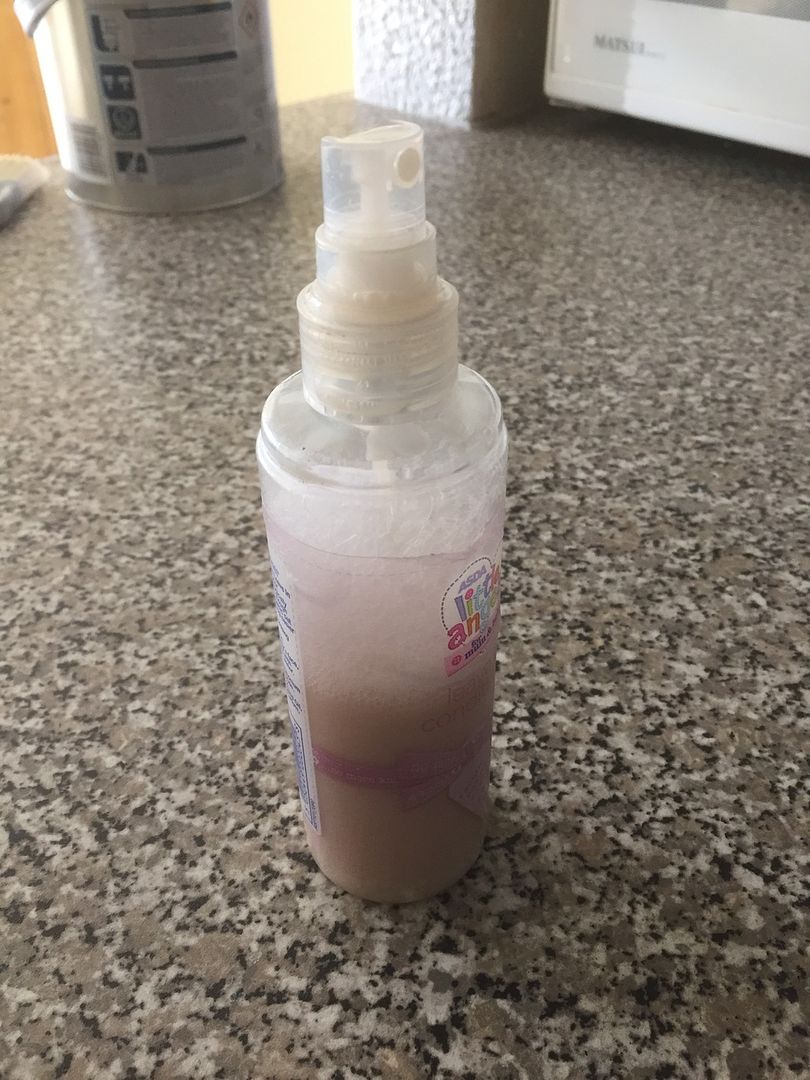
The final part was the basing of the scenery, which follows this guide, but with the new experimental addition of mixing the pva/water/brown acrylic and some washing up liquid into one of my daughter's used de-tangle spray bottle and then spraying this solution on to each layer (rather than brushing) to quicken the process. It also acts as a nice sealer at the end of the entire process so none of the flock or dried leaves fall of:


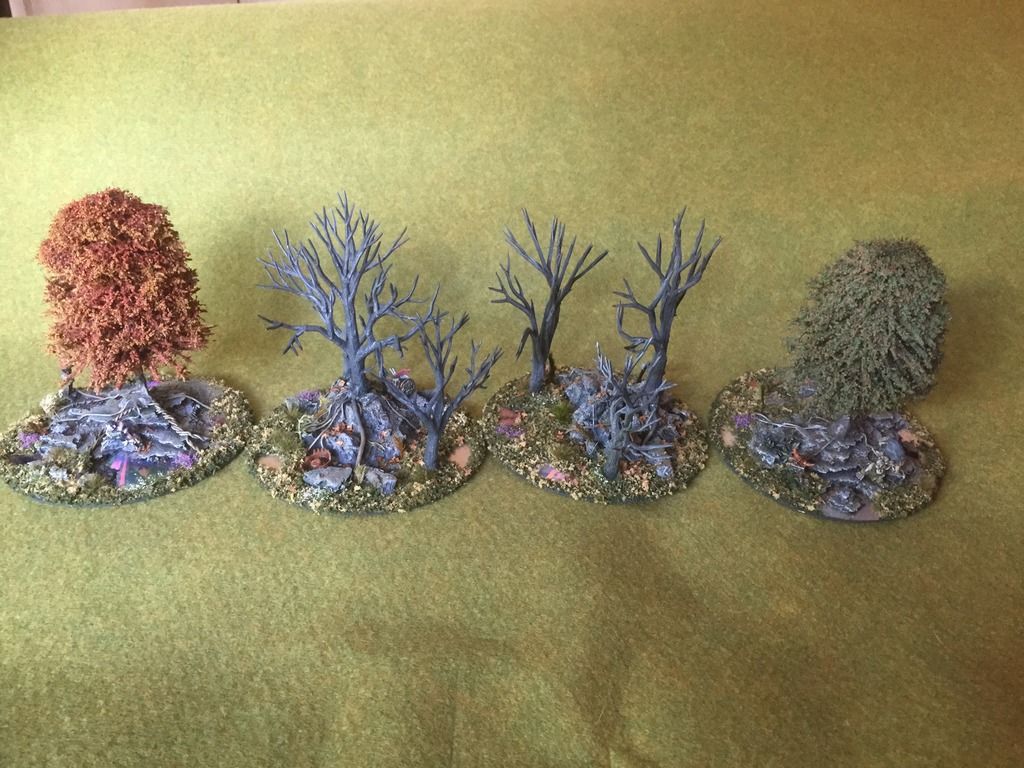
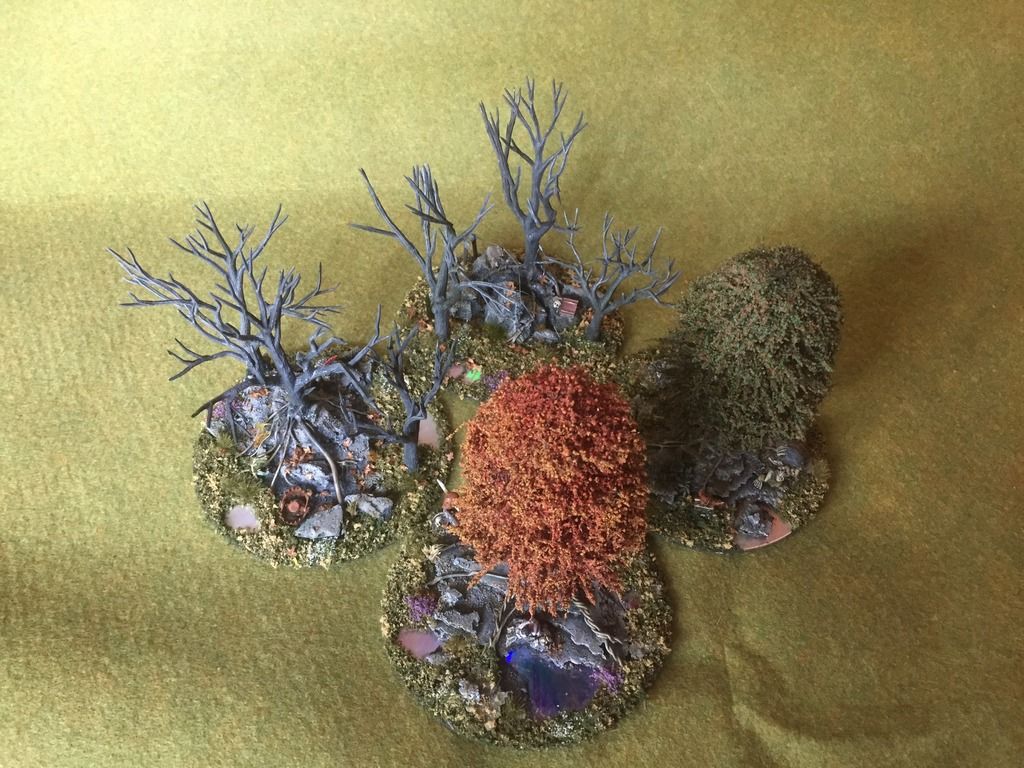
And here are the final outcomes, including some close-ups of the detail, enjoy:


Many thanks for looking and please ask if you have any questions (I forgot to take photos at different stages of the process).

Tuesday, 11 August 2015

Tutorial : Dungeon Tiles


I've been asked for a step by step tutorial as to how I am making my dungeon tiles - I always find that writing it up the process as a blog post is quite a good way of focusing the mind, remembering to take photos and to actually think carefully about the techniques (and to a lesser degree) materials which I use. It's very easy and quick to make and to be honest is a another one of those childhood dreams which I never got to realise 25years ago; I love being a big kid with the summer holidays ongoing to tackle some of my ideas/projects.
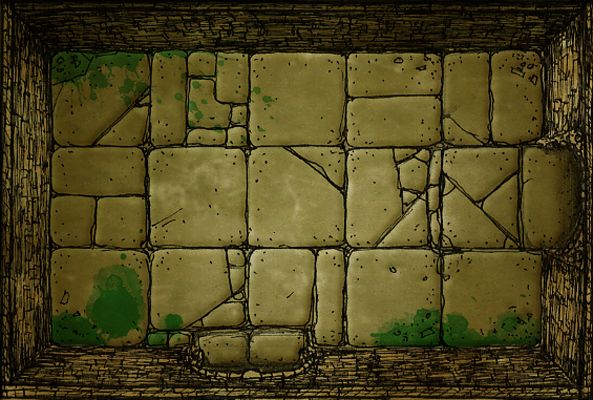
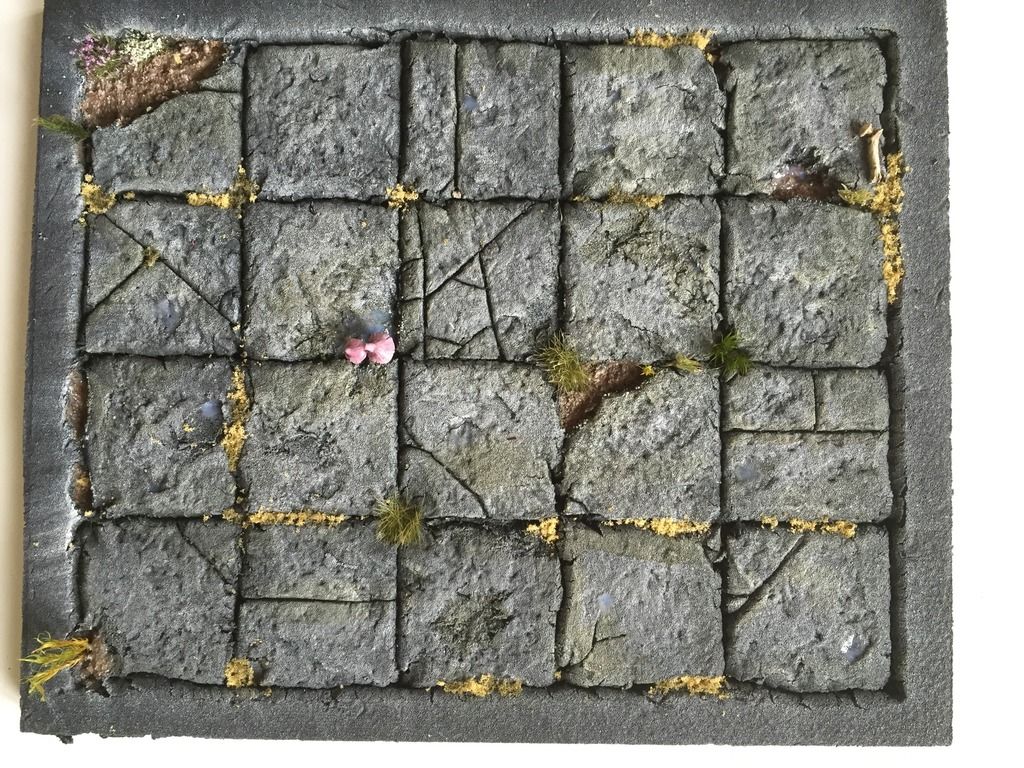
 So here's the completed tile:


And these are the steps:


Inspiration. I've trawled the Internet and my imagination (as well as taking my own photographs as primary source) to find images that inspire me. I'm sure you all have a folder on your computers somewhere with work that inspires your own ideas! I think it's a veryimportant part of the creative process (I tell my students this too - in fact their summer homework is entitled "Inspiration in Art"). My next tile will be based on my own photographs of stone work hat I have found whilst out and about today.
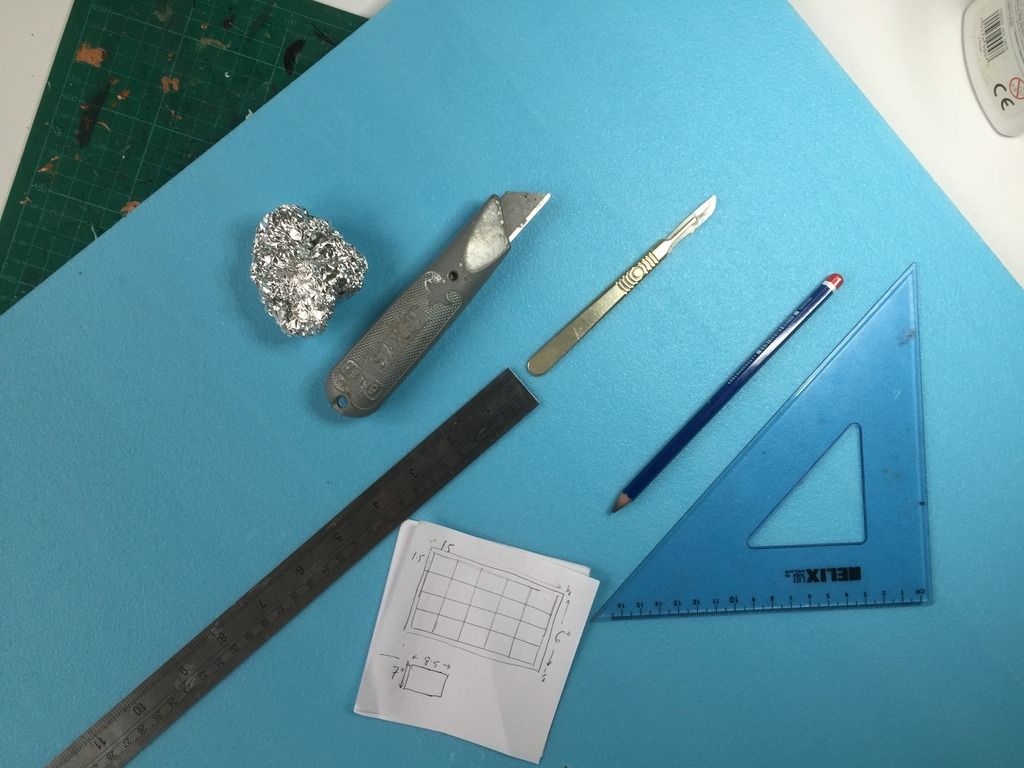
The tools I used to make it. I got hold of the blue extruded polystyrene from the Internet, it's official use is for underfloor heating, but I'm sure they get a lot of orders from hobbyists! I hear you can also get it from DIY stores too. You can exchange the ball of silver foil for a rough stone if you please, both work equally well.  The polystyrene does blunt your blades, so you may need a few, I do most of the main cutting with my Stanley and detailed work with my surgical blade. Probably the not important item here is the plan, it's well worth drawing it out in advance so you can check sizes and measurements in advance. I find the blunt pencil to be really useful too.
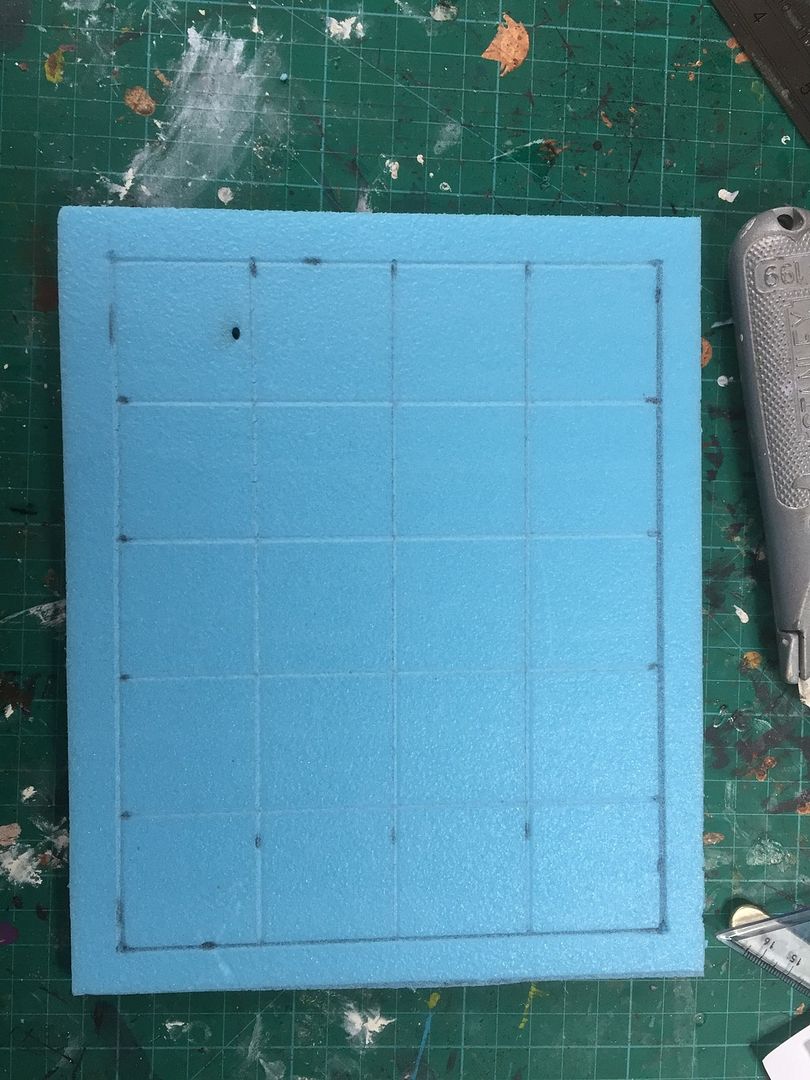
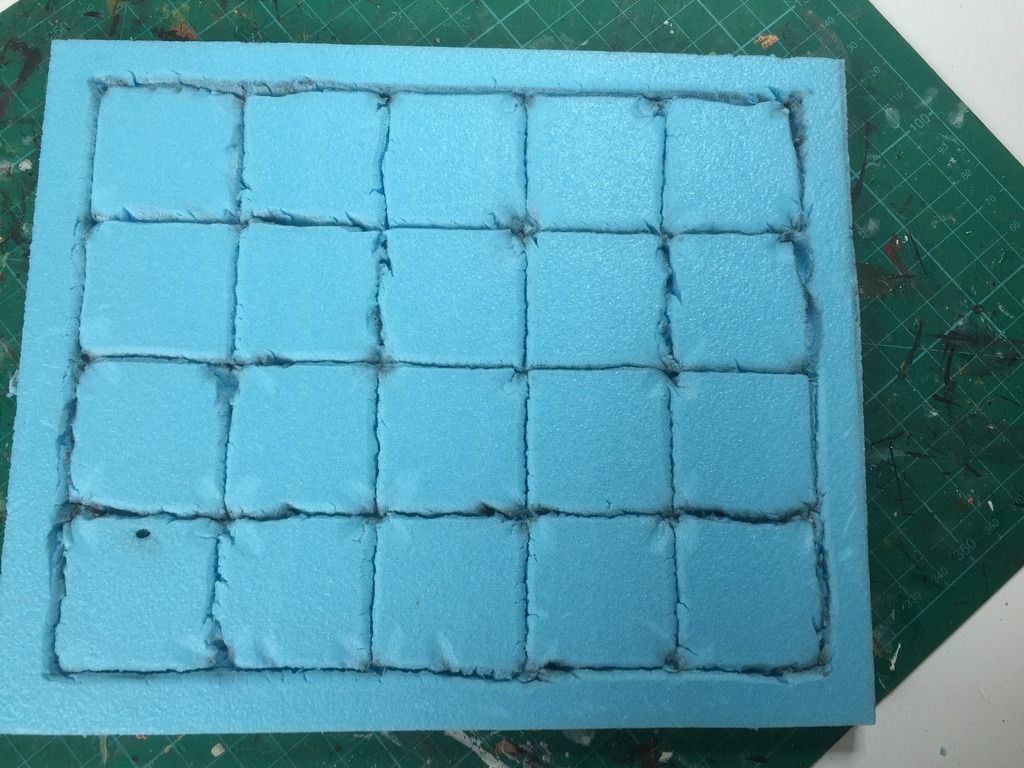
The finished guideline grid. You can see my markings to ensure each square is 1 1/2 x 1 1/2" and the outside (where the walls and doors will eventually go) are 1/2" all around. I felt that by having squares which are quite large (certainly larger than Heroquest) I could get more detail into each square / dungeon tile and also the larger size would accommodate larger models on larger bases too. Hopefully the tiles won't look too clogged up with models as can happen when they are smaller. It's drawn out using the blunt pencil lightly.

Go over each of your initial lines with the blunt pencil, applying quite a bit of pressure to make the dented line. Don't worry about being perfect with this, some irregularity looks good!

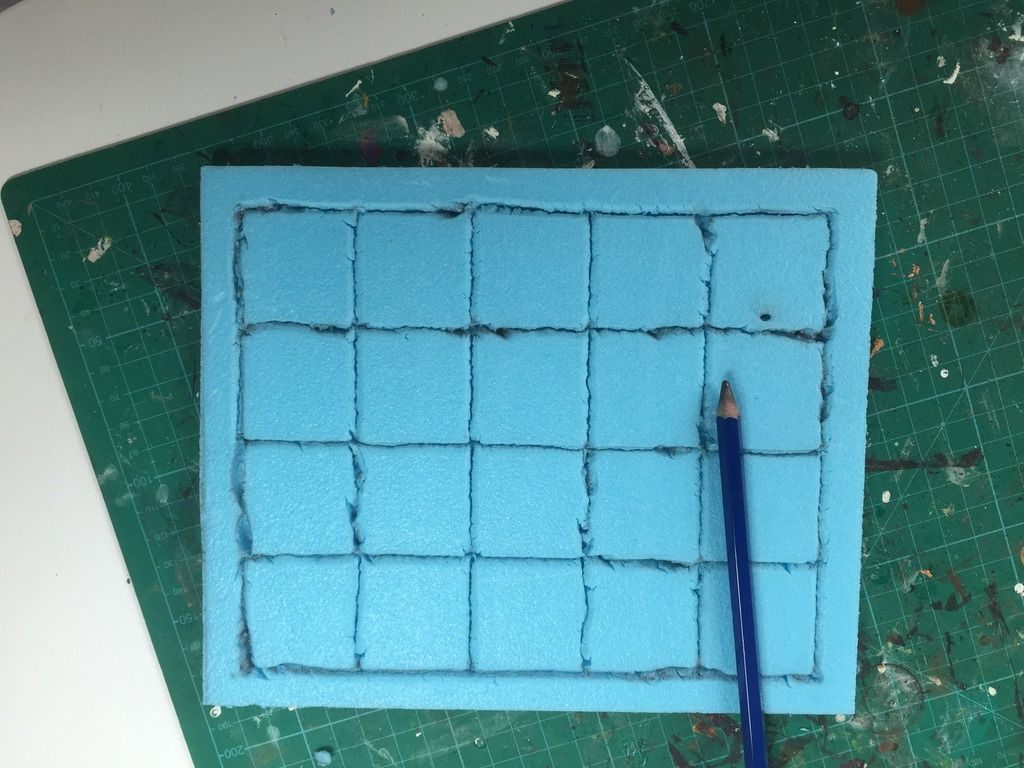
The completed grid. As you can see being inaccurate and freehand is a good thing to create a good effect.
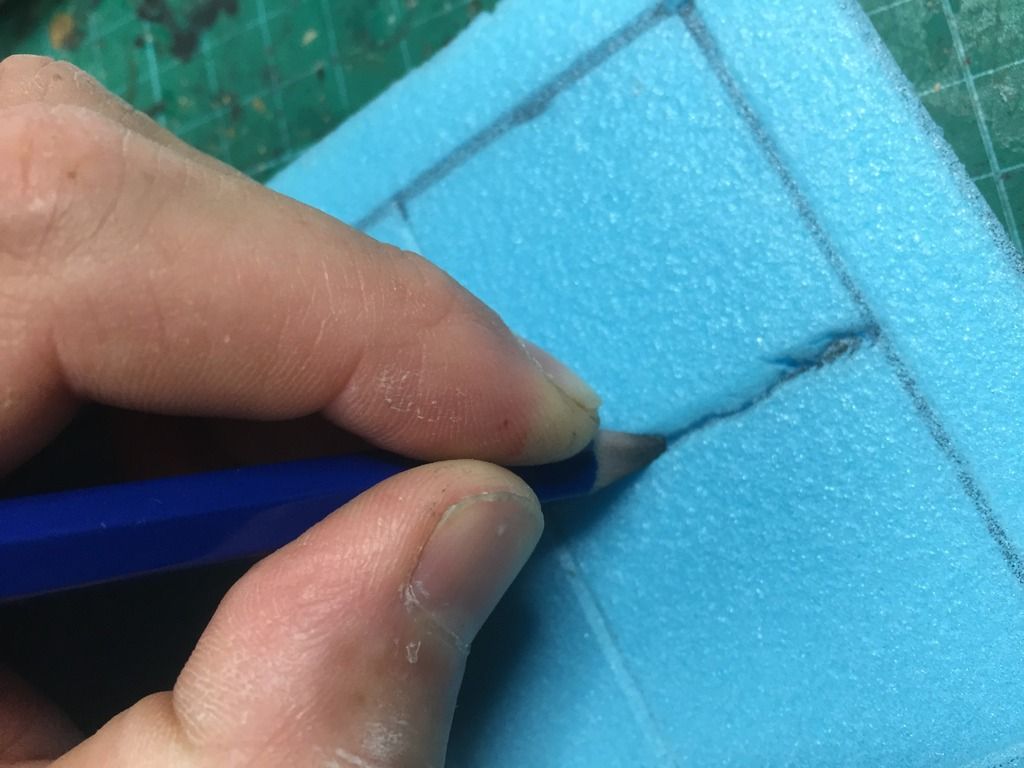
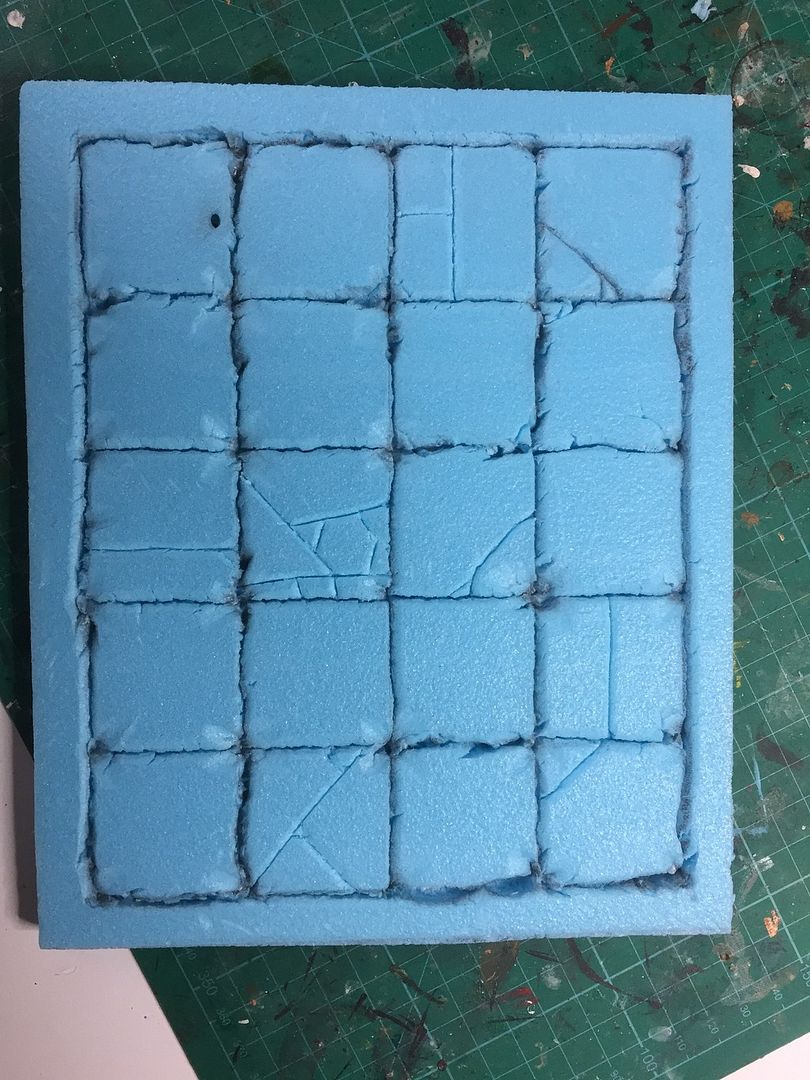
The blunt pencil is great for creating indentations, especially in the corners. Just apply some pressure at about 45 degrees. It takes a little while to do them all but adds extra realism I think.
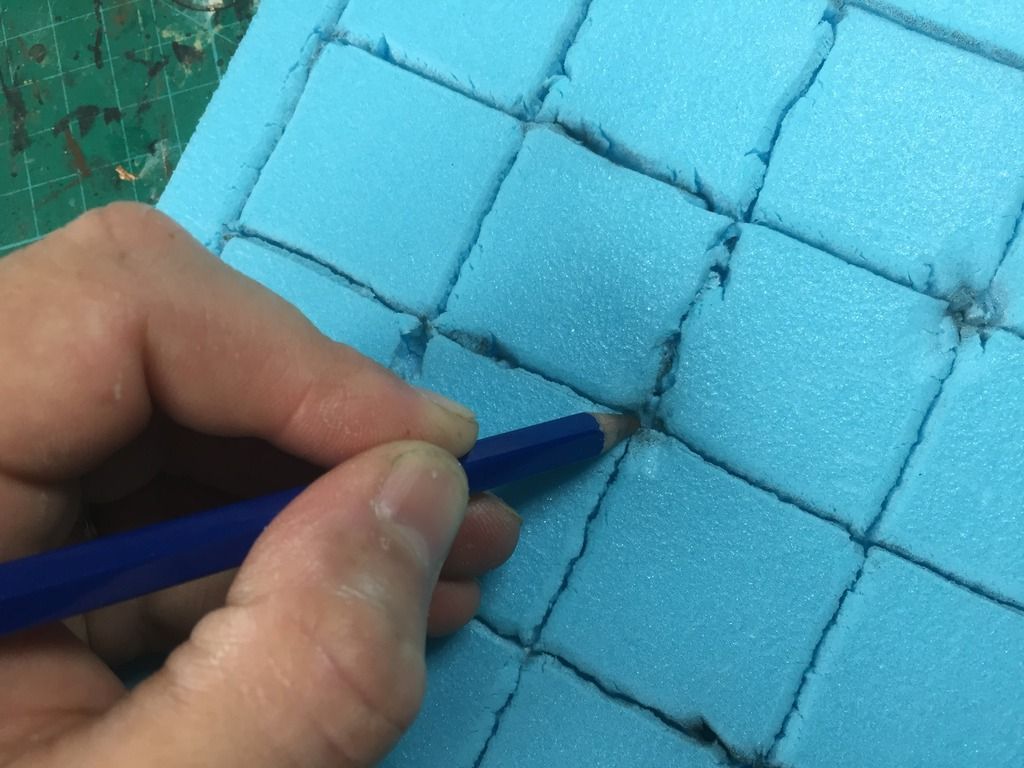
Using the blunt pencil to apply pressure, I've rounded off the edges and corners of the flagstones, you can also see a few other indentations using the same tool. 

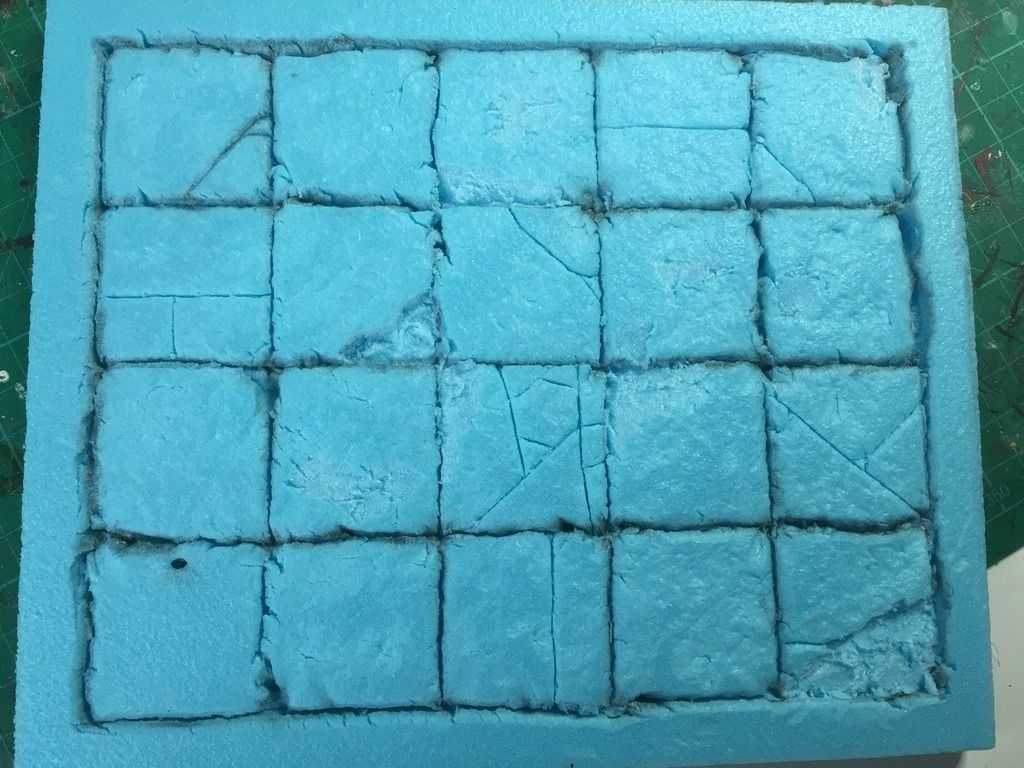
Referring back to my inspiration, I've added all the cracks in the flagstones using my scalpel.


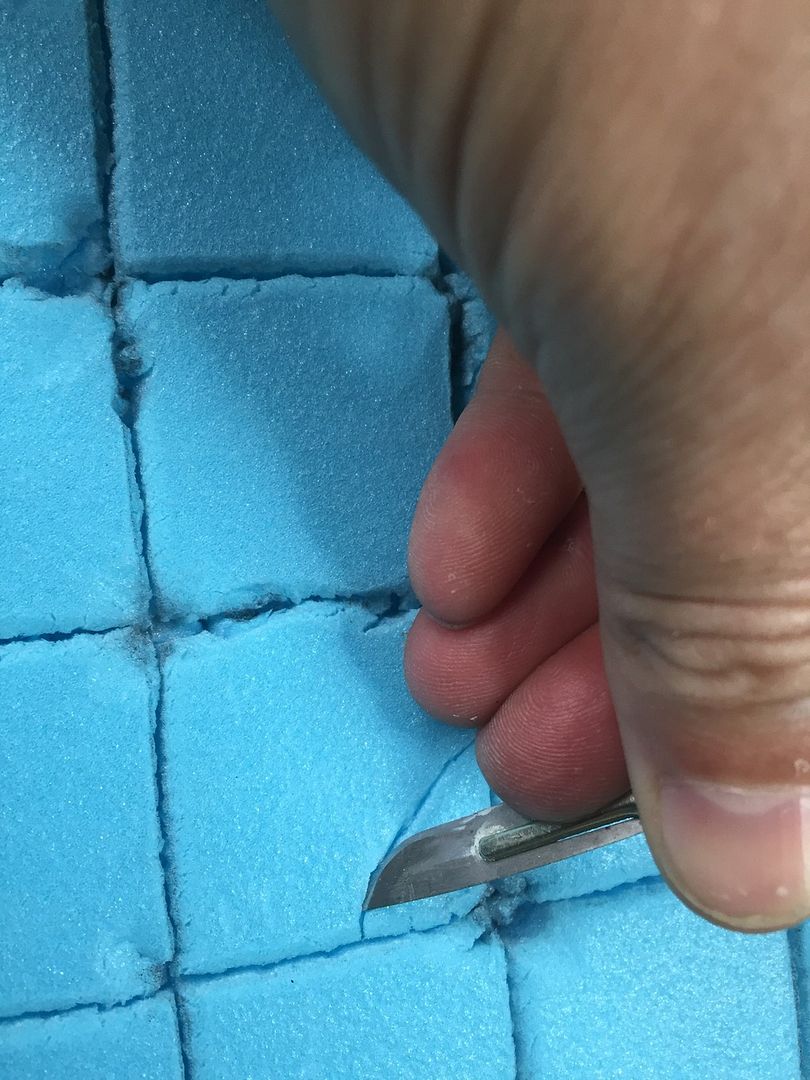
After making the initial cut, I then use the blade at 45 degrees to apply pressure either side of the cut. This softens the edges of the crack.


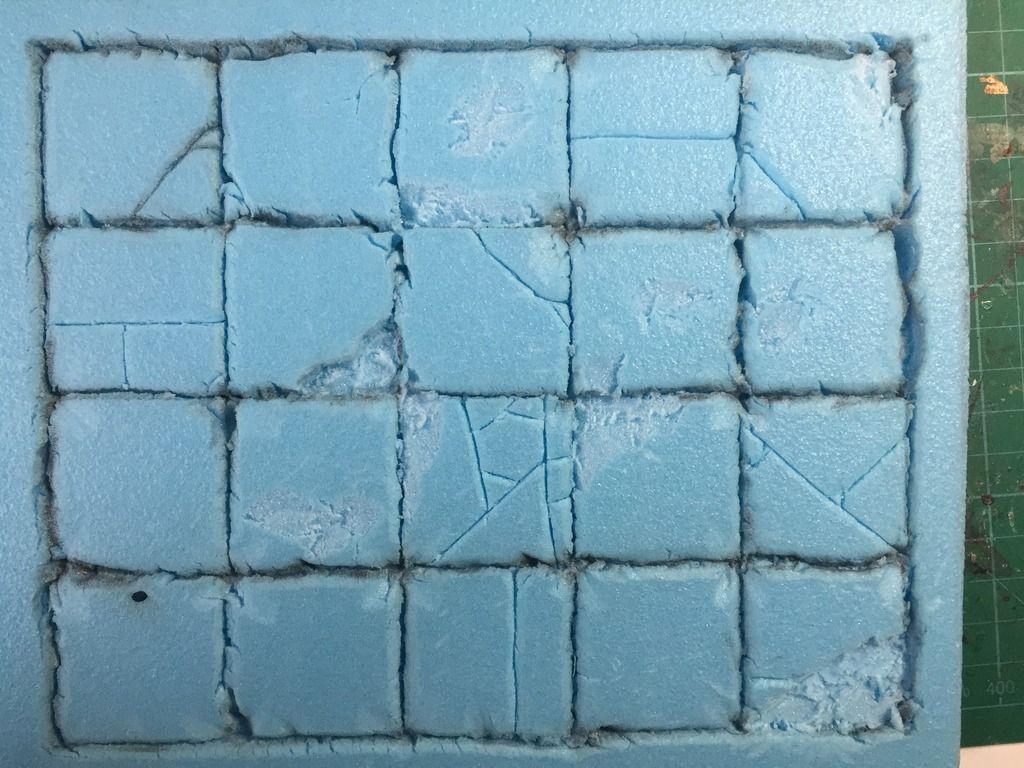
I've used my scalpel to dig out some areas to give extra depth to the flagstones, the deeper areas will have sand added later to show where the stone is missing and revealing the dirt beneath.

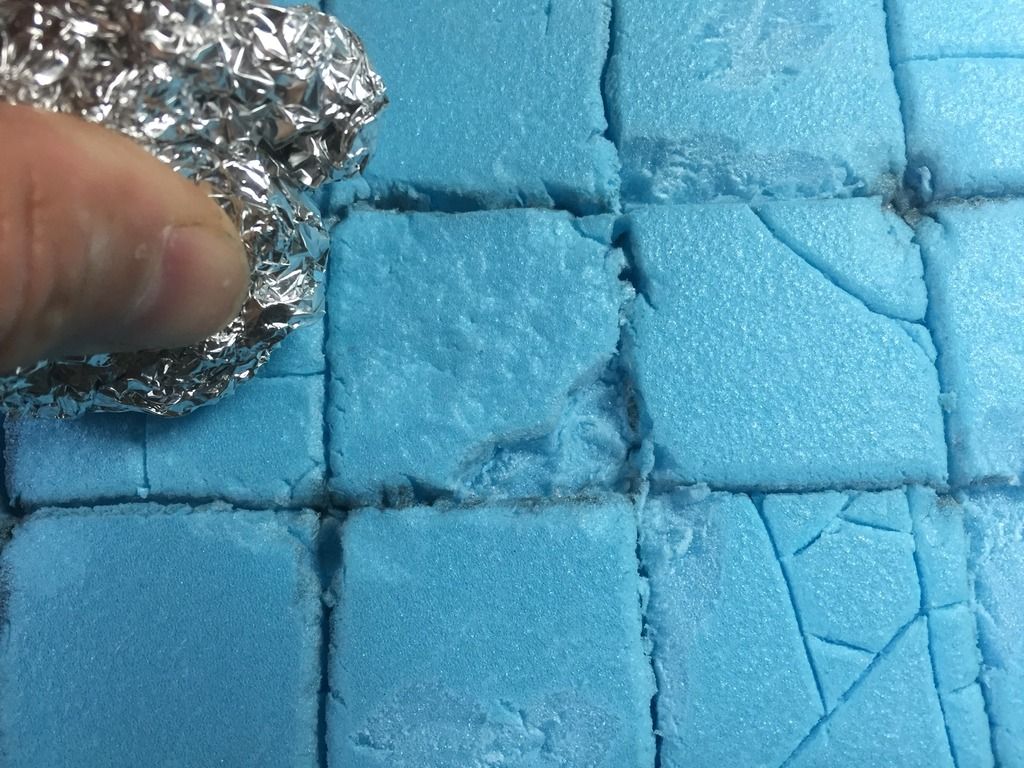
This is the first time I've tried this technique to capture the texture of rock on the pilystyrene, last time I used a stone. Both seem to work equally well as long as you press down quite hard and try and keep the indentations as random as possible. 

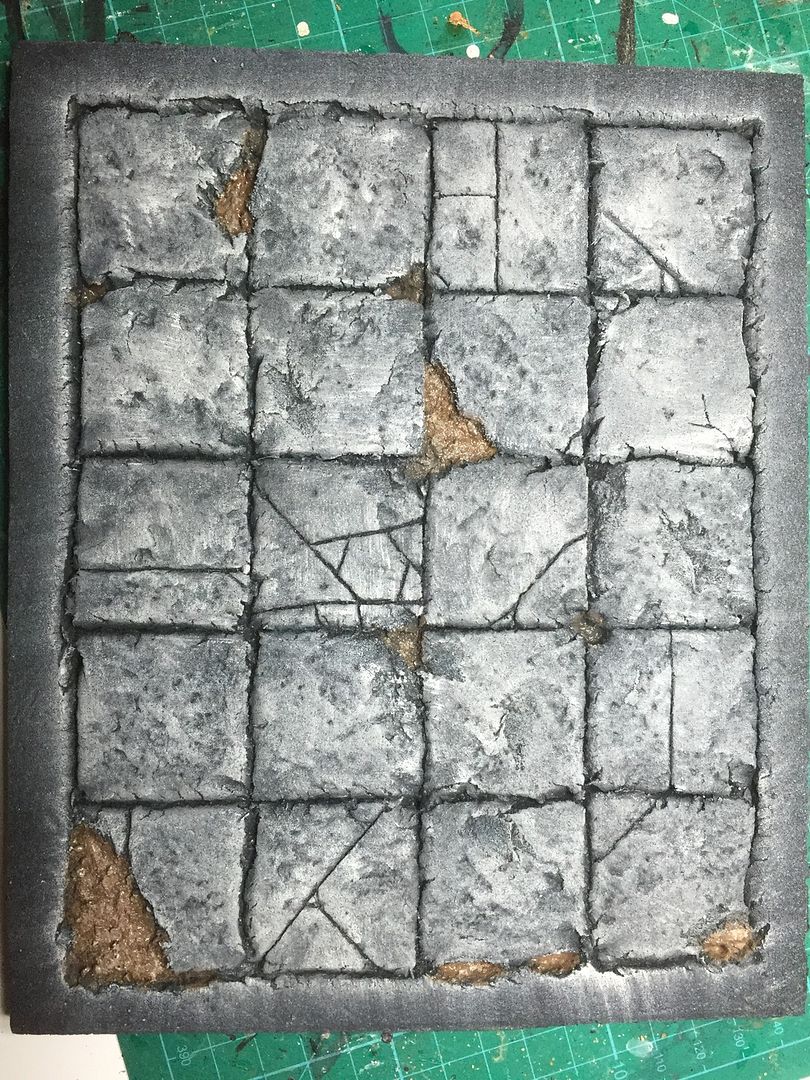
And the texture all completed.

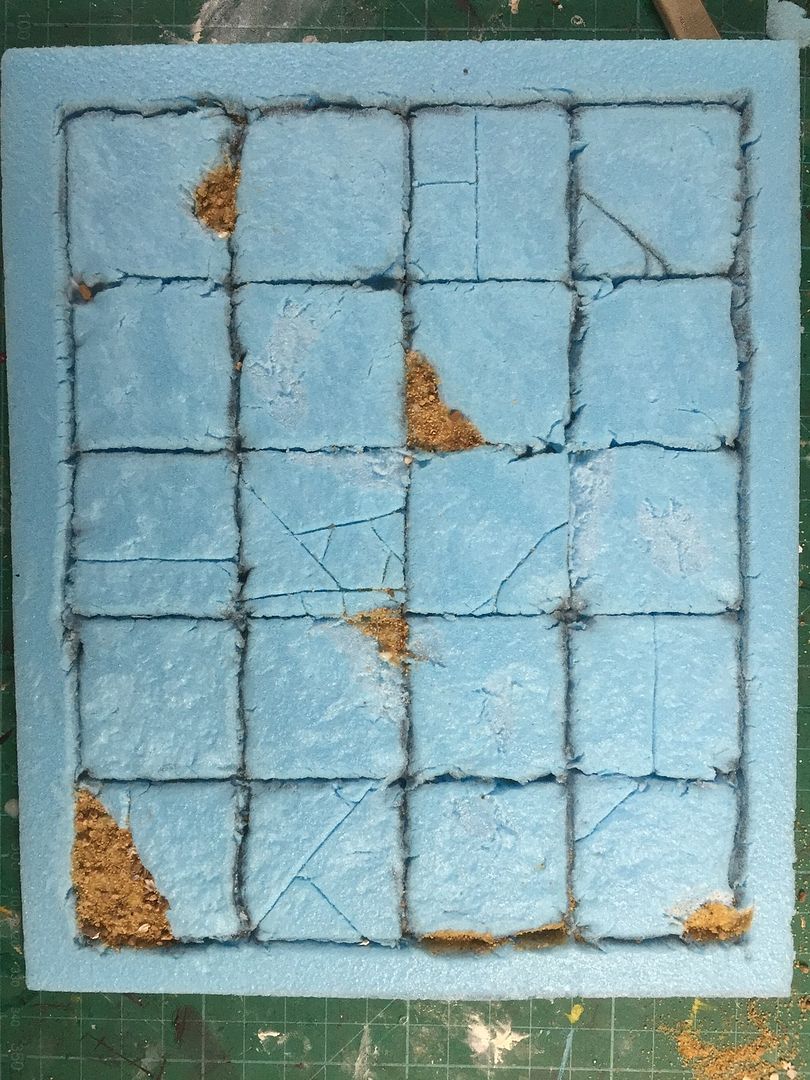
Here I've added some sand to the areas where dirt has been exposed. Simple PVA for glue.

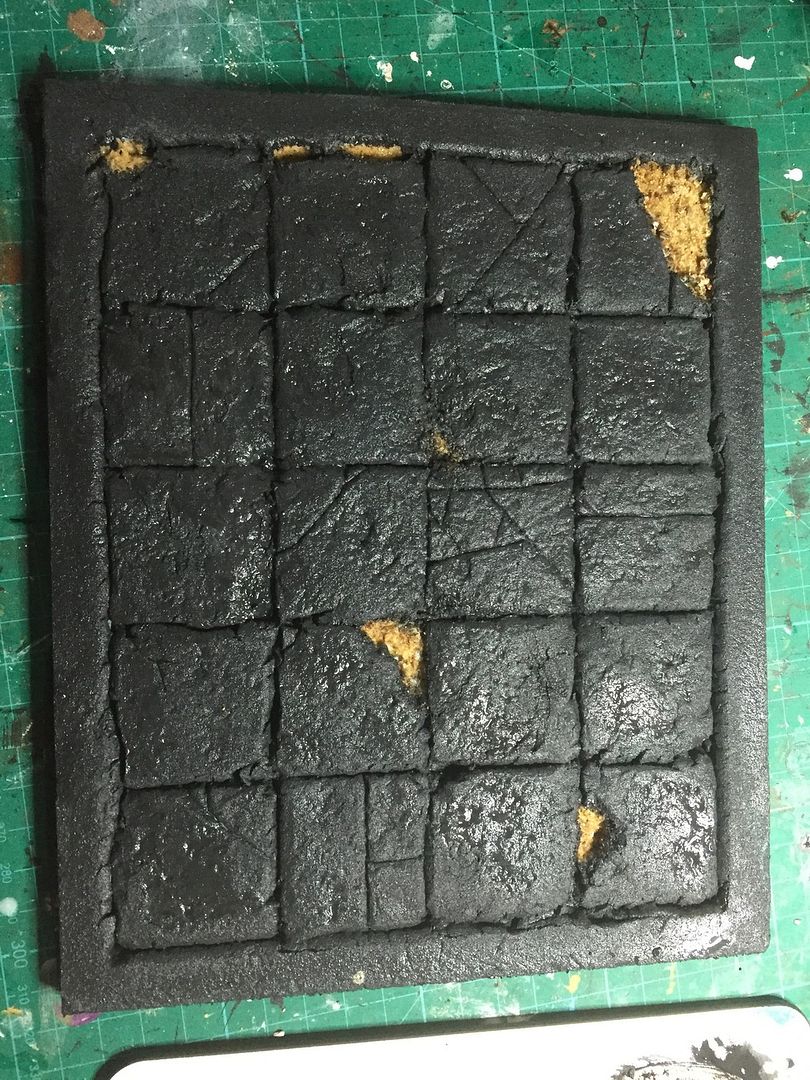
A very thin, diluted dark grey layer is added first, I find this helps cover all the tile and get into all the cracks and crevices. I see this as the alternative to the black spray primer that I would use of the polystyrene could take it without being eaten.

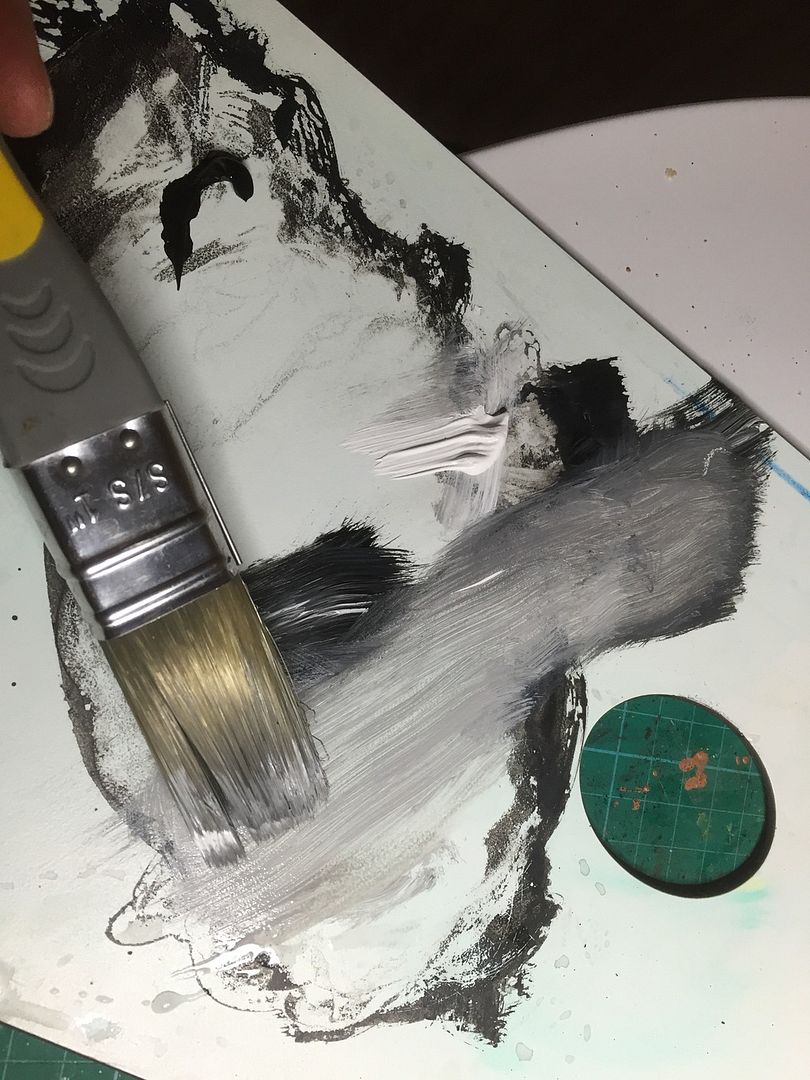
Here you can see my drybrushing palette; black and white with gradually lighter tones mixed up. I find a 1" brush ideal for applying the paint at this stage.


Dry brush with successively lighter tones. For me there's quite a bit of Oisin on the "drybrush" and some control too - generally brushing in the same direction and lighter towards the edge of each tile.
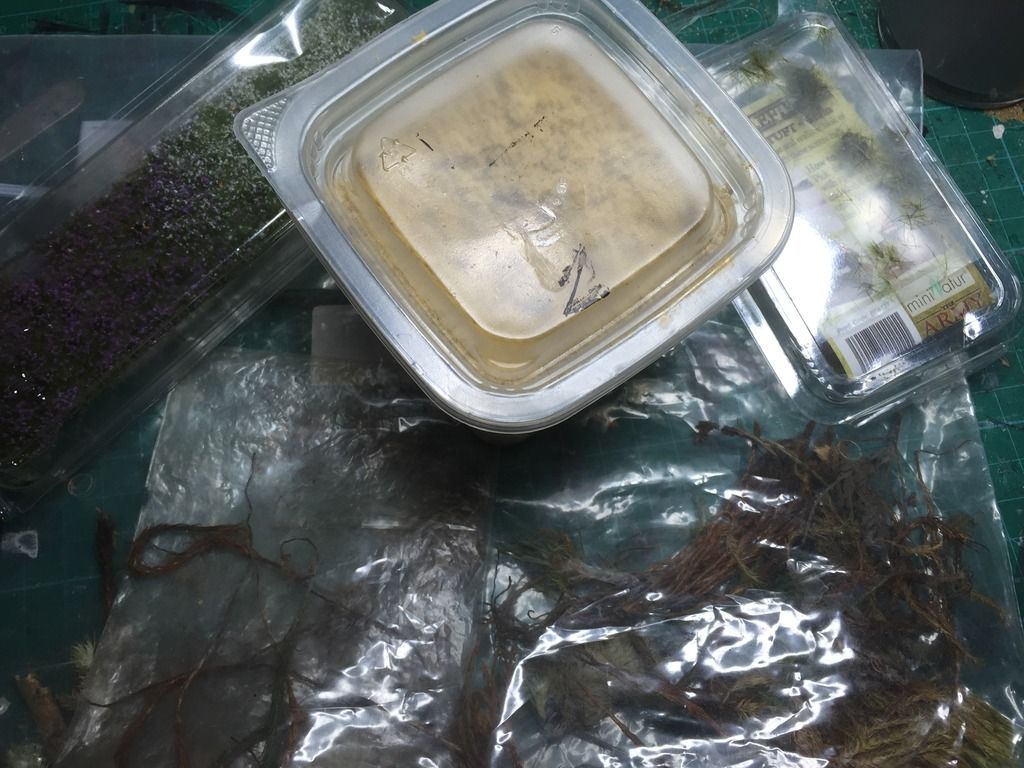
From my basing box, an assortment of Army Painter tufts, Woodland Scenics sponge, some Tilfur flowers and moss from my garden..

With some tweezers and a touch of PVA, these basing bitz were all added, mainly to cracks and crevices where they are more likely to thrive and grow.


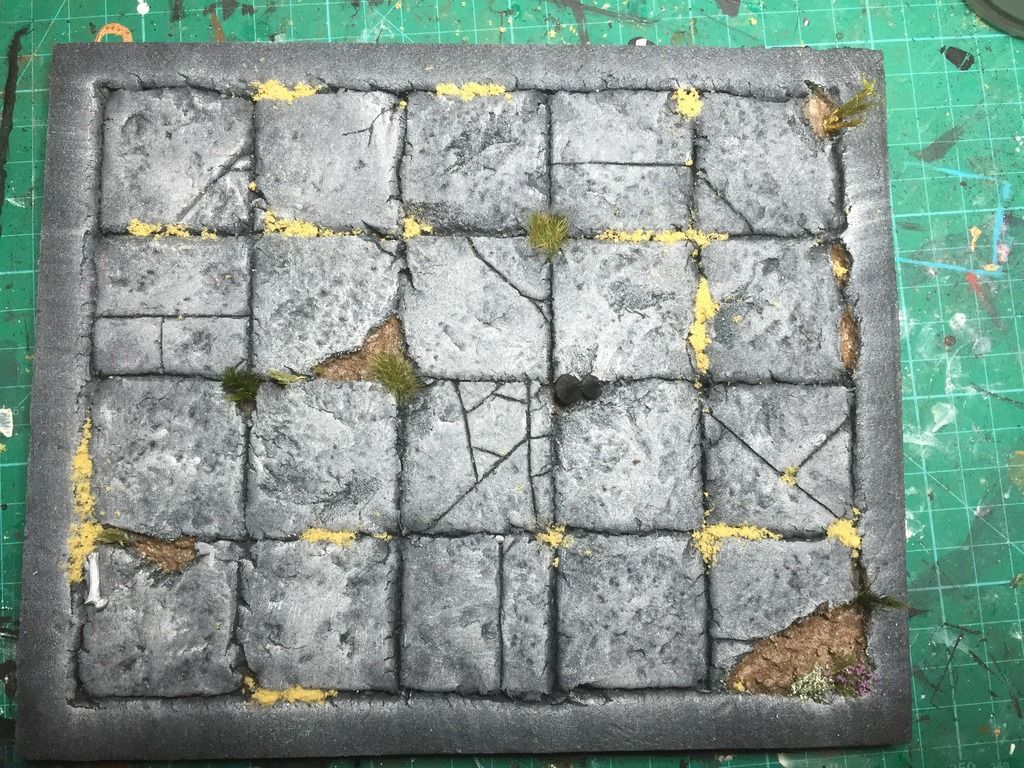
The finished tile. I've added some camo green washes to the gaps and cracks and some areas of the tiles, painted the added bits - a piece of bone and the mushrooms and put small puddles of gloss varnish in recessed areas and the mud.