I've been asked for a step by step tutorial as to how I am making my dungeon tiles - I always find that writing it up the process as a blog post is quite a good way of focusing the mind, remembering to take photos and to actually think carefully about the techniques (and to a lesser degree) materials which I use. It's very easy and quick to make and to be honest is a another one of those childhood dreams which I never got to realise 25years ago; I love being a big kid with the summer holidays ongoing to tackle some of my ideas/projects.
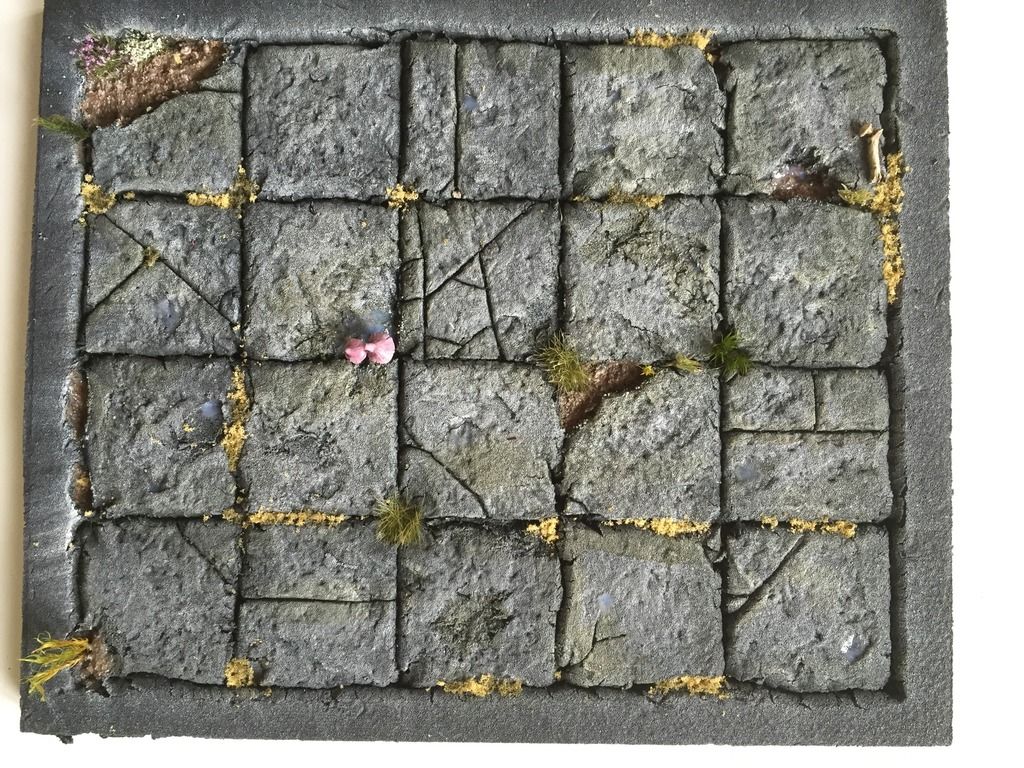
So here's the completed tile:
And these are the steps:
 |
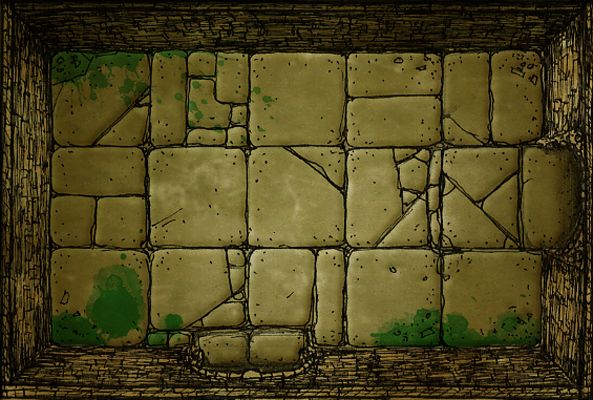
| Inspiration. I've trawled the Internet and my imagination (as well as taking my own photographs as primary source) to find images that inspire me. I'm sure you all have a folder on your computers somewhere with work that inspires your own ideas! I think it's a veryimportant part of the creative process (I tell my students this too - in fact their summer homework is entitled "Inspiration in Art"). My next tile will be based on my own photographs of stone work hat I have found whilst out and about today. |
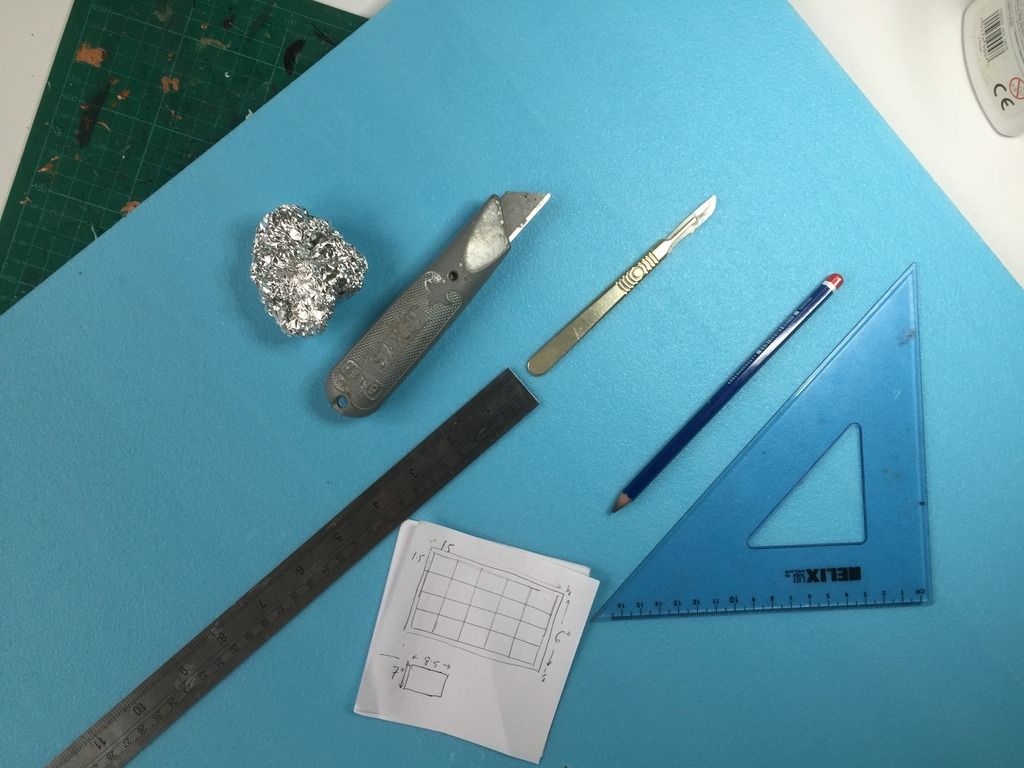 |
| The tools I used to make it. I got hold of the blue extruded polystyrene from the Internet, it's official use is for underfloor heating, but I'm sure they get a lot of orders from hobbyists! I hear you can also get it from DIY stores too. You can exchange the ball of silver foil for a rough stone if you please, both work equally well. The polystyrene does blunt your blades, so you may need a few, I do most of the main cutting with my Stanley and detailed work with my surgical blade. Probably the not important item here is the plan, it's well worth drawing it out in advance so you can check sizes and measurements in advance. I find the blunt pencil to be really useful too. |
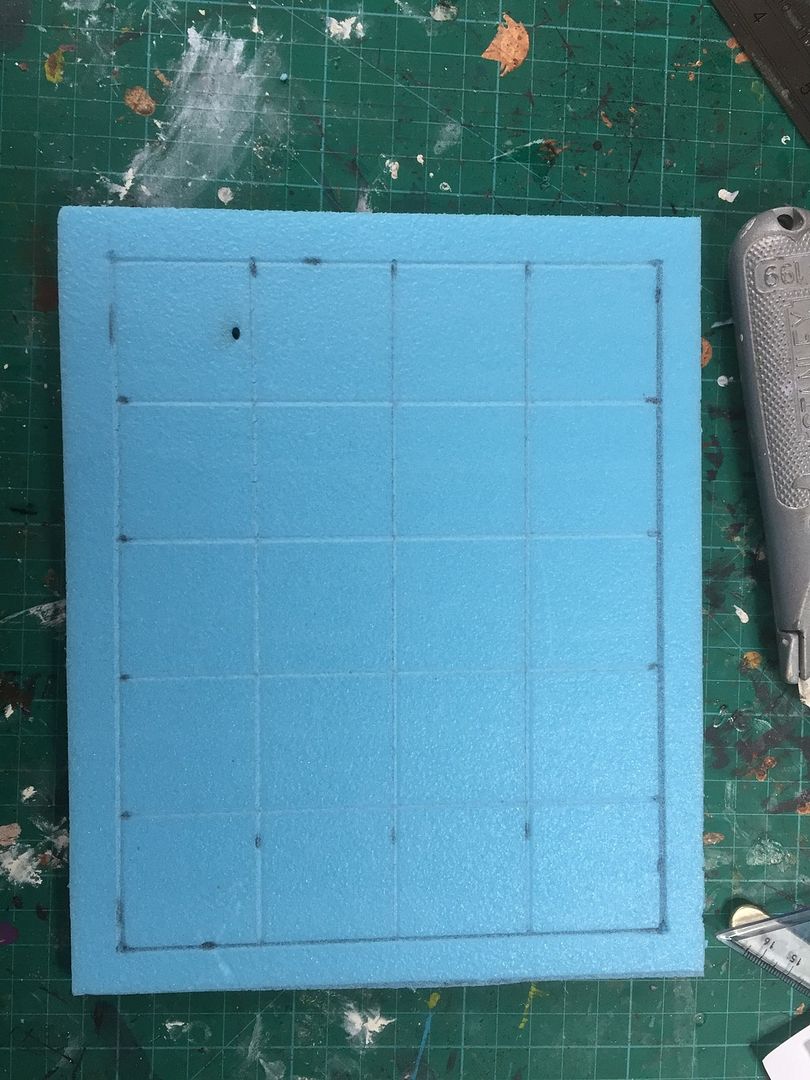 |
| The finished guideline grid. You can see my markings to ensure each square is 1 1/2 x 1 1/2" and the outside (where the walls and doors will eventually go) are 1/2" all around. I felt that by having squares which are quite large (certainly larger than Heroquest) I could get more detail into each square / dungeon tile and also the larger size would accommodate larger models on larger bases too. Hopefully the tiles won't look too clogged up with models as can happen when they are smaller. It's drawn out using the blunt pencil lightly. |
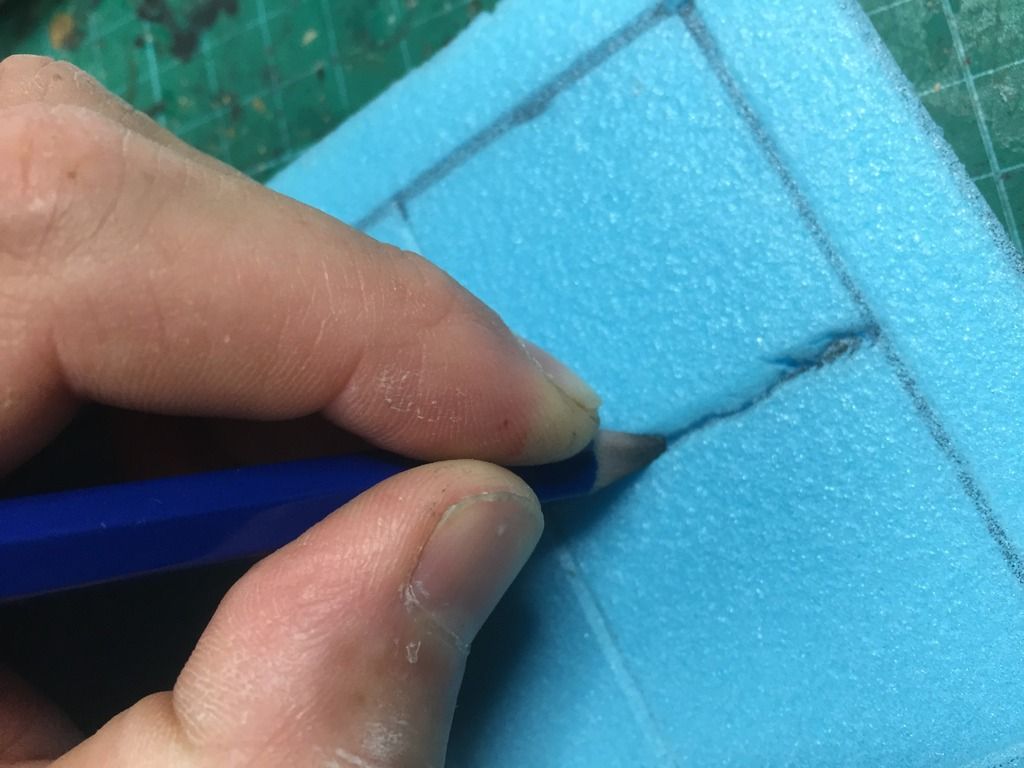 |
| Go over each of your initial lines with the blunt pencil, applying quite a bit of pressure to make the dented line. Don't worry about being perfect with this, some irregularity looks good! |
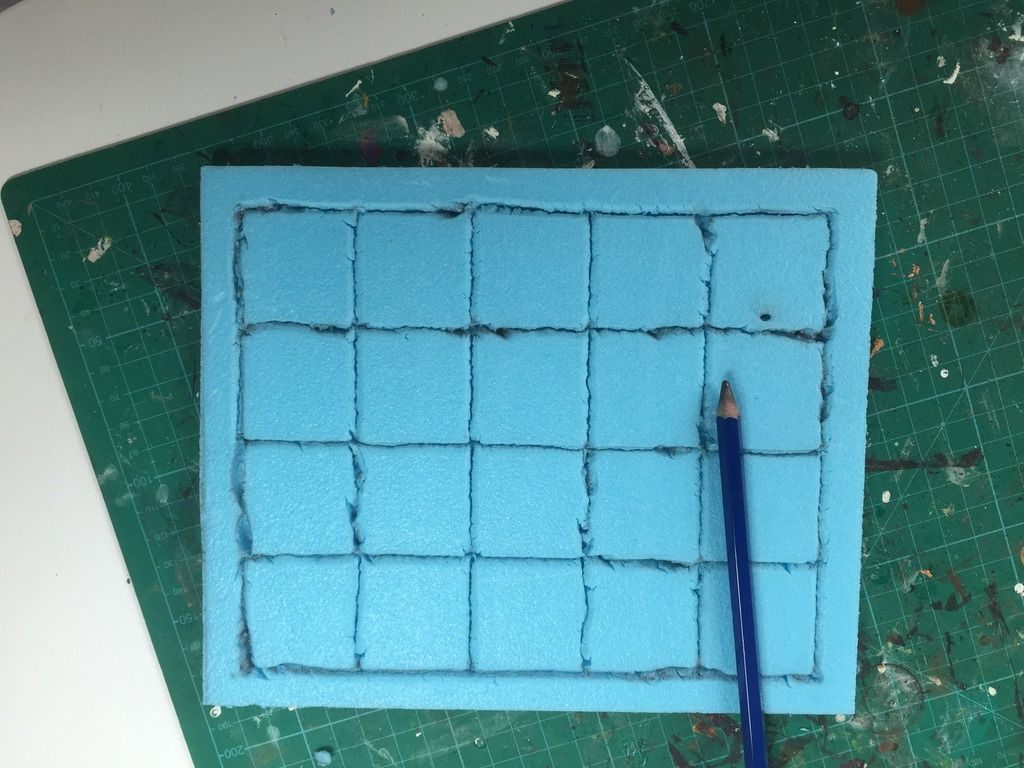 |
| The completed grid. As you can see being inaccurate and freehand is a good thing to create a good effect. |
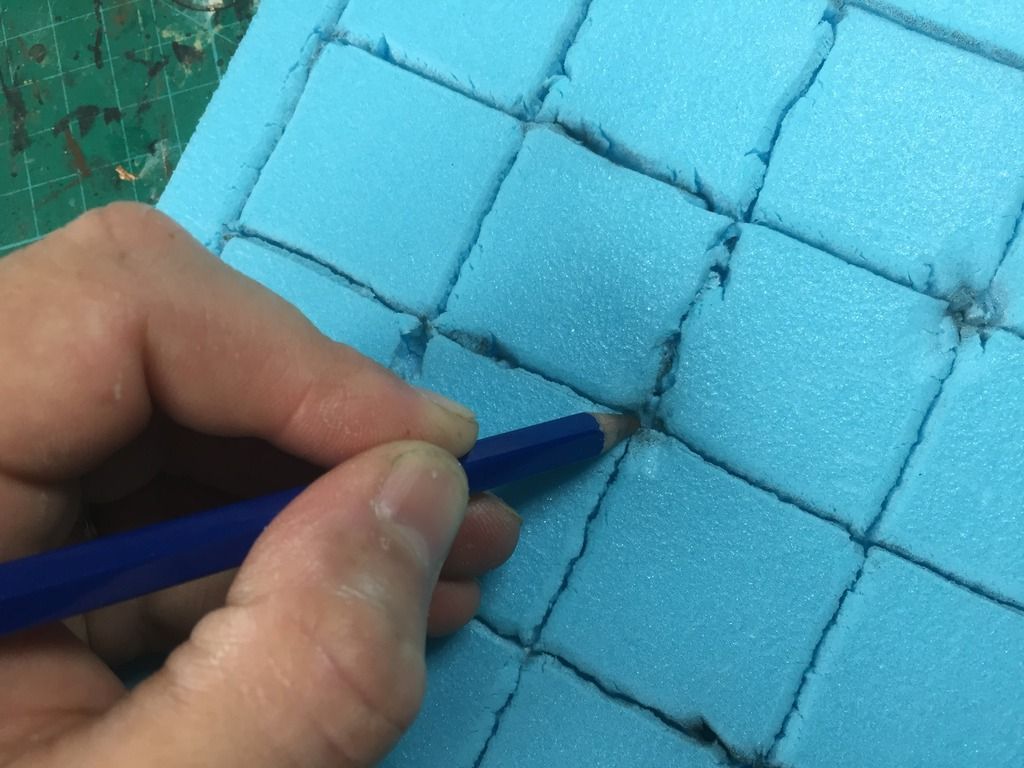 |
| The blunt pencil is great for creating indentations, especially in the corners. Just apply some pressure at about 45 degrees. It takes a little while to do them all but adds extra realism I think. |
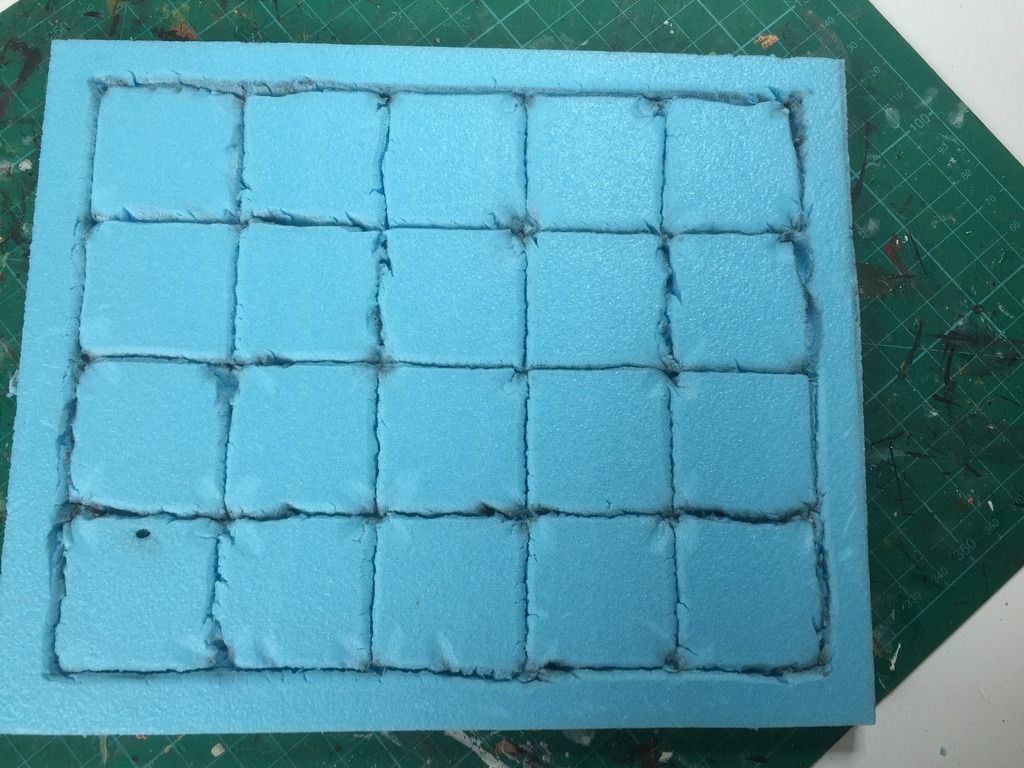 |
| Using the blunt pencil to apply pressure, I've rounded off the edges and corners of the flagstones, you can also see a few other indentations using the same tool. |
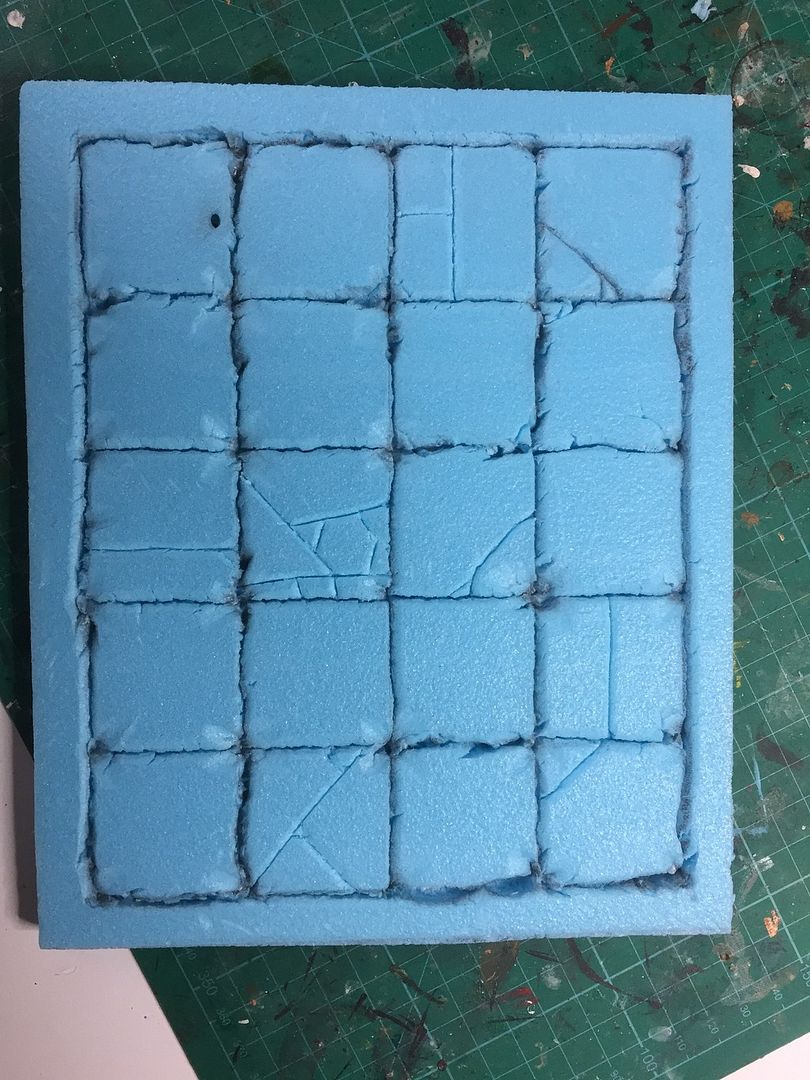 |
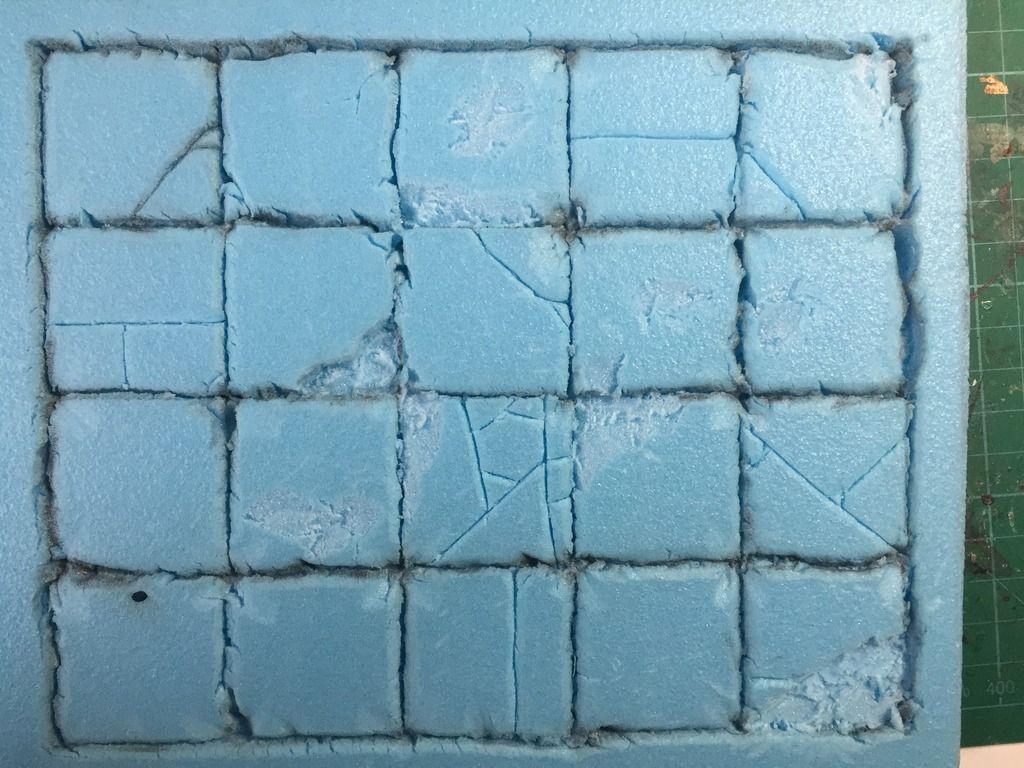
| Referring back to my inspiration, I've added all the cracks in the flagstones using my scalpel. |
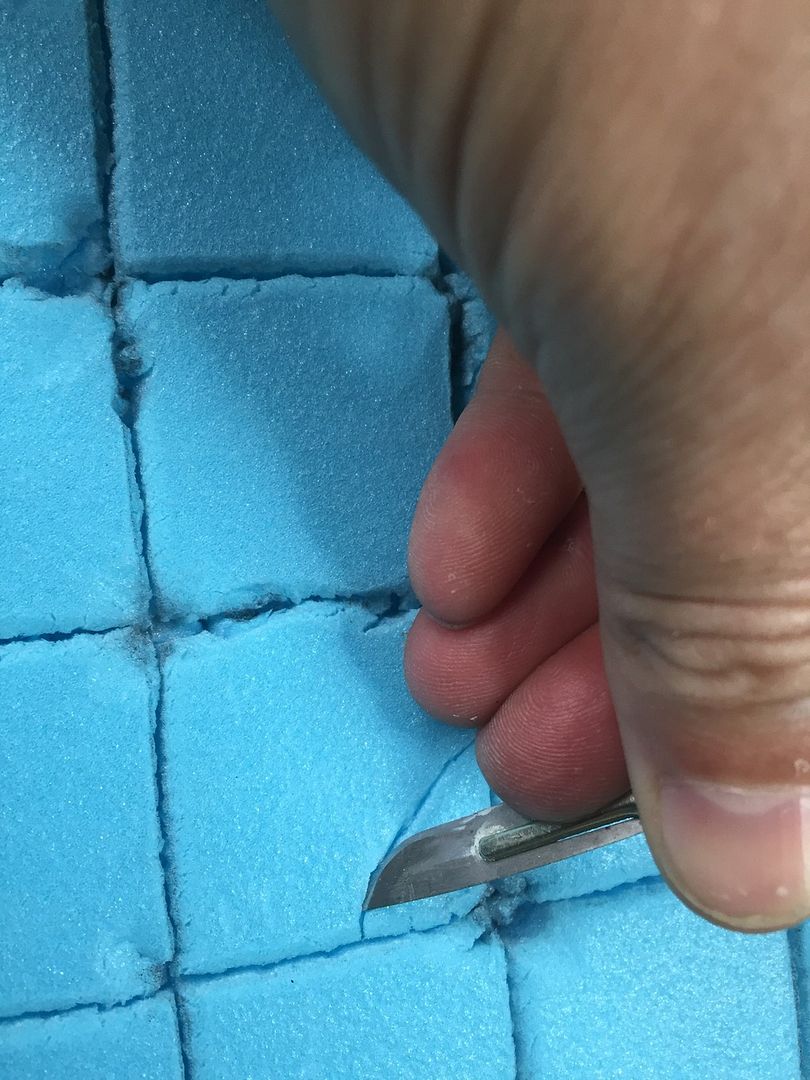 |
| After making the initial cut, I then use the blade at 45 degrees to apply pressure either side of the cut. This softens the edges of the crack. |
 |
| I've used my scalpel to dig out some areas to give extra depth to the flagstones, the deeper areas will have sand added later to show where the stone is missing and revealing the dirt beneath. |
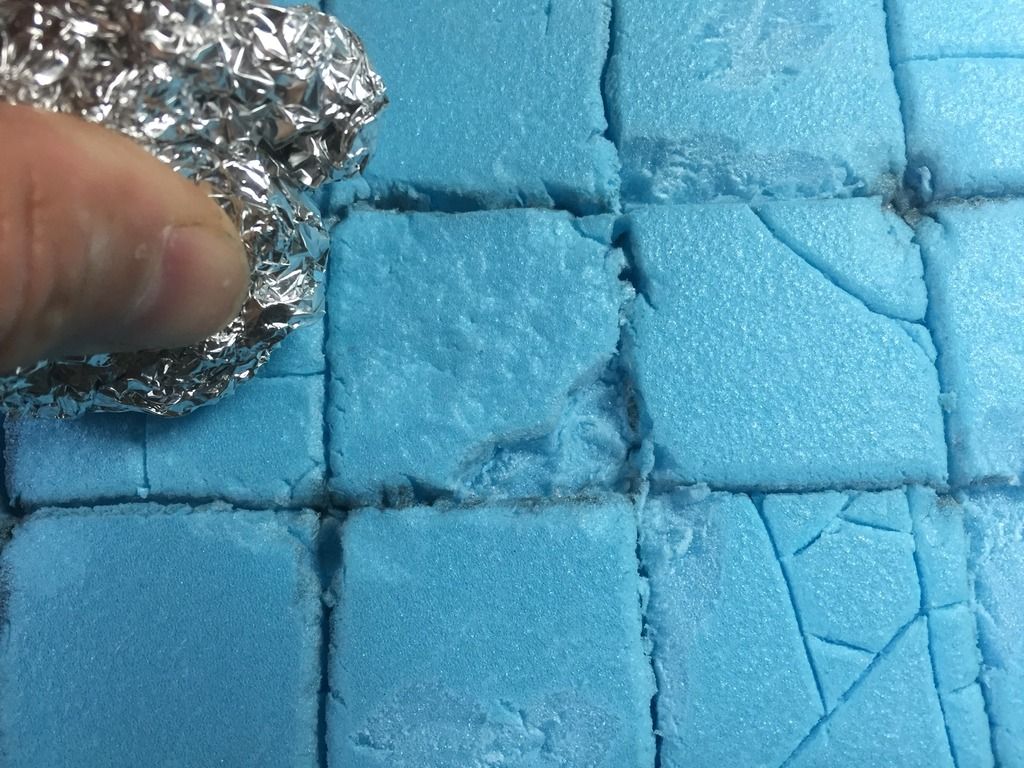 |
| This is the first time I've tried this technique to capture the texture of rock on the pilystyrene, last time I used a stone. Both seem to work equally well as long as you press down quite hard and try and keep the indentations as random as possible. |
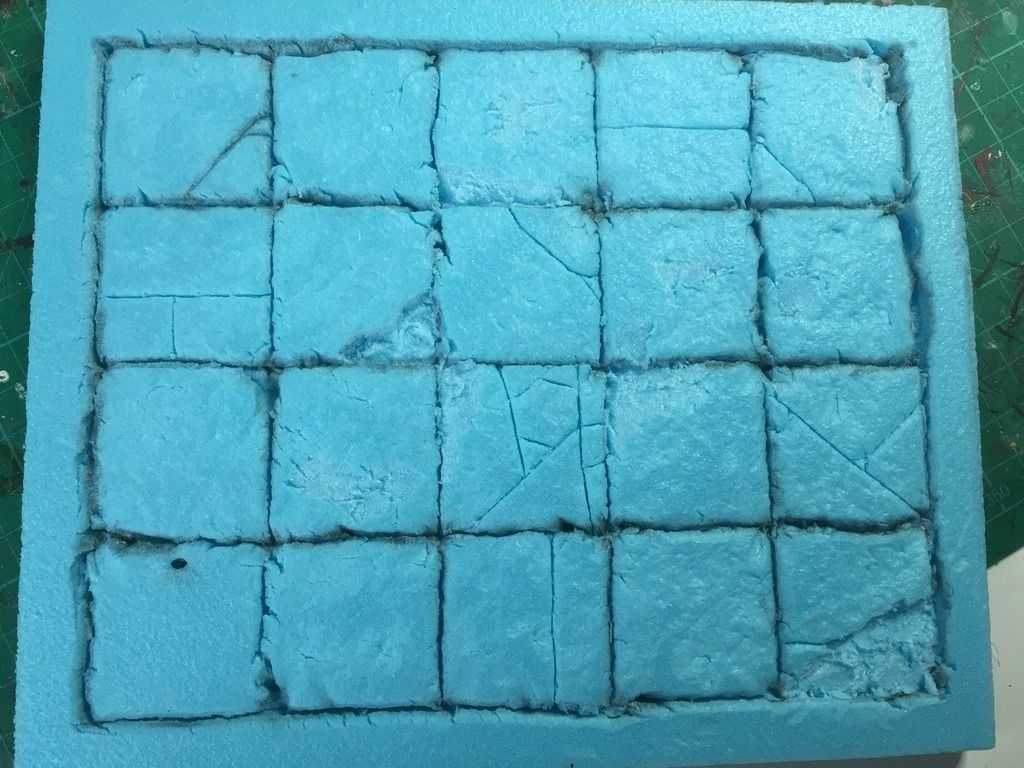 |
| And the texture all completed. |
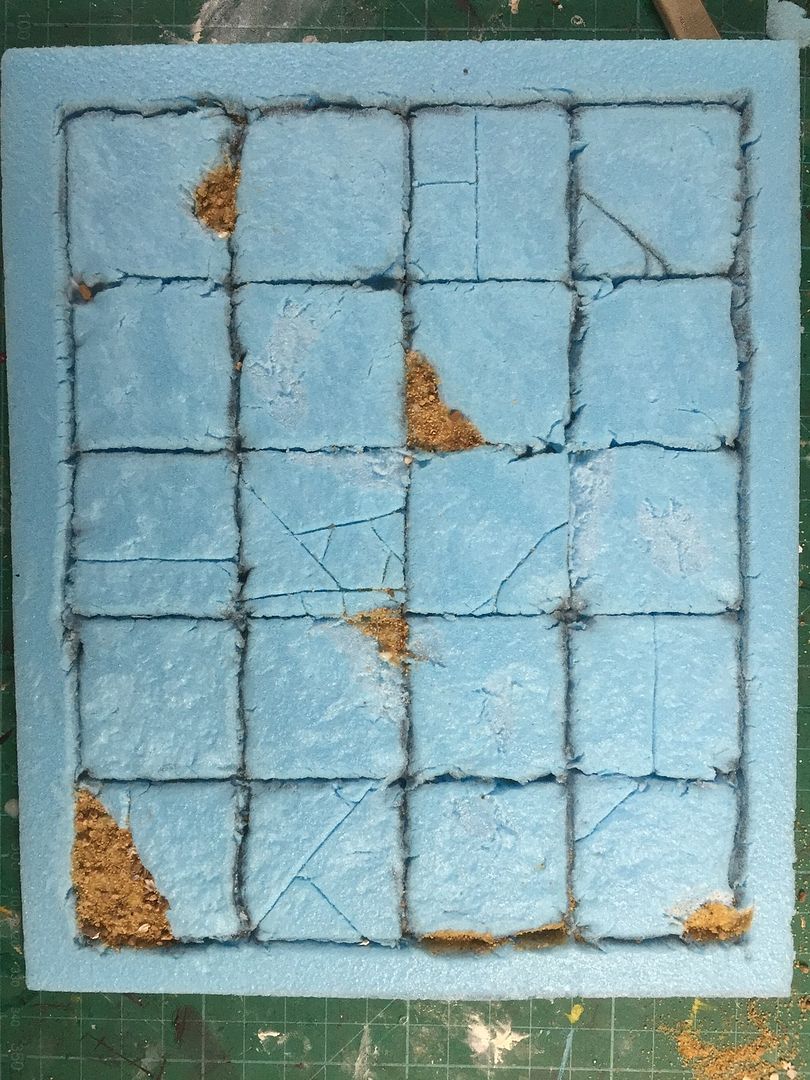 |
| Here I've added some sand to the areas where dirt has been exposed. Simple PVA for glue. |
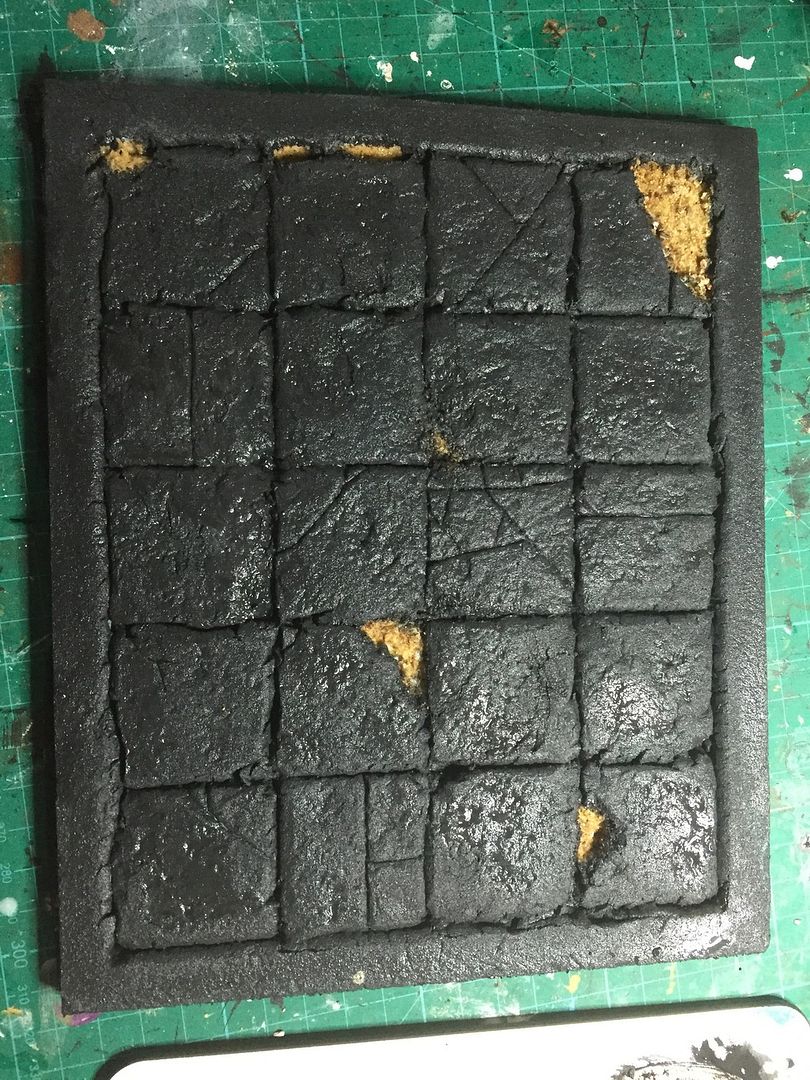 |
| A very thin, diluted dark grey layer is added first, I find this helps cover all the tile and get into all the cracks and crevices. I see this as the alternative to the black spray primer that I would use of the polystyrene could take it without being eaten. |
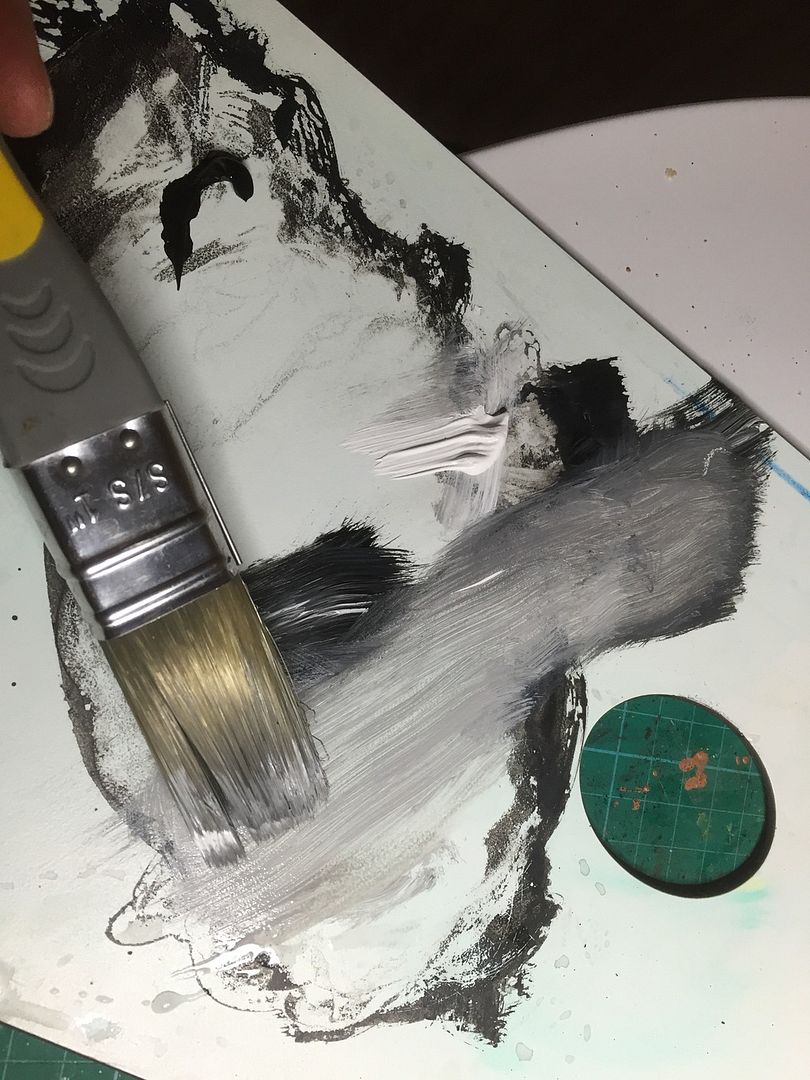 |
| Here you can see my drybrushing palette; black and white with gradually lighter tones mixed up. I find a 1" brush ideal for applying the paint at this stage. |
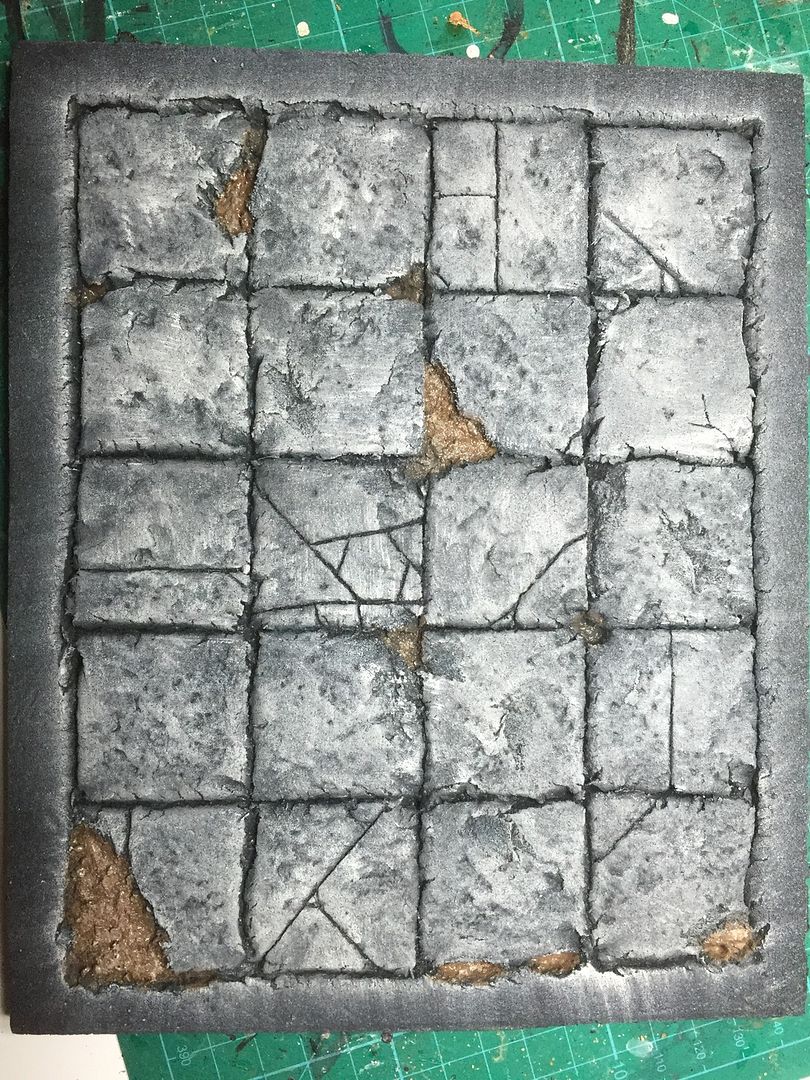 |
| Dry brush with successively lighter tones. For me there's quite a bit of Oisin on the "drybrush" and some control too - generally brushing in the same direction and lighter towards the edge of each tile. |
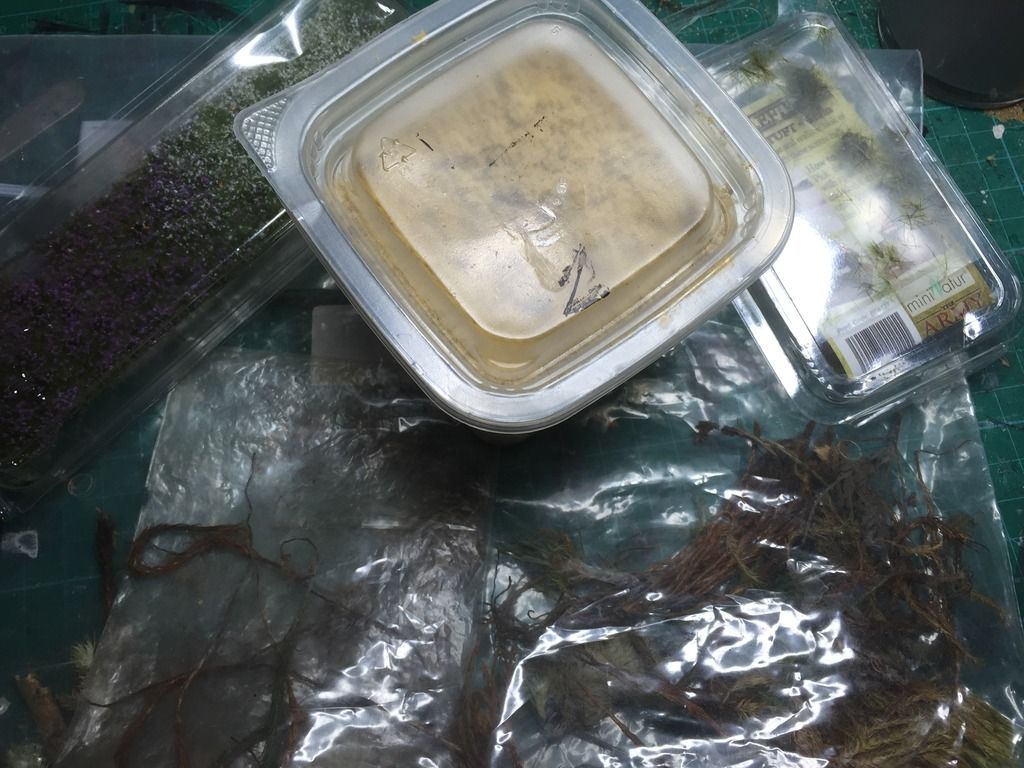 |
From my basing box, an assortment of Army Painter tufts, Woodland Scenics sponge, some Tilfur flowers and moss from my garden..
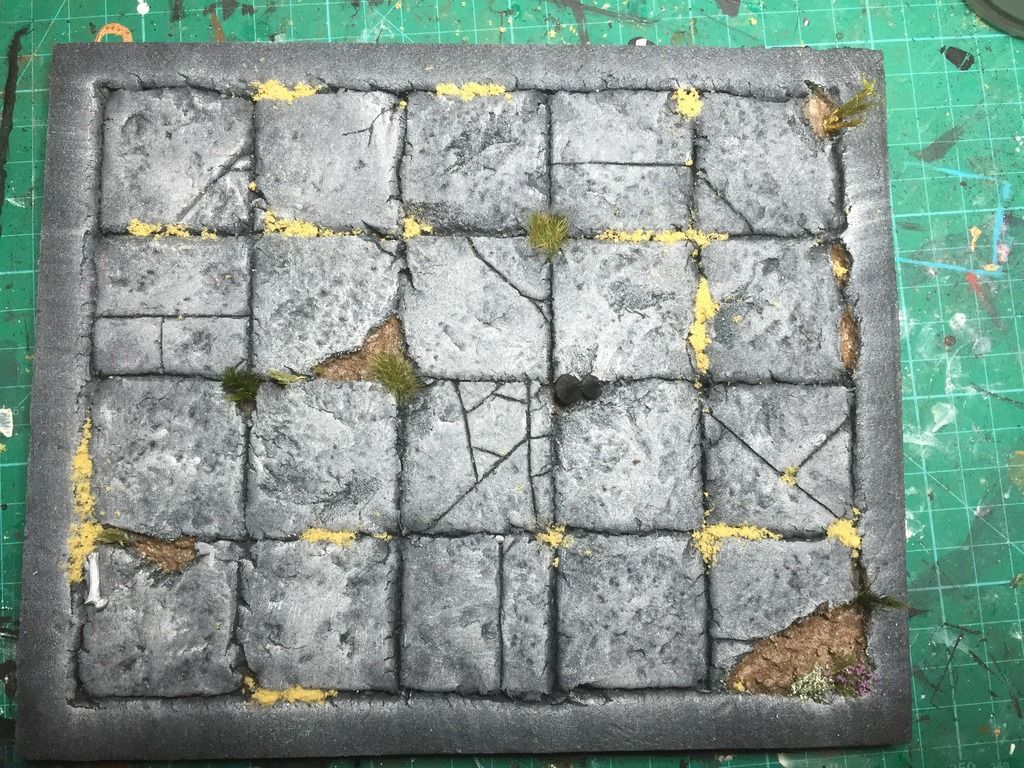 |
| With some tweezers and a touch of PVA, these basing bitz were all added, mainly to cracks and crevices where they are more likely to thrive and grow. |
|
|
The finished tile. I've added some camo green washes to the gaps and cracks and some areas of the tiles, painted the added bits - a piece of bone and the mushrooms and put small puddles of gloss varnish in recessed areas and the mud.
|




This looks really good. The pencil works very well!
ReplyDeleteThe Lost And The Very Damned: Tutorial : Dungeon Tiles >>>>> Download Now
Delete>>>>> Download Full
The Lost And The Very Damned: Tutorial : Dungeon Tiles >>>>> Download LINK
>>>>> Download Now
The Lost And The Very Damned: Tutorial : Dungeon Tiles >>>>> Download Full
>>>>> Download LINK iY
This looks really good. Polished Vitrified Tiles
ReplyDeleteAwesome work, looks brilliant.
ReplyDeleteThank you for sharing such a nice blog. It's really impressive. I appreciate your intelligence and knowledge. Tiles
ReplyDelete
ReplyDeleteit's amazing what some jewelry crafters can do with bits of scrap paper, tinfoil and other items that the majority folks contribute the trash as a matter in fact .
bathroom remodeling Fort Lauderdale
The Lost And The Very Damned: Tutorial : Dungeon Tiles >>>>> Download Now
ReplyDelete>>>>> Download Full
The Lost And The Very Damned: Tutorial : Dungeon Tiles >>>>> Download LINK
>>>>> Download Now
The Lost And The Very Damned: Tutorial : Dungeon Tiles >>>>> Download Full
>>>>> Download LINK
What is that blue foam and where did you get it
ReplyDelete