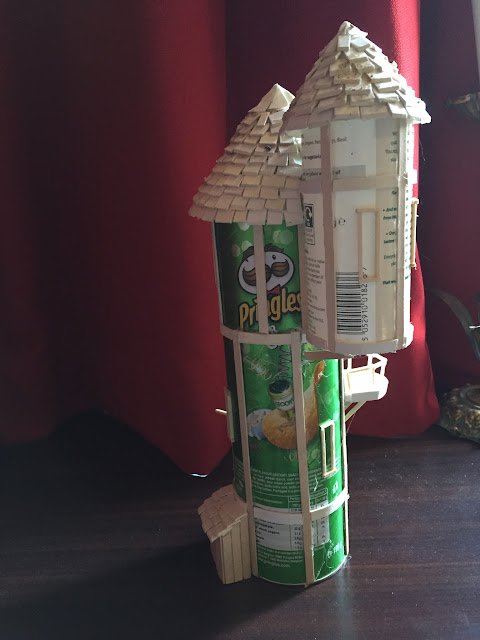
This post's all about the castle I made for him, for his birthday, largely using the Simba Superplay toy castle from Debenhams but with an additional scratch-built tower made from a Pringles tube - you can see the build for that here, a baseboard made from insulation foam and a fair bit of painting (more on that later). Have a look at some pictures of what toys are for first:
His sister getting involved with the baddies on the ramparts
Getting to grips with the working drawbridge.
He was really happy with it and played with it for most of the day, me watching on thinking "I hope it's sturdy enough for the attentions of a 4 year old". So far so good. You can see that he didn't get any old lead to accompany it, just some of the plastic toy soldiers that came with the castle, but he soon added some dinosaurs as the good guys and the knights as the baddies:
The bad knights ended up in the moat; the victorious dinosaurs lined up for post battle inspection.
Here's a few close-ups with slightly better lighting, you can see the little posters and green washes I added:
And the completed tower (none of this is glued down, so he can remove and play with individual sections if he wants):
And before painting:
And a close up of the keep, with a few additional bits added to improve it (some shields, gargoyles, weapons and posters):
Here's a quick visual step-by step of how I went about the painting (it was pretty quick, much quicker than the build):
 |
| The castle was primed grey with car primer. |
 |
| A series of washes were applied over the primer. A dark grey wash first to exaggerate the recesses and shadows. |
 |
| You can see the subtle colouring of the washes here. |
 |
| My temporary palette. Not including drying times, the painting process probably only took 45 minutes. |
 |
| The flames in the torches were painted and a few little touch ups too. |
 |
| Some old static grass was applied with pva in patches |
 |
| And tree armatures were pushed and glued into position. A few last bits of dry brushing and touching up and it's done! |
 |
| Ready for them to play with their toys and imaginations. Batman, dinosaurs, knights and a castle? Sounds like my kinda fun! I'll have to set up my toys in and around it next....!! |


No comments:
Post a Comment