

For the last five years or so, ever since we moved house, I haven't had a permanent and dedicated space to call my own, for my hobby. My lead and plastic pile is in the garage (still is), my painted miniatures in boxes under the bed (still are) and my painting, basing, converting tools and bits were in a small cupboard in the kitchen. I'd have to bring out my daylight angle-poise, get all my stuff out and then sit at the dining table - all of which was a bit of a mission before I'd even started. And then of course there's the tidying away which is a real pain in the arse if something was half-finished. This was a reason some things have remained half-finished (so I tell myself).
So after a conversation with the house-boss, after I'd completed some diy/renovation in the front room to gain some brownie points, I bagged myself a spot. The brief from the missus, was: "don't spend much on furniture, make it tie in with what we already have and make sure it's kept clean and tidy" (with young kids in the house this was important to me too and of course is just good practise in my opinion). So the challenge was on!
After a bit of research into "hobby spaces", I decided that a roll top desk was essential - I could hide my wip/stuff neatly behind a screen that came down when I'd finished for the day. But these aren't cheap. However a bit of ebay scouring found me this one (and not too far away) for £12:
 |
| Open and desk top tucked in |
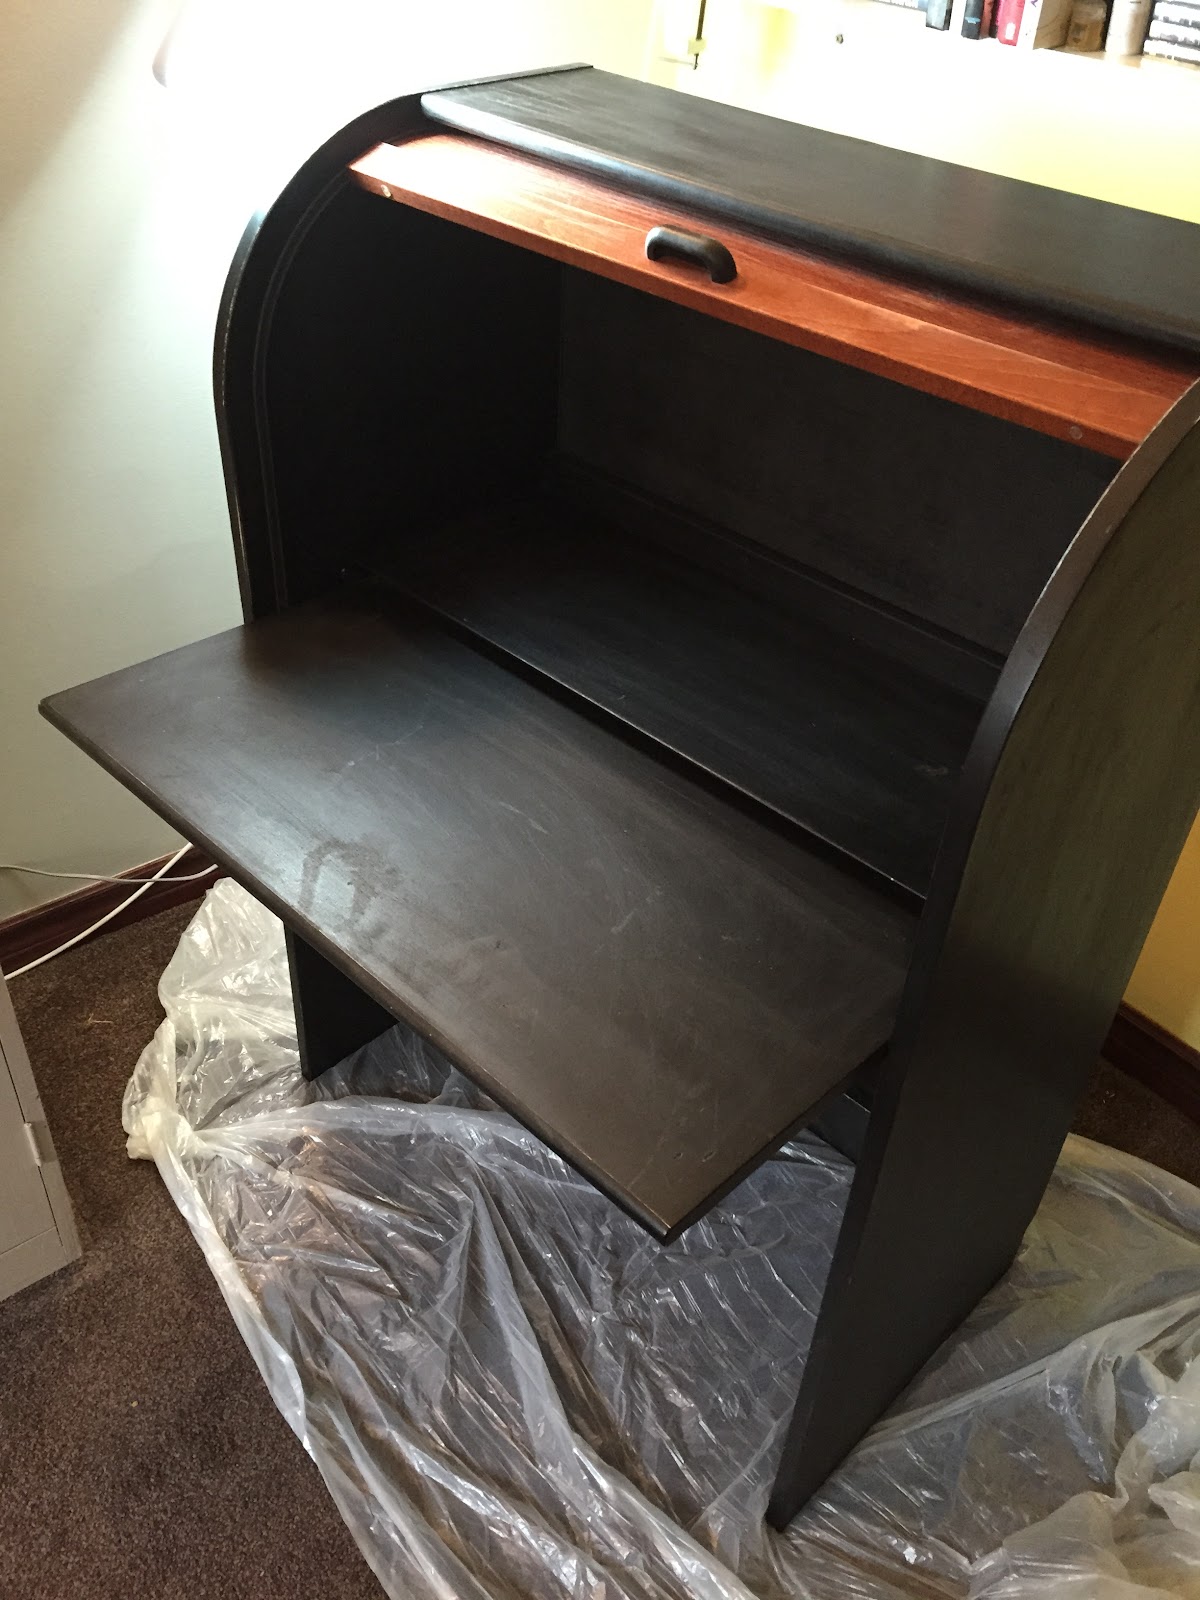 |
| Open and desk extended out |
 |
| Closed |
It's not very big, which actually suits me. I've always found that the larger the work surface the more chance there is of me filling it with stuff and clutter. I believe this is an old Ikea design and was originally used for computers, hence the pull out surface - but this also works in my favour as I can increase the workspace area when I'm working and store it away when I'm not. The existing furniture in the room is of a cream colour, so I had to get to work on this to fulfil the wife's remit. After some sanding, masking, priming, undercoating and furniture painting I ended up with this:
 |
| Ready to get my painting on. The black chair was a fiver from the dump and just needed some cleaning up and a new nut and bolt. |
Previously I'd always had my paints in a tray which was a massive pain because I couldn't always see which paint was which from above and sometimes I'd spend way too much time trying to find a particular colour; so I decided to make a quick and easy paint rack from some leftover mdf and a few shelf supports. An hour or so later in the garage and I'd created one for all my paints!
 |
| I don't have space for my tools and basing materials in here, but I'll be adding a small set of drawers just to the left of the desk for easy access. It will be great to have so much hobby close at hand. |
The anglepoise clipped on nicely to the top of the desk and I'm ready to go, or not, but it doesn't matter because I can just close up whenever I want and hide my stuff away:

 |
| Here's a close up of the painting rack - a little bit of forethought and planning and then a little bit more making and it's fit for purpose. |
The next step will be to add a set of drawers to the left of the desk, to house my tools, bitz box and basing materials, and you can't quite see from pictures but there's a set of separate shelves above the desk which currently hold kids dvds etc. Well these will be "phased out" and replaced with some books that are key to my hobby, ie the RoC books and some other painting guides. The sides and back of the desk will display a few inspirational pictures too, that relate to current projects, so expect to see illustrations from Warlock of Firetop Mountain, some steampunked rogue trader nurgle sketches etc on there.
Will I now become a bit more productive..? Well I have one less excuse now, and of course I've kept the missus relatively happy (although she's not a fan of the chair) which can only be a good thing. I'd better get some painting done then!
No comments:
Post a Comment