
I've finished my 4th modular town tile, having painted it up pretty quickly from the WIP photos I shared a week or so ago. Lots of drybrushing and washes, so it really was a quick process and I'm really happy with the results, my best one so far! I now plan to do 2 more with canal sections built in so I can have a go at some large scael water features and all the details and scenery that I can add to that (I'm thinking large bridges, sunken boats, open sewers etc).
So here are the photos. Hopefully it's clear that each of the four raised sections can be removed, as can the bridged walkways:


One of my favourite aspects of this tile is the alleyways and raised sections where bridges span them:

This one here is a particularly narrow and dark passage:

Some damage and the temporary wooden bridge:


And here is the board alongside my other three (the light in the attic is directly above the two right hand boards, thus making them look much lighter)


And finally some glamour shots with some of my scenery added to bring them to life a bit more:


And then further details with an adventuring Dwarf warband:
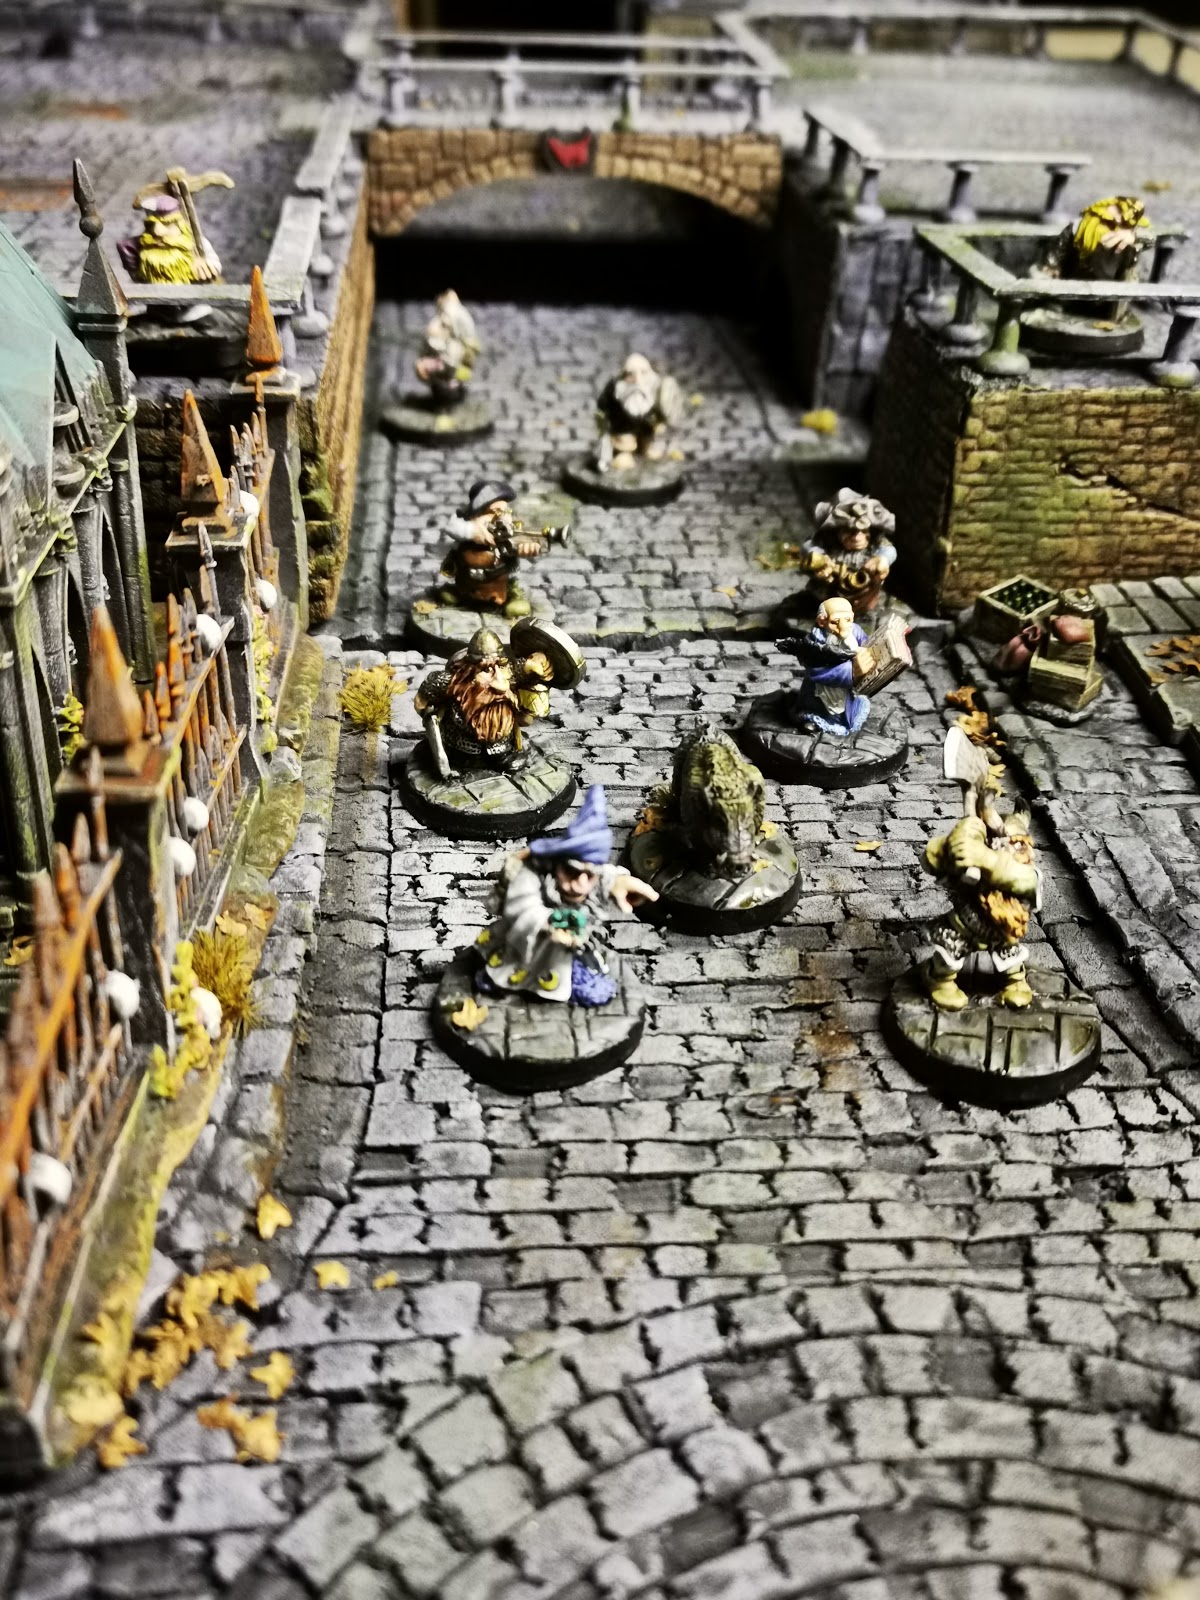


Thanks for looking!
Great painting and detailing on the new board, fits in great with the other 3 and with your added scenery is very atmospheric
ReplyDeleteCheers Dave, its all come together quite well. I feel I definitely need some canals or a body of water to break up the monotony of grey stone!
DeleteIf your thinking of using resin to do the water, make sure to select one that has very little shrinkage, East Coast Fibreglass produce a good one that is reasonably priced, also only order the amount you need as once opened it only has a six month shelf life
DeleteThat looks absolutely ace man!!!!!!!
ReplyDeleteCheers Riot, I'm well happy with it!
DeleteAwesome
ReplyDeleteAwesome stuff, and I did not realise the raised areas were removable .. more variation! clever move. Love those glamour shots, so gloomy and run down, wonderfull. Great looking town, its going to be fun to play on.
ReplyDeleteCanals and waterways next? Nice. Look forward to seeing how those come out, good luck.
Yes.. but i've just realised that I didn't paint the stone underneath the raised areas, so currently not much chance of any variation until that's done!
DeleteAw no .. on the bright side, least you realised that now.
DeleteLooking really nice. I'd love to see those boards fully set up with even more crowded in houses overhanging the streets. The raised elements on the new board add a really nice extra layer of detail and playability.
ReplyDeleteCheers Axiom. I have a few more houses to finish making/painting so that I can start creating that overcrowded look you mentioned. That's the eventual aim anyway.
DeleteJEBUS, that is awesome!
ReplyDeleteCheers Andrew!
DeleteAll around to your place for a game of Mordheim???
ReplyDeleteThere's not much space in the attic and you'd have to crouch too - it may look decent but it's not a practical space to play! When the wife's away I'll bring them downstairs!
DeleteAwesome terrain boards, what a joy it must be to play on those. Your sewer board looks as a scene you could expect in a video game, which is great imho.
ReplyDelete:O :O Beyond any expectations. I love the way you build these, they look fantastic. Seriously, I'm so jealous! :D
ReplyDeleteHello Stuart, I discovered that I never followed your blog ... Shame on me considering the quality of your work. So now I keep an eye on your projects, 😄😄 Cheers!
ReplyDelete