
Just before I went on a caravanning holiday with the family around the UK, I made these houses to populate my modular board.

They're both lasercut mdf sets that I picked up for a good price and decided that I should take a break from completing my Nurgle Army (before I burnt out with that project) and sit down with my son and construct and improve these. So we did the assembly together with lots of pva, elastic bands to keep things in place and some coffee.

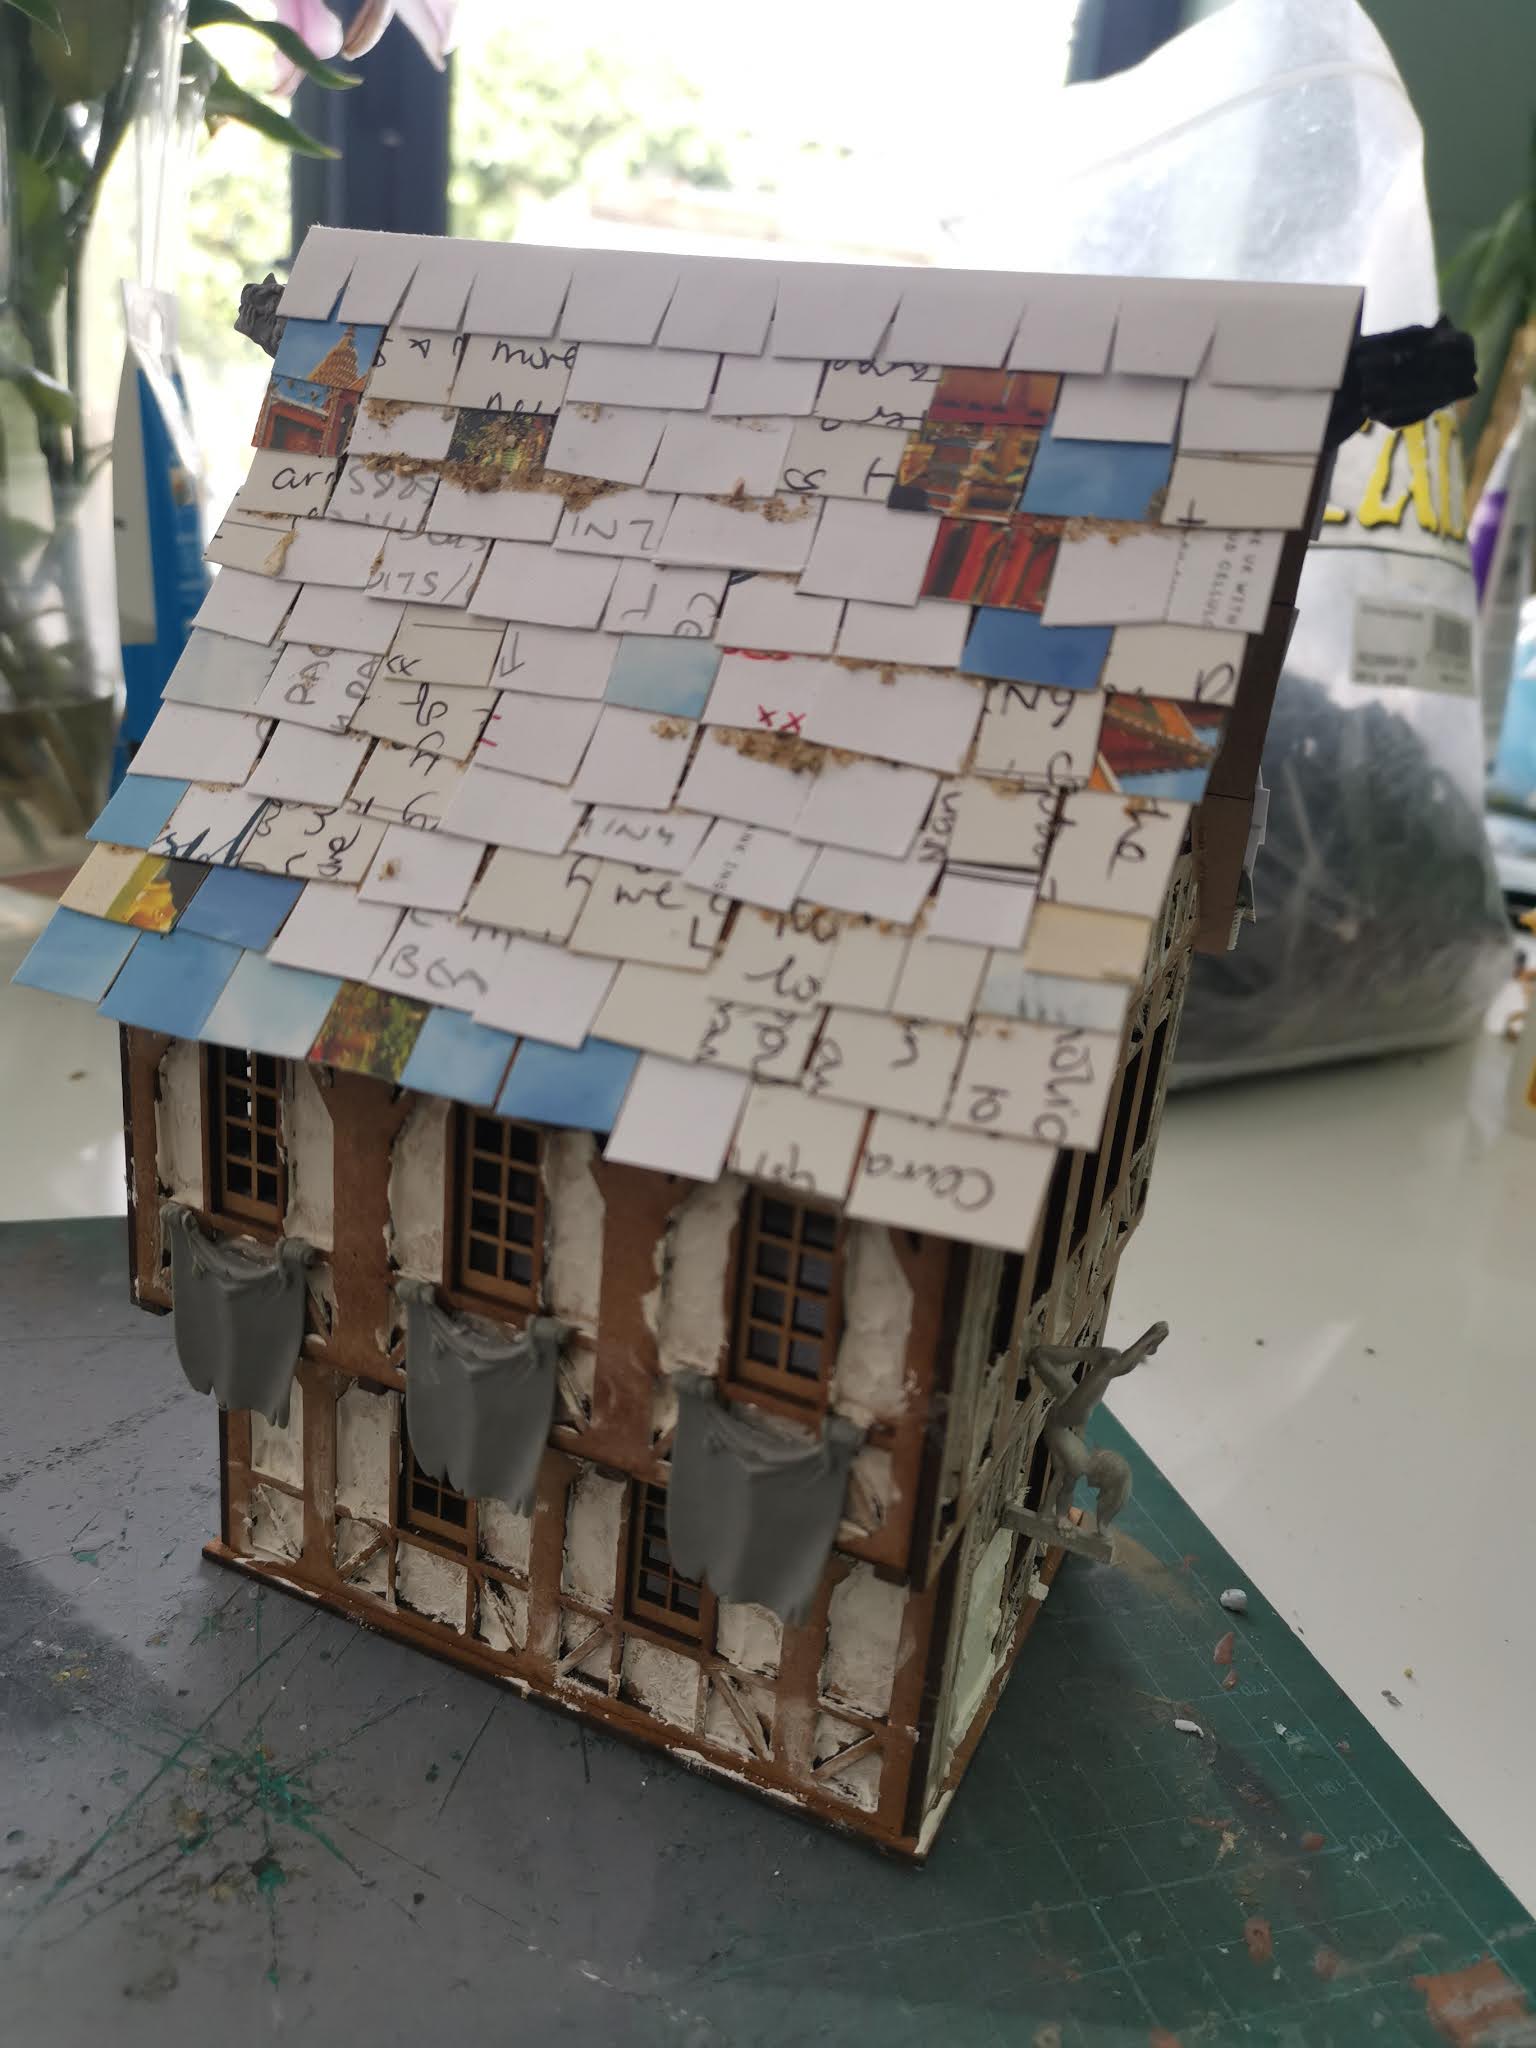
After assembly my boy decided that one of the buildings should be a shop - we conferred on an Armoury and we then searched my bits box for details to adorn the building. I also wanted to pimp up the kit, the mdf buildings lack detail but more importantly texture. So some polyfilla was added to the walls, cardboard tiles were added and some sand for mossy areas too.

The function of the second building was definitely decided by me. Whilst rummaging around for bits for the previous model, I found a naked dancing girl from Hasslefree and though it would be a perfect sign for a medieval "club". This was placed just above the entrance door. The same texturing and detailing process also took place on this building.

And then we went onto the painting. Both were undercoated black and then grey from above. Lots of washes of cheap acrylic paint later, followed by some drybrushing and finally some weathering and the buildings were done! As always it was the painting of all the beams that took the most time.


Back to the painting of some miniatures next...
Great looking buildings Stuart, all the extra detail has certainly elevated these buildings, and great to see your son getting involved as well
ReplyDeleteThanks Dave. It was fun getting my boy to think through some of the problem solving of building a kit without instructions. He worked out to do a dry fit first!
DeleteExcellent upgrading of those kits. The finished buildings look brilliant. Very atmospheric.
ReplyDeleteCheers Pawn Cocktail, a little extra prep and knowhow from years of model making have, I think, made the difference here.
DeleteLove your models. As for painting the beams, I use balsa which I stain with sepia ink and then put this on the model which I have already covered with polyfilla. A dry brush of white and it looks weathered.
ReplyDeleteCheers that's a good tip with the beams. I should definitely paint them before attaching next time.
DeleteThey look superb, really well constructed and the painting is excellent.
ReplyDeleteThanks Mut, I'm definitely an advocate of a little extra prep makes the painting easier and quicker.
DeletePimped out indeed! Really like these and the dancing girl is a great idea!
ReplyDeleteIt was one of those light bulb moments when rummaging around my bitz box (I get way too many ideas and pleasure when doing this!)
DeleteI find it particularly interesting how you textured all the different areas. They really look different. Well done!
ReplyDeletePreviously I've tried to make up for a lack of texture through painting techniques such as dabbing, but it never works as well as paint over actual texture
DeleteGreat additions to your town. Its inspiring to see someone take an otherwise bland mdf kit and transform it into a characterful building I'd love to own.
ReplyDeleteThanks Ellesse. I'm going for a scratch built ruins next, made from individual foam bricks as a new technique to explore.
DeleteI look forward to seeing the results and where it takes you. Seen some brilliant things made with individual bricks over the years, got a feeling this is going to be exciting.
DeleteCheers Michal, it's coming together nicely.
ReplyDeleteGreat stuff Stuart! Absolutely brilliant little details throughout 😀
ReplyDeleteGreat work! The added textural elements have done a perfect job in disguising the flat lasercut surfaces. I really love the mossy damp feeling that you've managed to create with all the green and mouldy patches.
ReplyDeleteThis comment has been removed by a blog administrator.
ReplyDeleteThose additions really do make all the difference, really worth going the extra mile on those !
ReplyDelete